The easiest way to add meaningful decor to any room is to decorate with photos. You can display photos and souvenirs from major moments in your life, like a graduation, wedding, or having a baby. Or just showcase pictures from nights out with friends or time spent with family. It’s simple, meaningful decor for a nursery or kid’s room, a dorm, or your own room! Framed photos or mementos make special gifts, too—for weddings, birthdays, anniversaries, graduations, any occasion. As an added bonus, they’re easy to put together at the last minute; all you need is a photo you love and the right frame.
Framing memories into a scrapbox (what I call a shadowbox displaying photos or mementos) turns snapshots into art. You can frame a single photo to keep on your desk, frame two photos together for a “then and now” pairing, or arrange a gallery wall full of favorite moments. It’s a simple decor idea that adds so much personality to any space. When my middle daughter went to college, we framed photos into scrapboxes so she could take her memories with her. It reminded me how easy it is to do and how much a framed photo or gallery wall makes any place feel like home.
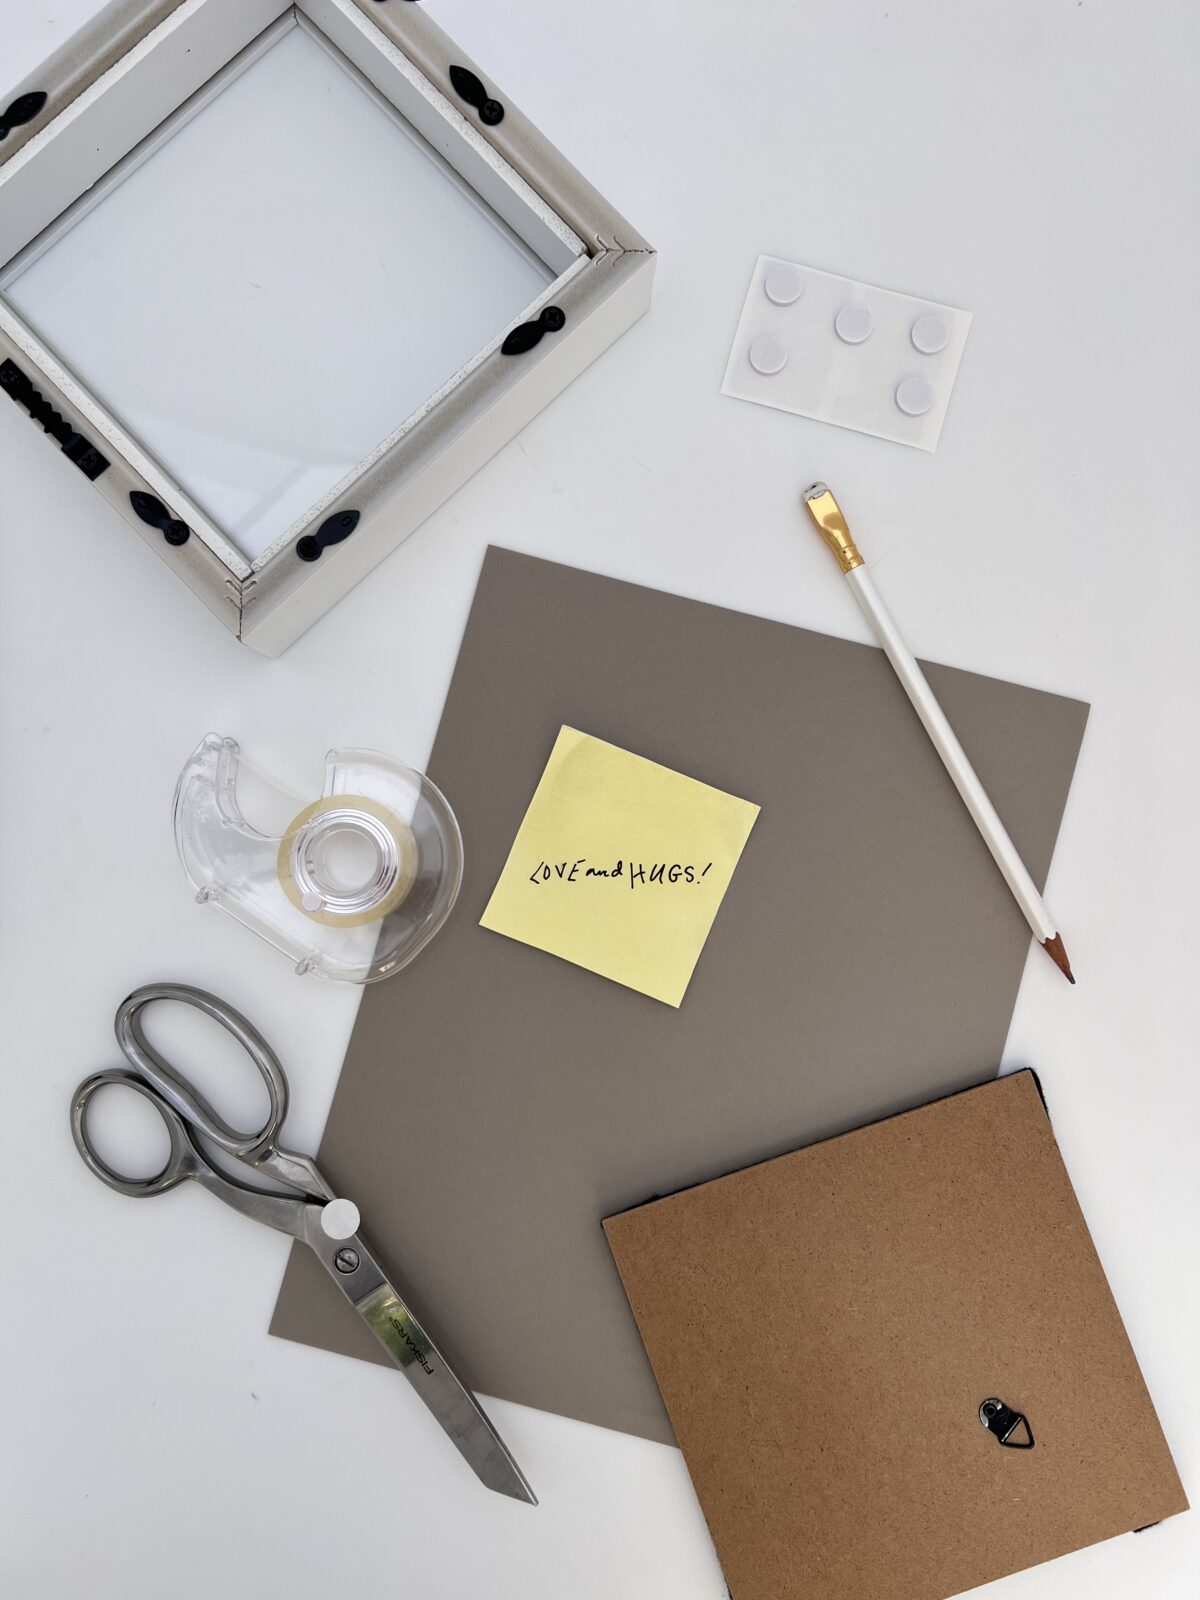
All you need to make a “scrapbox” is a photo and the right frame, and a few glue dots. The rest is up to you! You can create a backdrop for the photo using colored or patterned paper, and choose any style of frame you like to fit your decor. And don’t feel like you have to stick to 4 X 6 or 3 X 5 standard photos! For my daughter’s dorm room, we came up with a bunch of fun ways to display photos that weren’t your standard frame size.
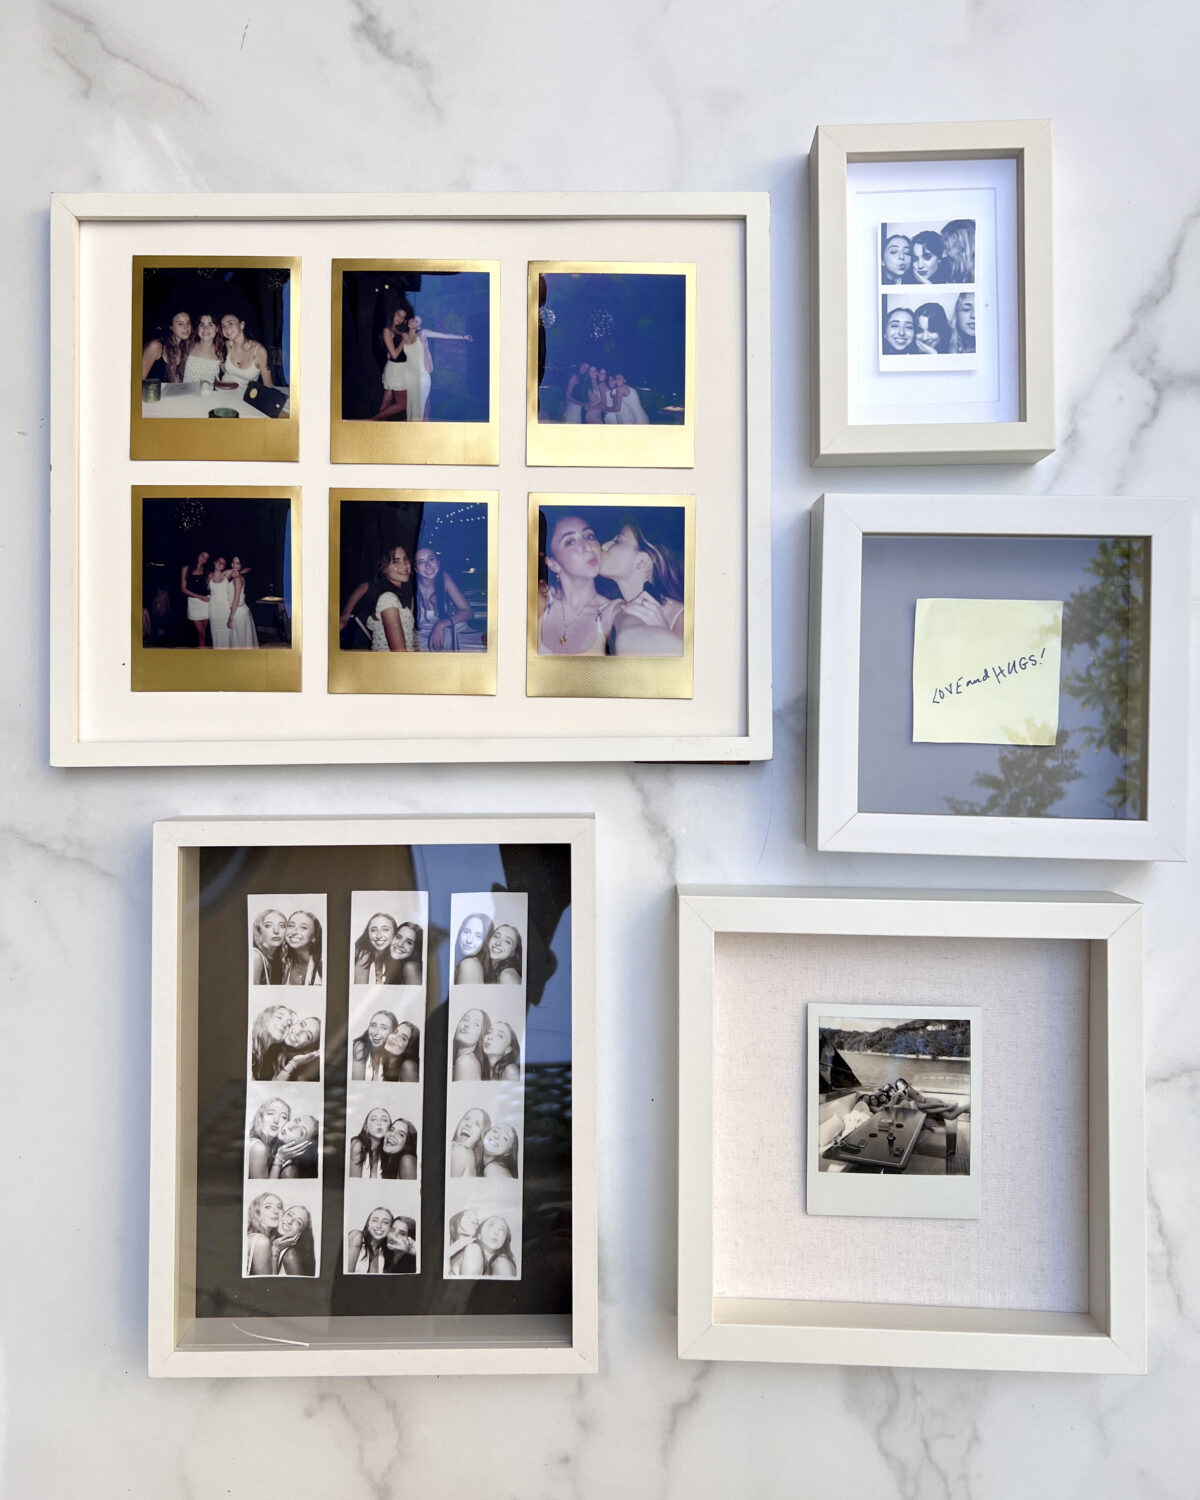
My daughter had some instant photos that she loves, and this square frame was perfect for them. I used a square sticky note to map out where the photo would go, cut the gray paper to fit the frame, then attached the snapshot to the paper with foam dots before closing it up in the frame—I like the way the foam dot makes the photos rise from the paper a little bit.
This size frame is also great for displaying sweet sentiments written on sticky notes. You don’t always have to frame photos, after all—notes and letters make great framed memories, too!
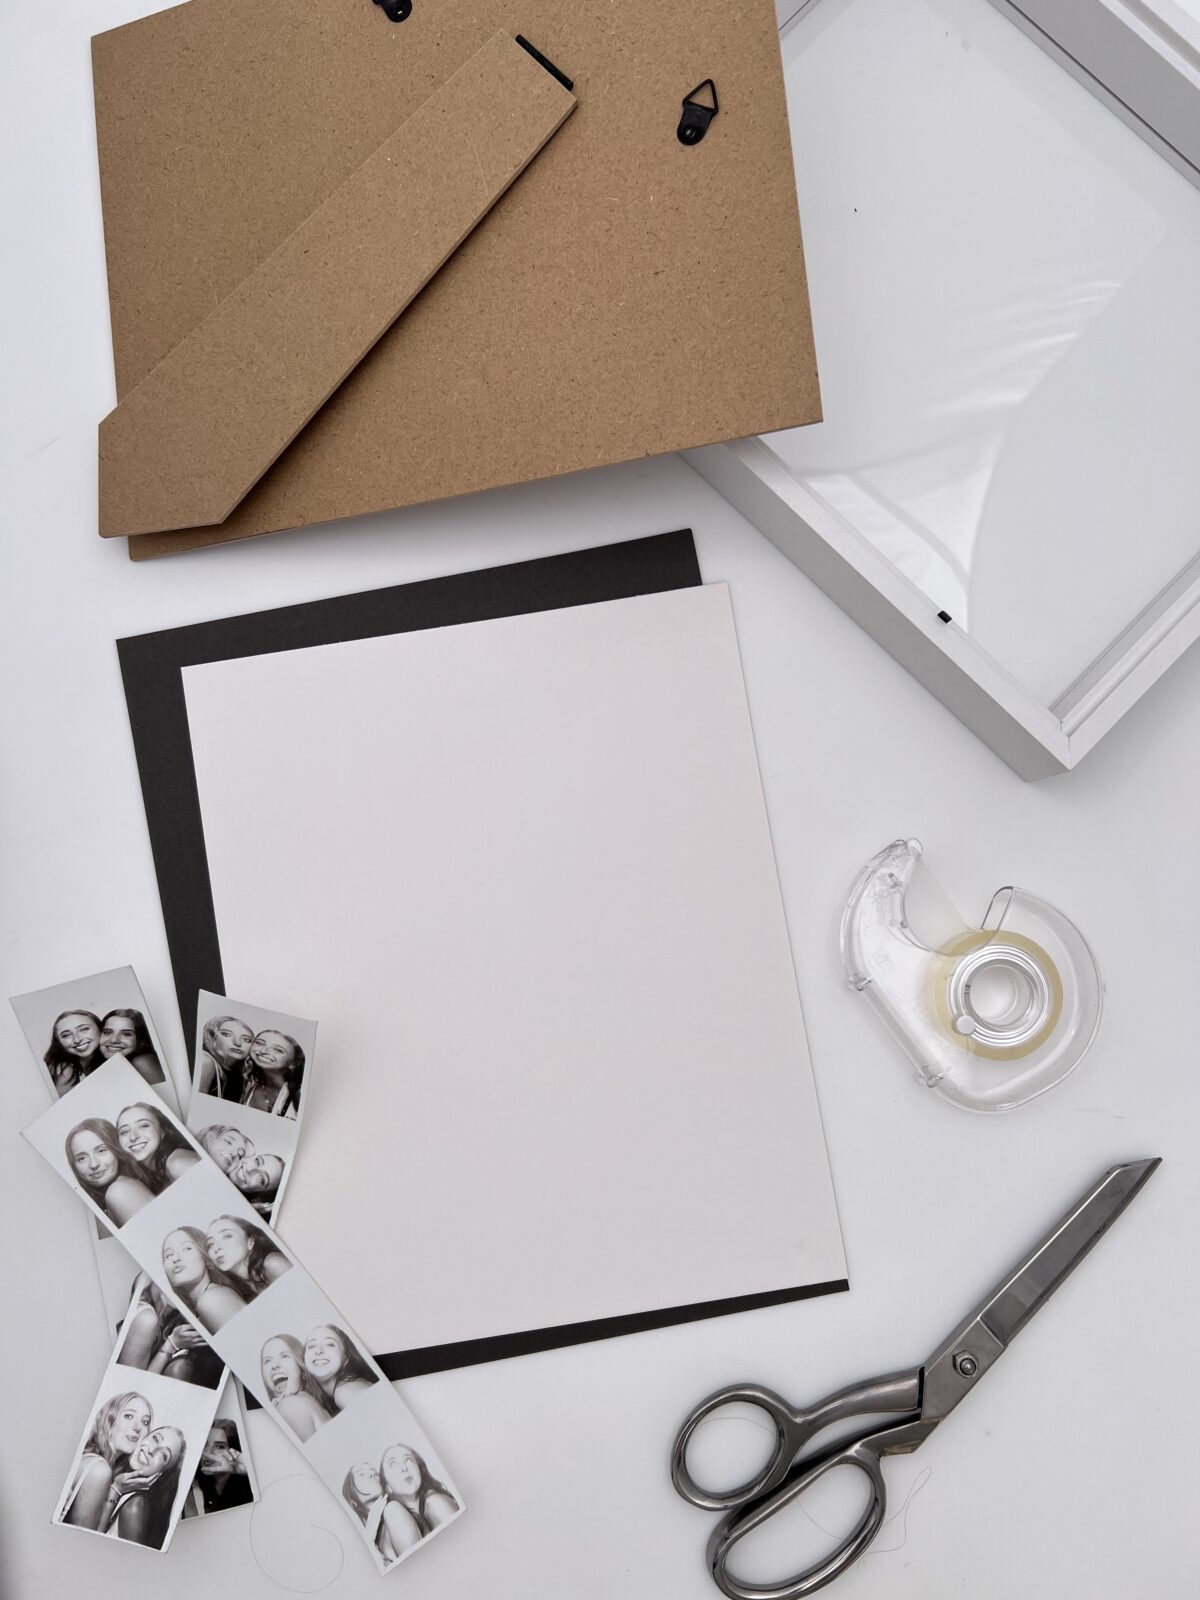
Another fun idea is to frame photo strips to remind you of good times with great friends. For this frame, we collected three photo strips and lined them up in columns to fit in one 8 X 10 shadow box frame.
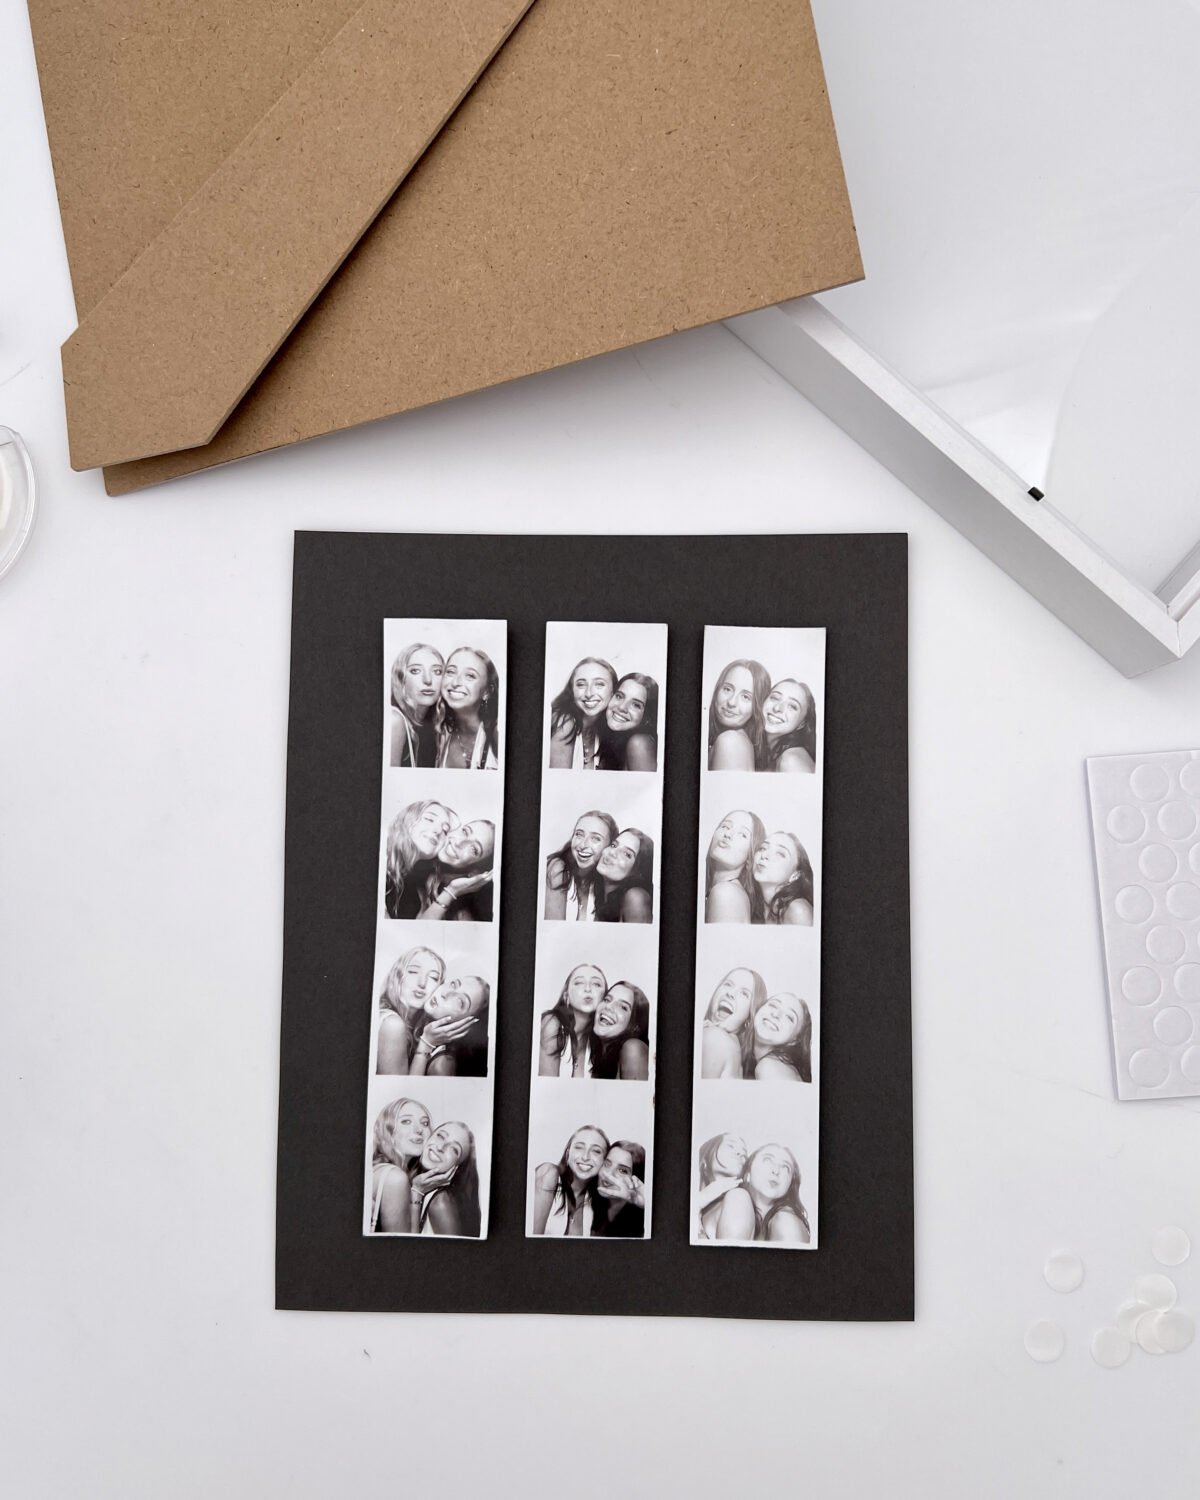
Cut dark paper to fit the back of your frame to make the images pop, and attach the strips with glue dots so they seem to float on the page, adding a little dimension.
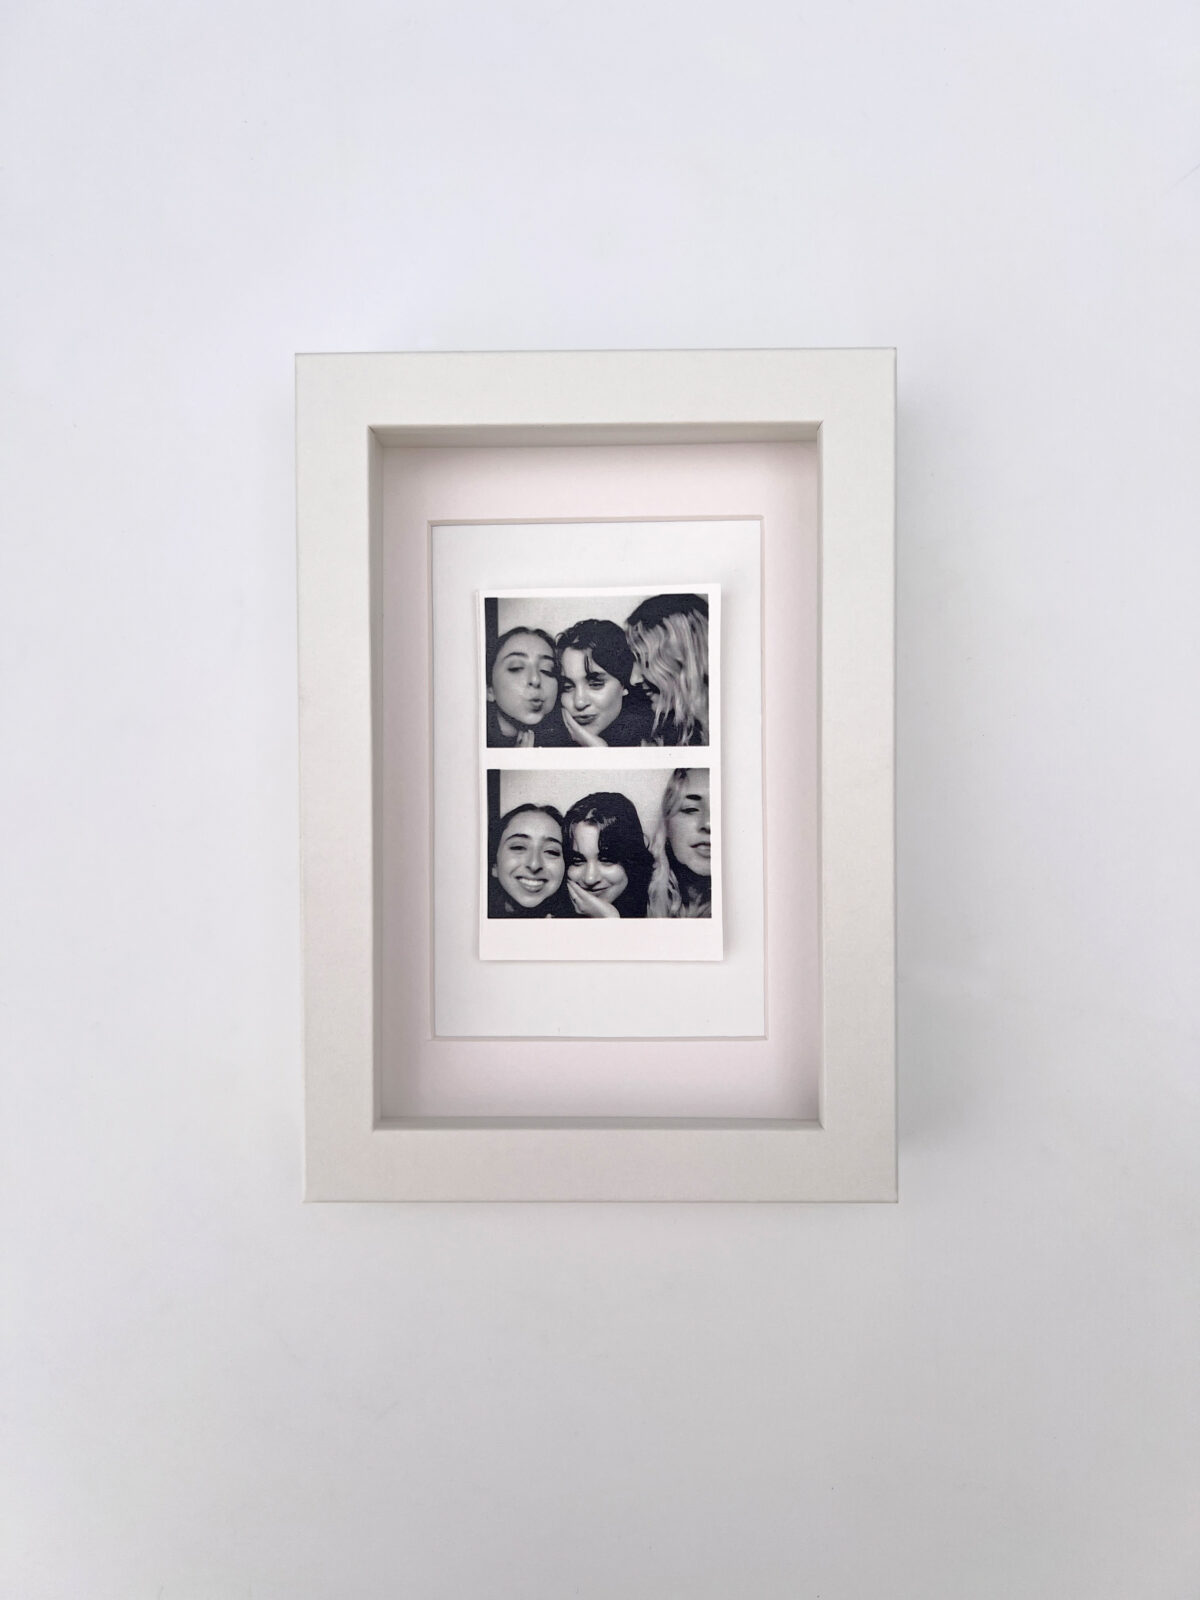
If you’re going to display a series of scrapbox memories, vary the sizes of the images and the frames to add some visual interest. You can find tiny frames to display small, photos. In this case, we cut our two favorite photos out of a strip. (If you follow this method, make a copy of a photostrip if you want to keep the original intact.)
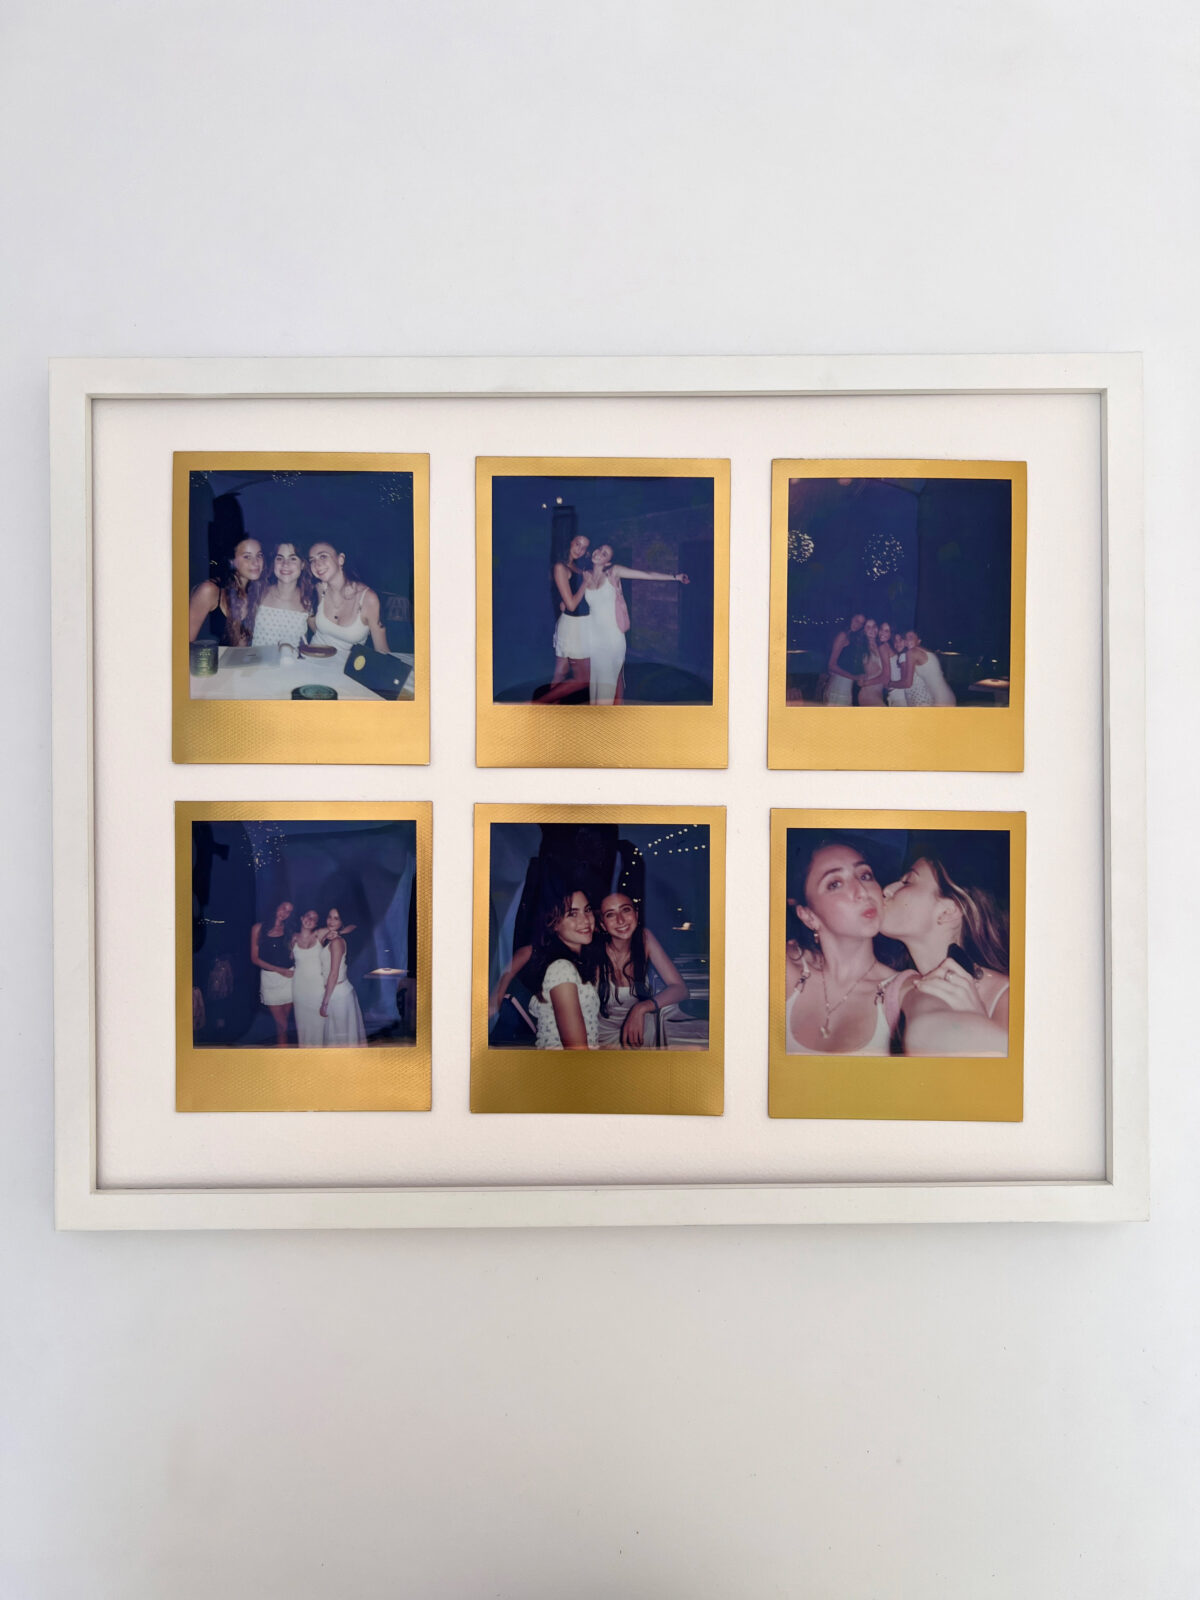
One graphic way to display photos of the same size is to go for a grid; gather your favorite snapshots from a single night out and display them in rows. For added pop, choose an instant film that comes with a colorful, metallic, or decorated “frame” surrounding the image already. Use double-sided tape or glue dots to adhere these to the back of the frame. Now you’ve got a series of memories, all in a row; looking at them is almost like reliving the event. No matter how many photos you display, or how you frame them, if you pick photos you love and display them, you can’t go wrong—you’ll end up with decor that makes you happy each time you see it.
What You’ll Need
- Photos, notes, memorabilia
- Frame of Your Choice. Some options:
4″x6″, 5″x5″, 8″x10″, 11″x14″ - Colored paper for mat
- Double Stick Tape or Glue Dots foam dots
- Scissors
- See more supplies in our Amazon Shop
How To:
Step 1: Test out how your image(s) will fit in the frame. Then, cut the colored paper to fit the frame; this will be your photo mat.
Step 2: Affix the photo(s) on the colored paper using glue dots or double-sided tape.
Step 3: Put the elements in place and close up the frame.
Step 4: Hang and enjoy your memories!
