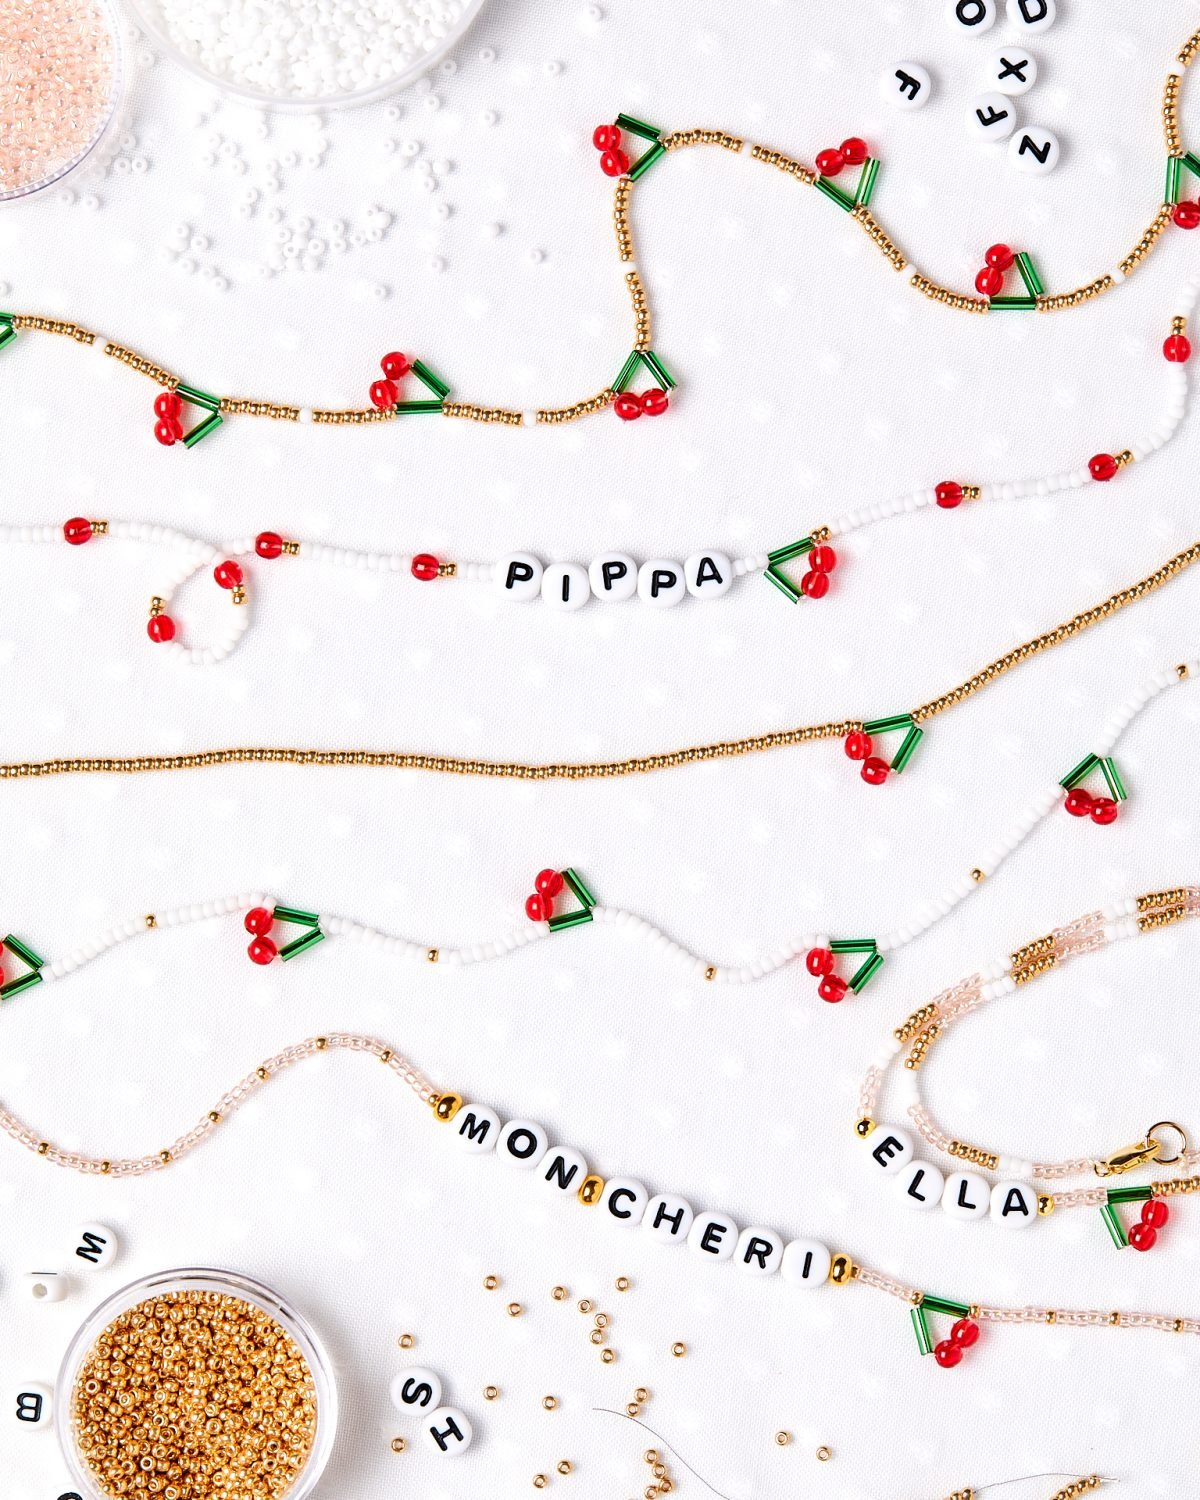
DIY bracelets or necklaces strung with cherries made out of beads are a fun craft project that you can keep for yourself or give as a thoughtful gift. And cherry bead DIY jewelry adds a bright pop of color to any outfit.
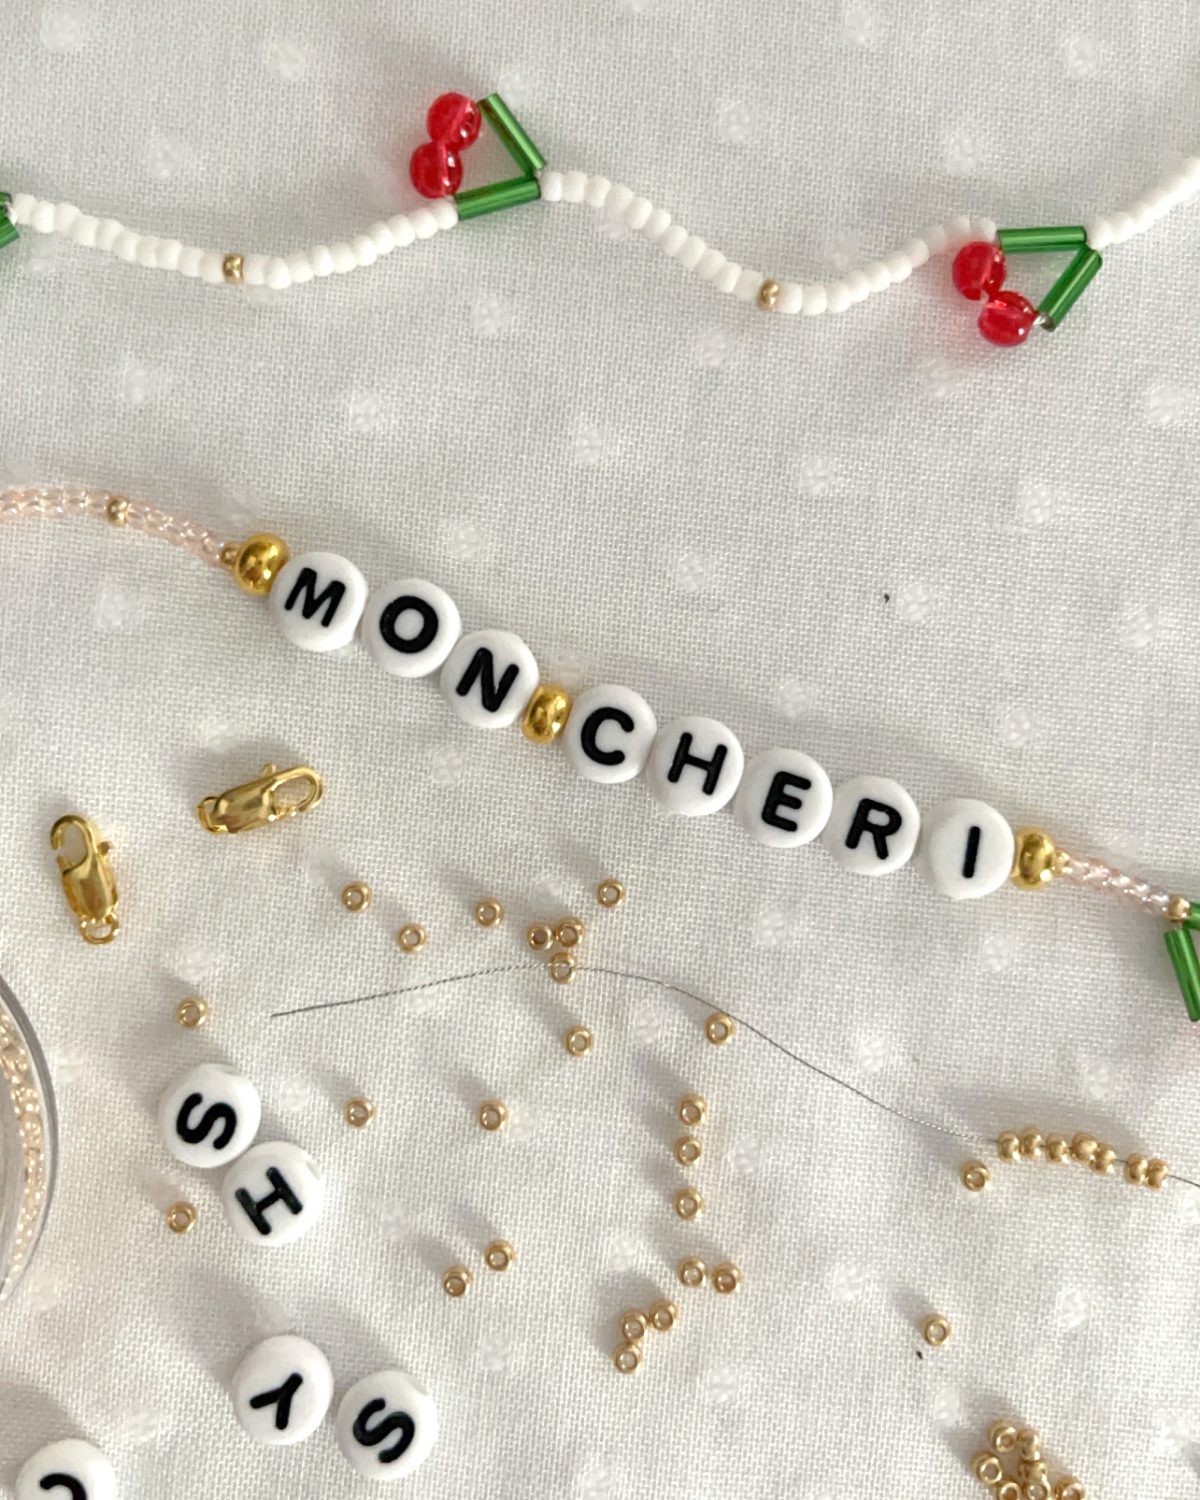
Making the bead cherries is as simple as stringing two round red beads and two green bugle beads (long, thin tube-shaped beads) together to be a pair of cherries linked at the stems. Plan out your design first—are you making a bracelet or necklace, and will it have one pair of cherries on it or several? You can keep the jewelry simple using all beads, or personalize the pieces by using letter beads to spell out letters or phrases. (One that’s particularly fitting for these designs: Ma Cherie or Mon Cheri!)
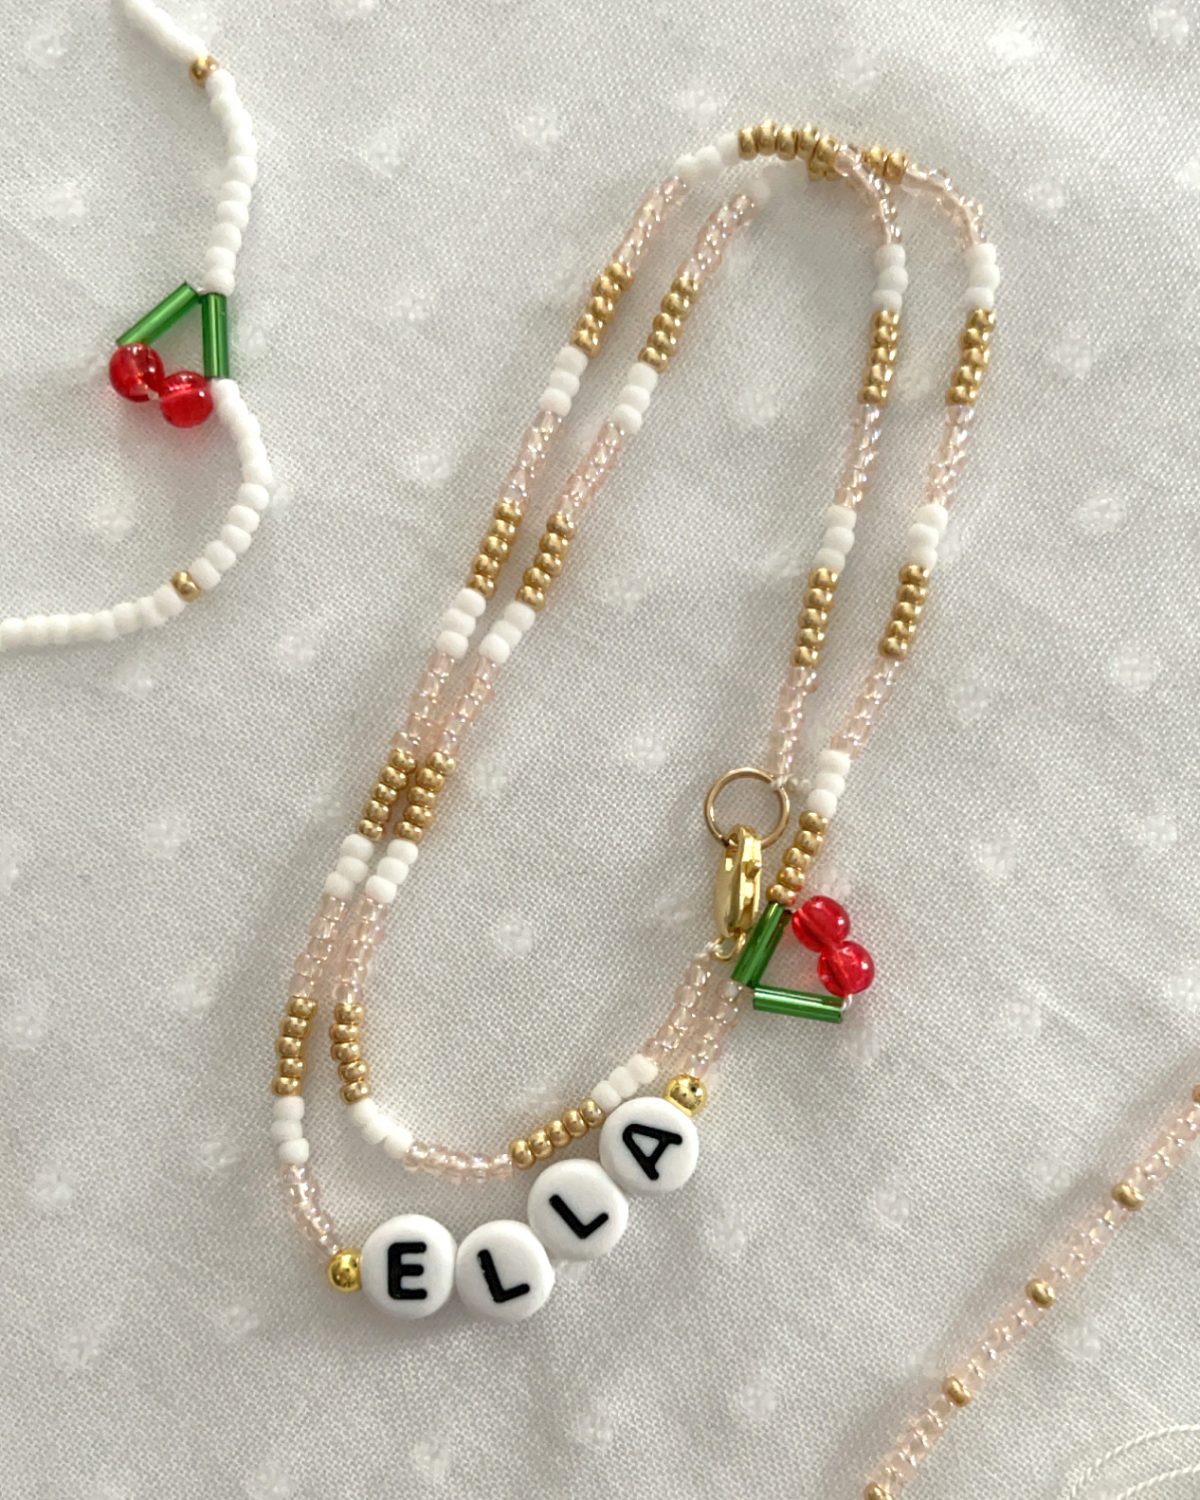
Once you’re done you’ll have a chic new accessory to wear. Or, it’s a great DIY birthday gift, mother’s day present, holiday gift, or, if you’re feeling really crafty, amazing favors for a party. Crafting these beaded necklaces is also a fun way to spend an afternoon, slumber party, or session of at-home summer camp. And since cherries are symbols of summer, these make an especially sweet gift for friends from summer camp or anyone you spent the summer with!
For more fun, cherry-inspired ideas, click here.
What You’ll Need
For the Cherries
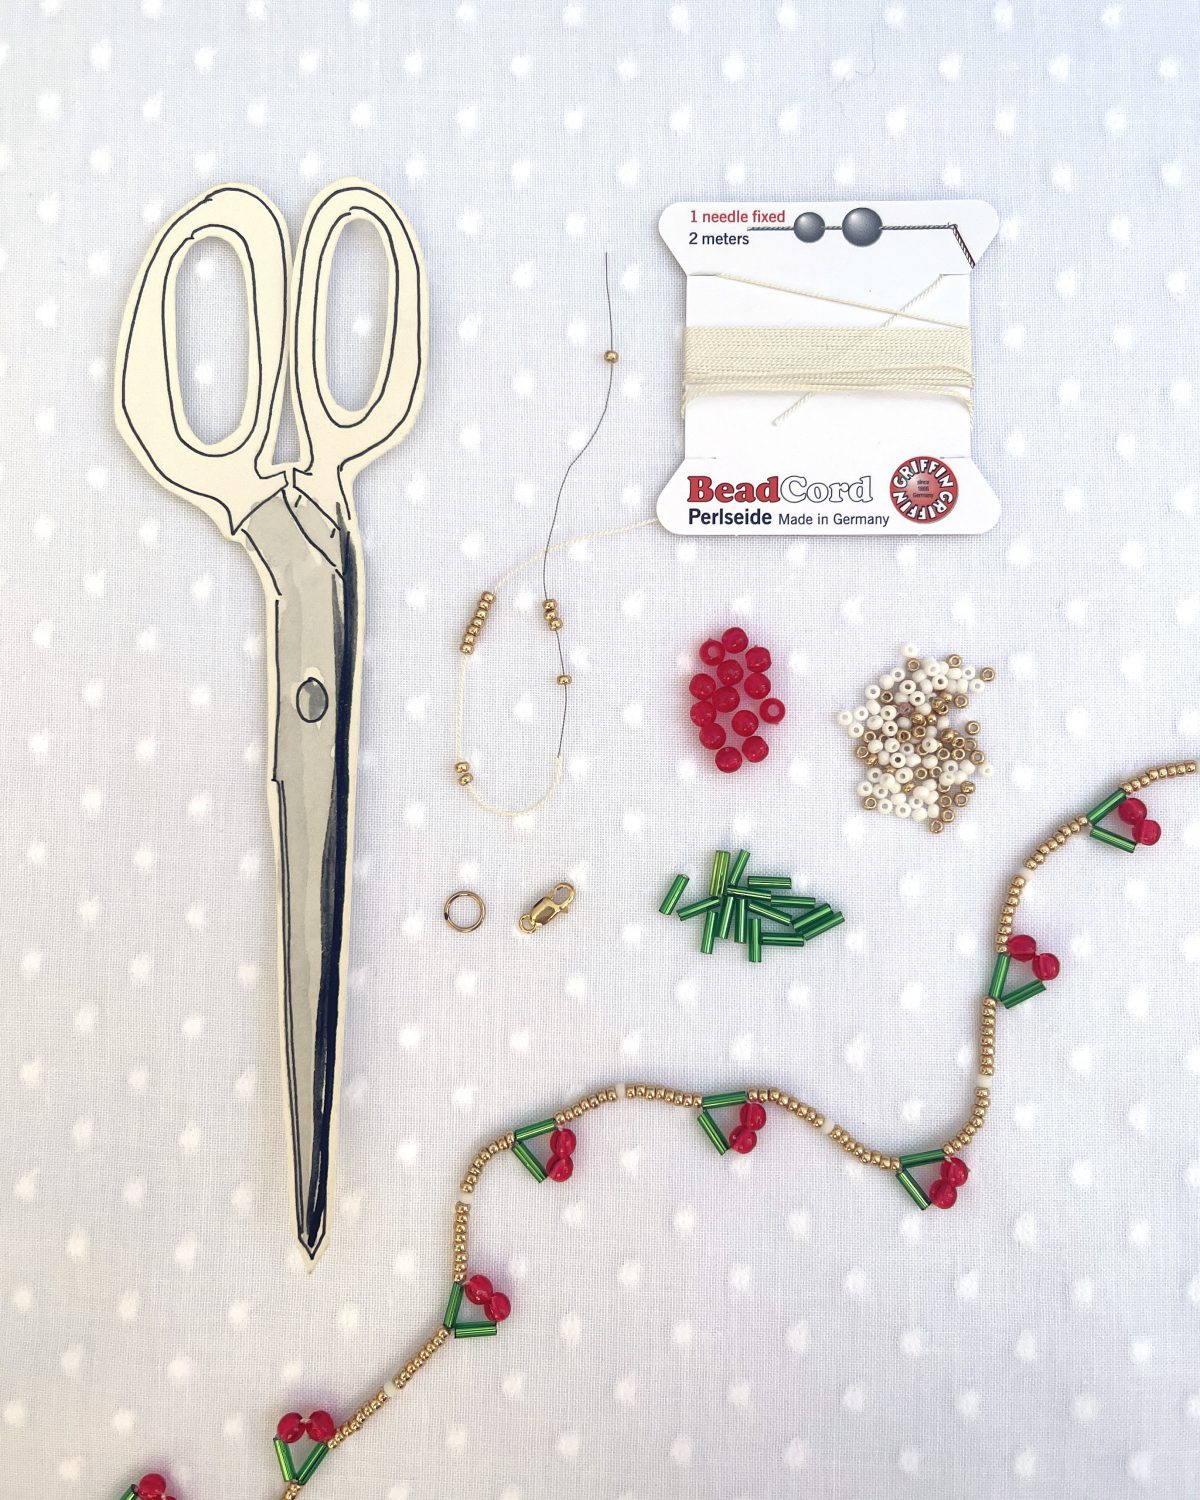
Round red beads
Green bugle beads
2-gauge silk beading cord with needle
Clasp
Extras
Round gold beads
Gold filler beads
White beads
Letter beads
How-To
Step 1: Plan your design ahead of time. Note that each string pack can make up to 2 necklaces or 1 necklace and 1 bracelet, and that you can only cut the string once since the needle is pre-attached. When planning your design, if you’re incorporating multiple cherries, plan to leave spaces for them. Don’t place two cherries in a row as it makes threading more difficult and the cherries won’t lie flat.
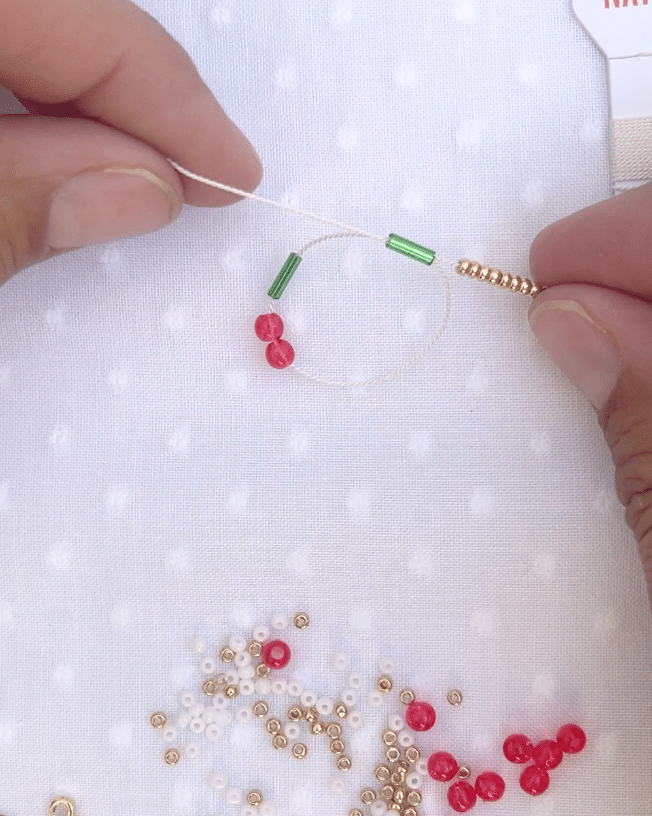
Step 2: Thread the seed beads (gold, white, or whatever color you chose) through the needle onto the string. To make a cherry, thread one green bugle bead, then two red round beads, then a second green bugle bead before threading the needle back through the first green bugle bead, then pull gently until taut.
Step 3: Proceed with seed beads until you’re ready for the next cherry, then repeat step 2.
Step 4: When done making your necklace or bracelet, leave extra string on both ends for tying a knot. Tie the clasp and jump ring to each end; to secure the clasp further, add a dot of school glue or craft glue to the knot.