Keeping a journal or making a scrapbook is a fun activity. But it’s even more meaningful if kids create the actual book itself—and all it takes is a single piece of paper!
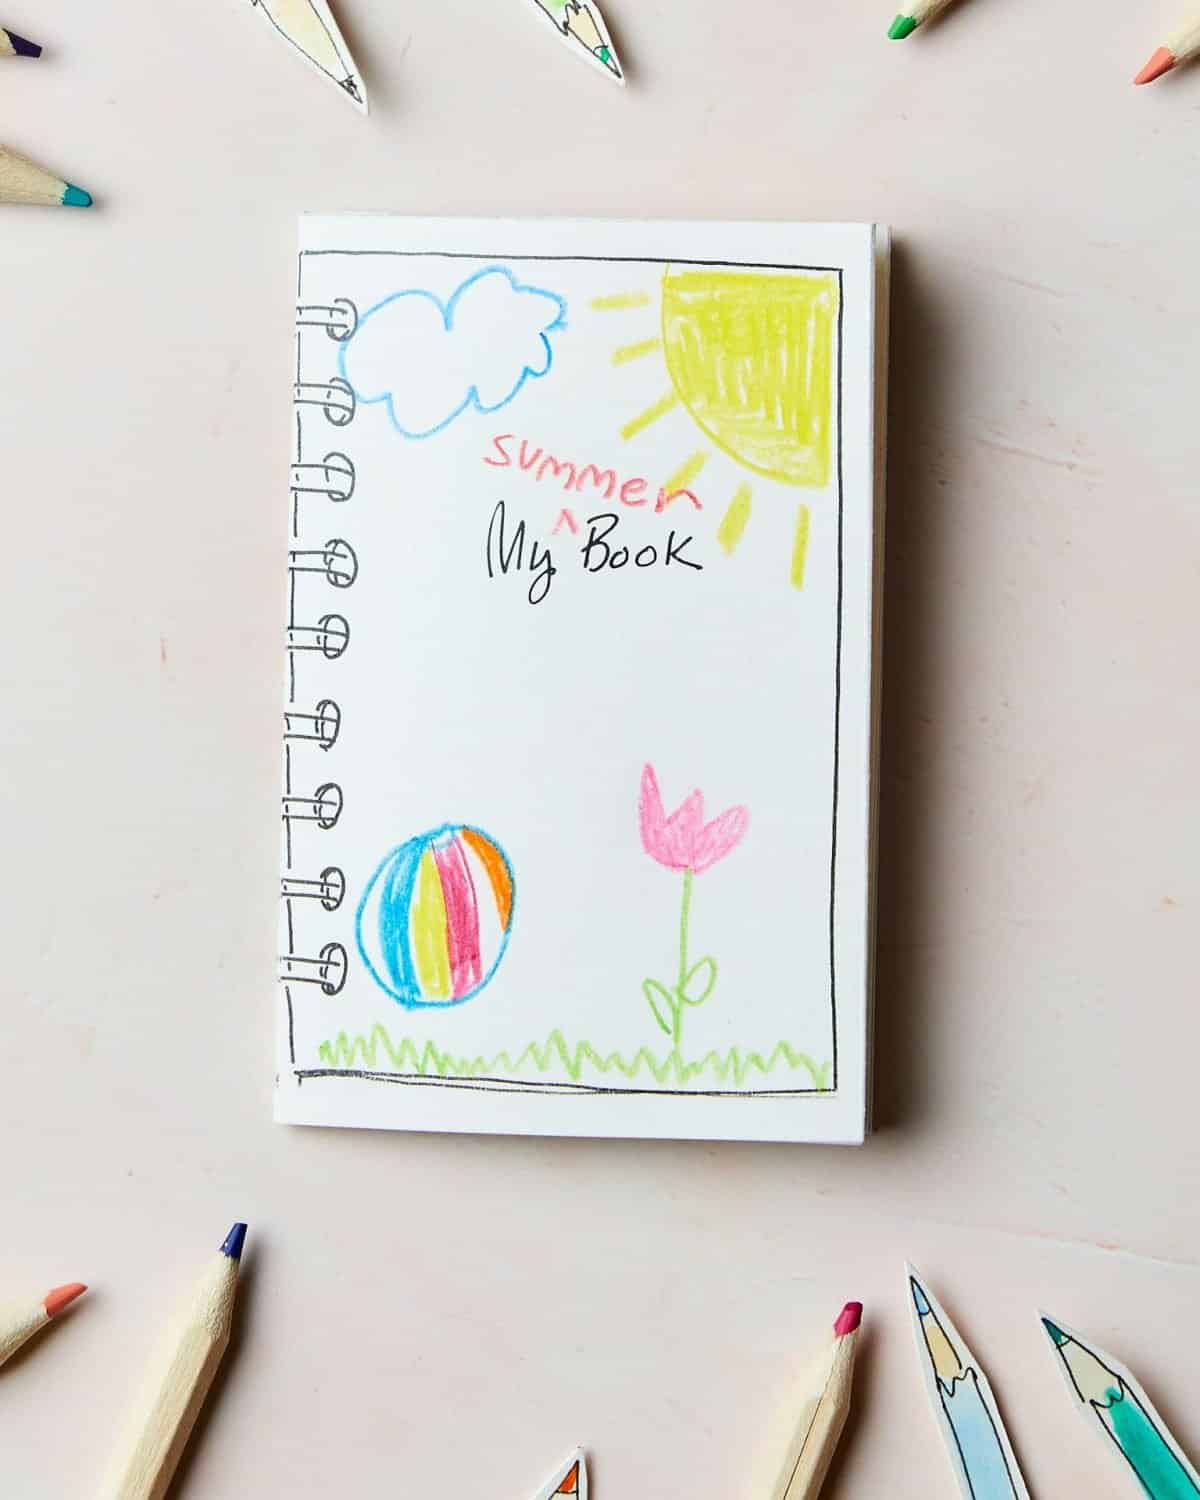
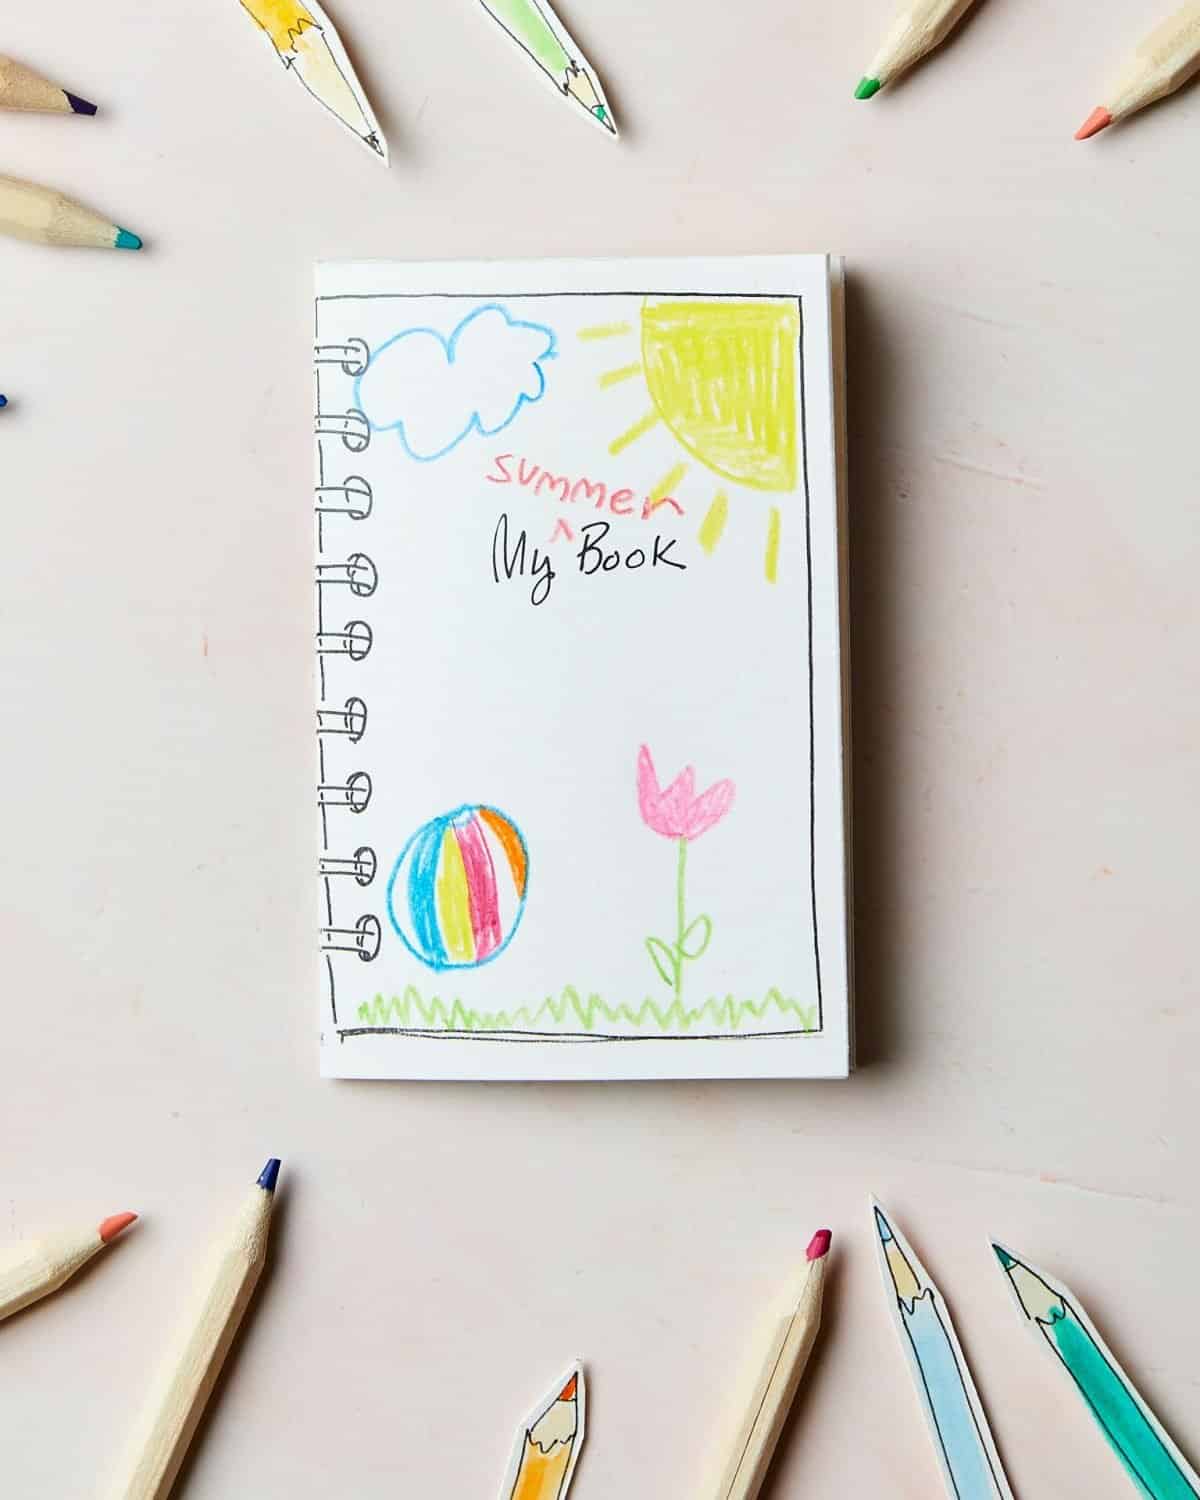
Our printable template makes it easy to DIY a keepsake—no tape, no glue, and no bookbinding required! Just print the template, cut and fold, then decorate the cover—with drawings, stickers, paint, washi tape, whatever you can think of. Now you’re ready to fill the inside with drawings, poems, memories or messages.
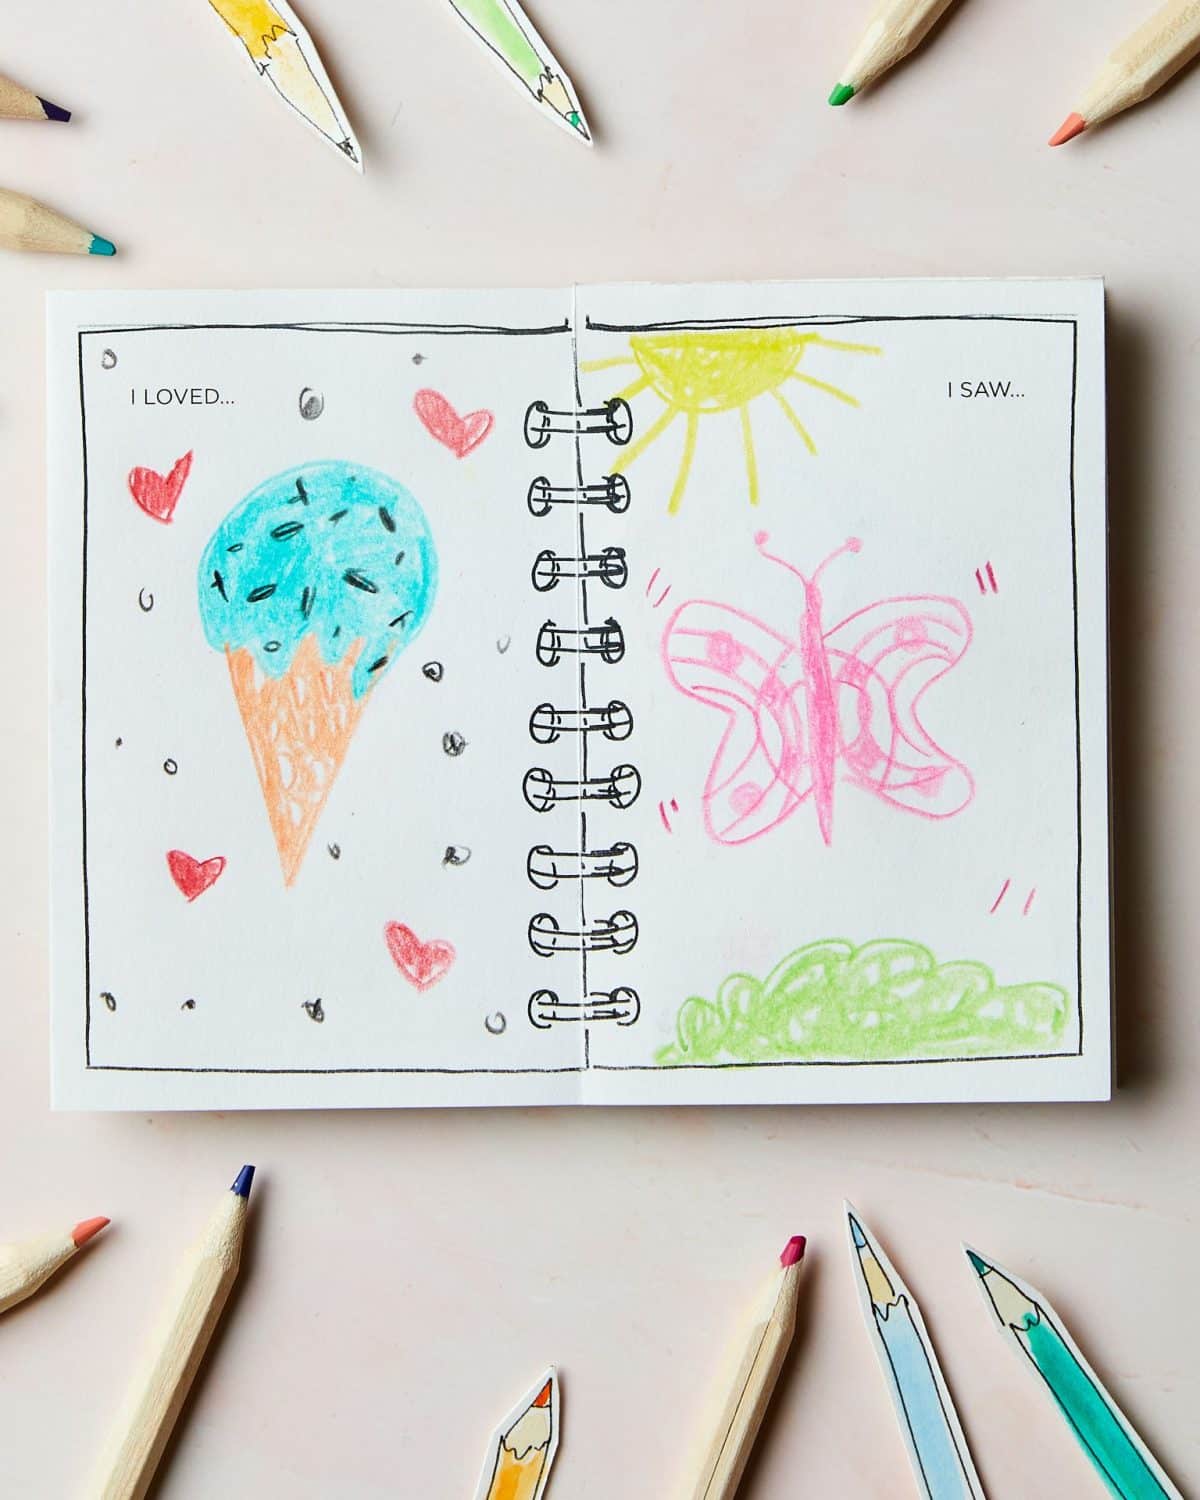
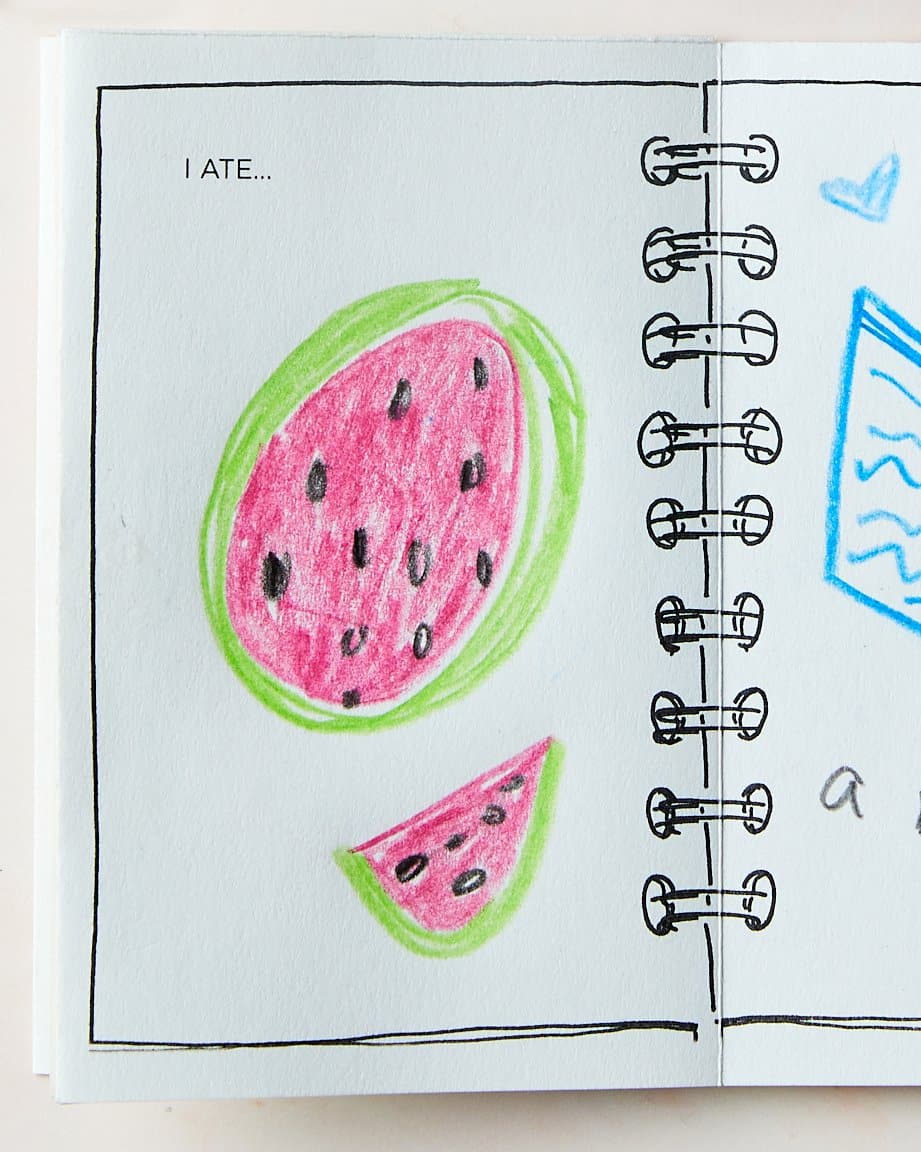
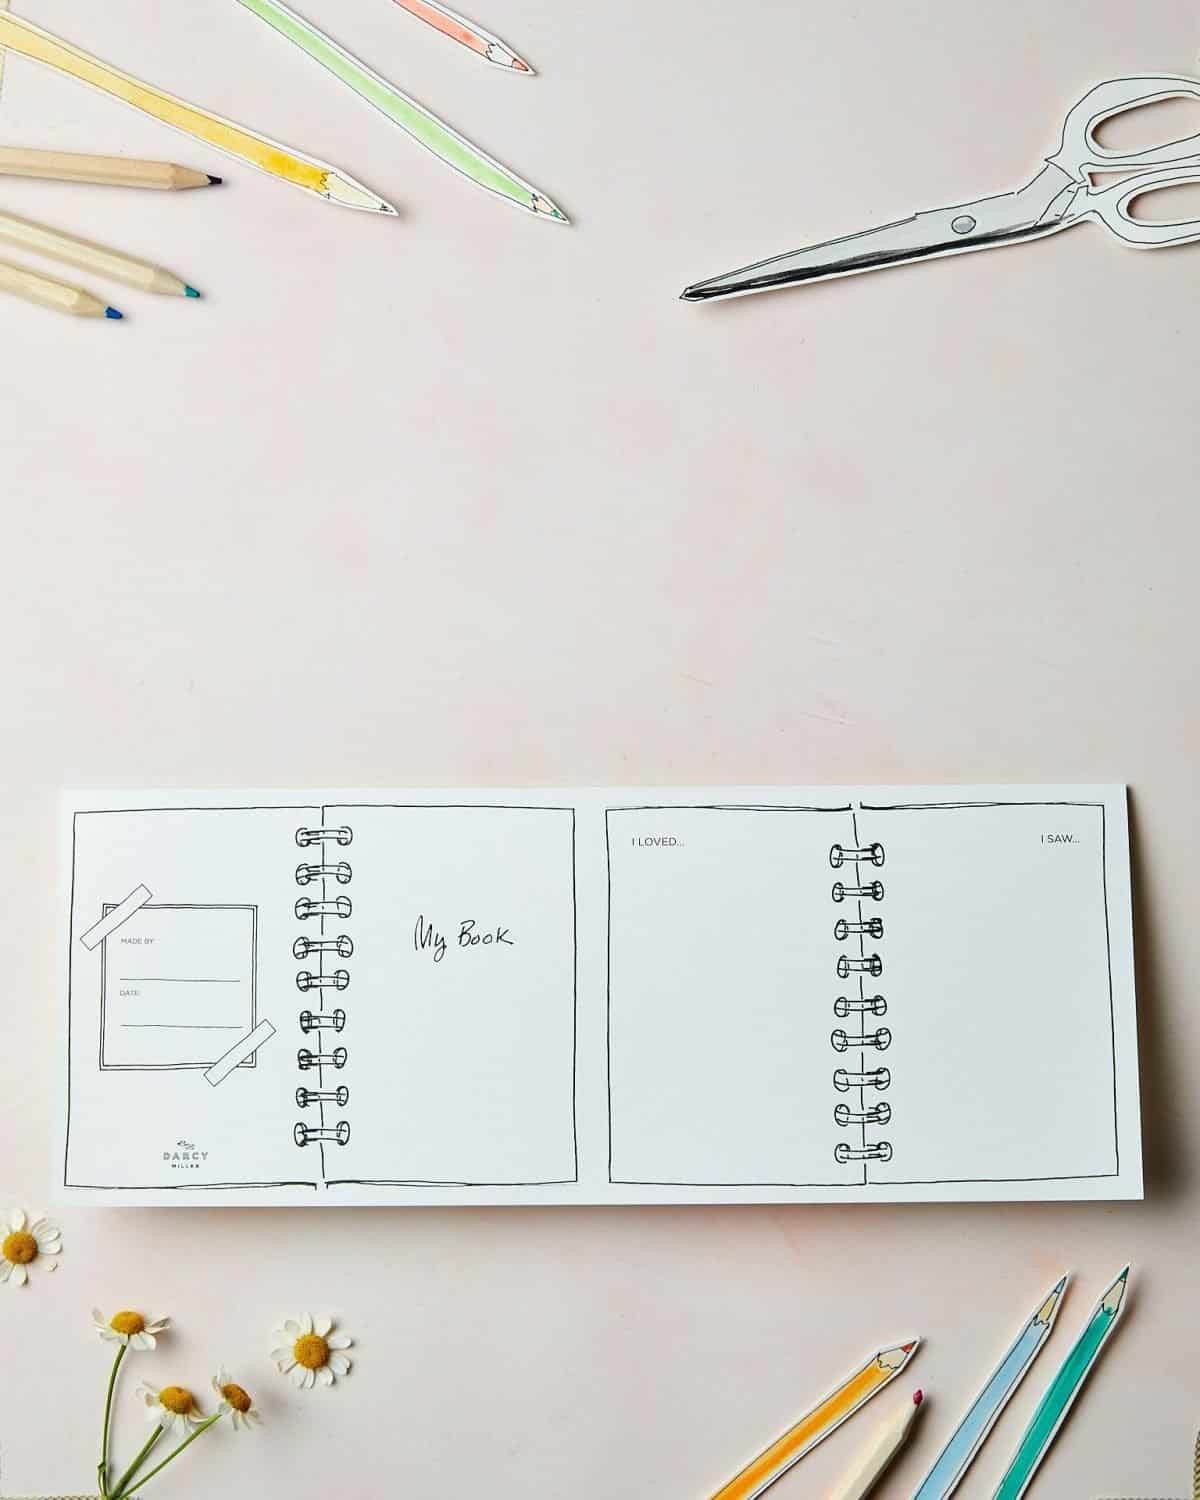
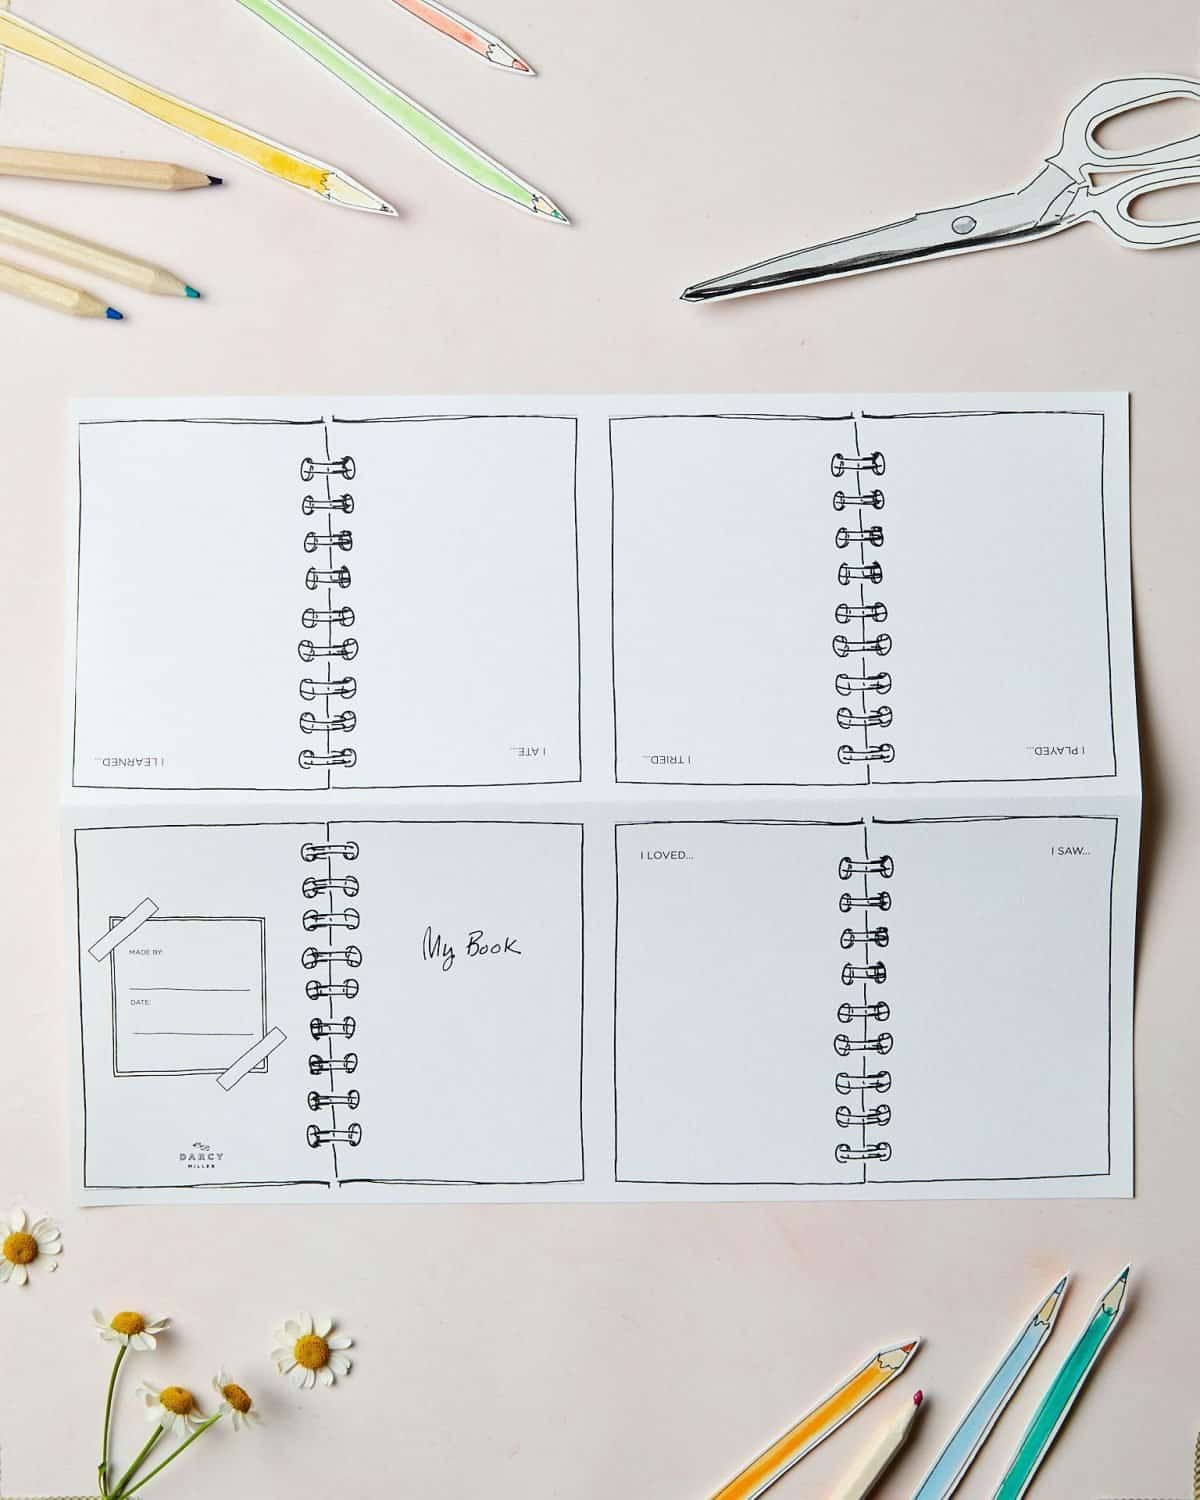
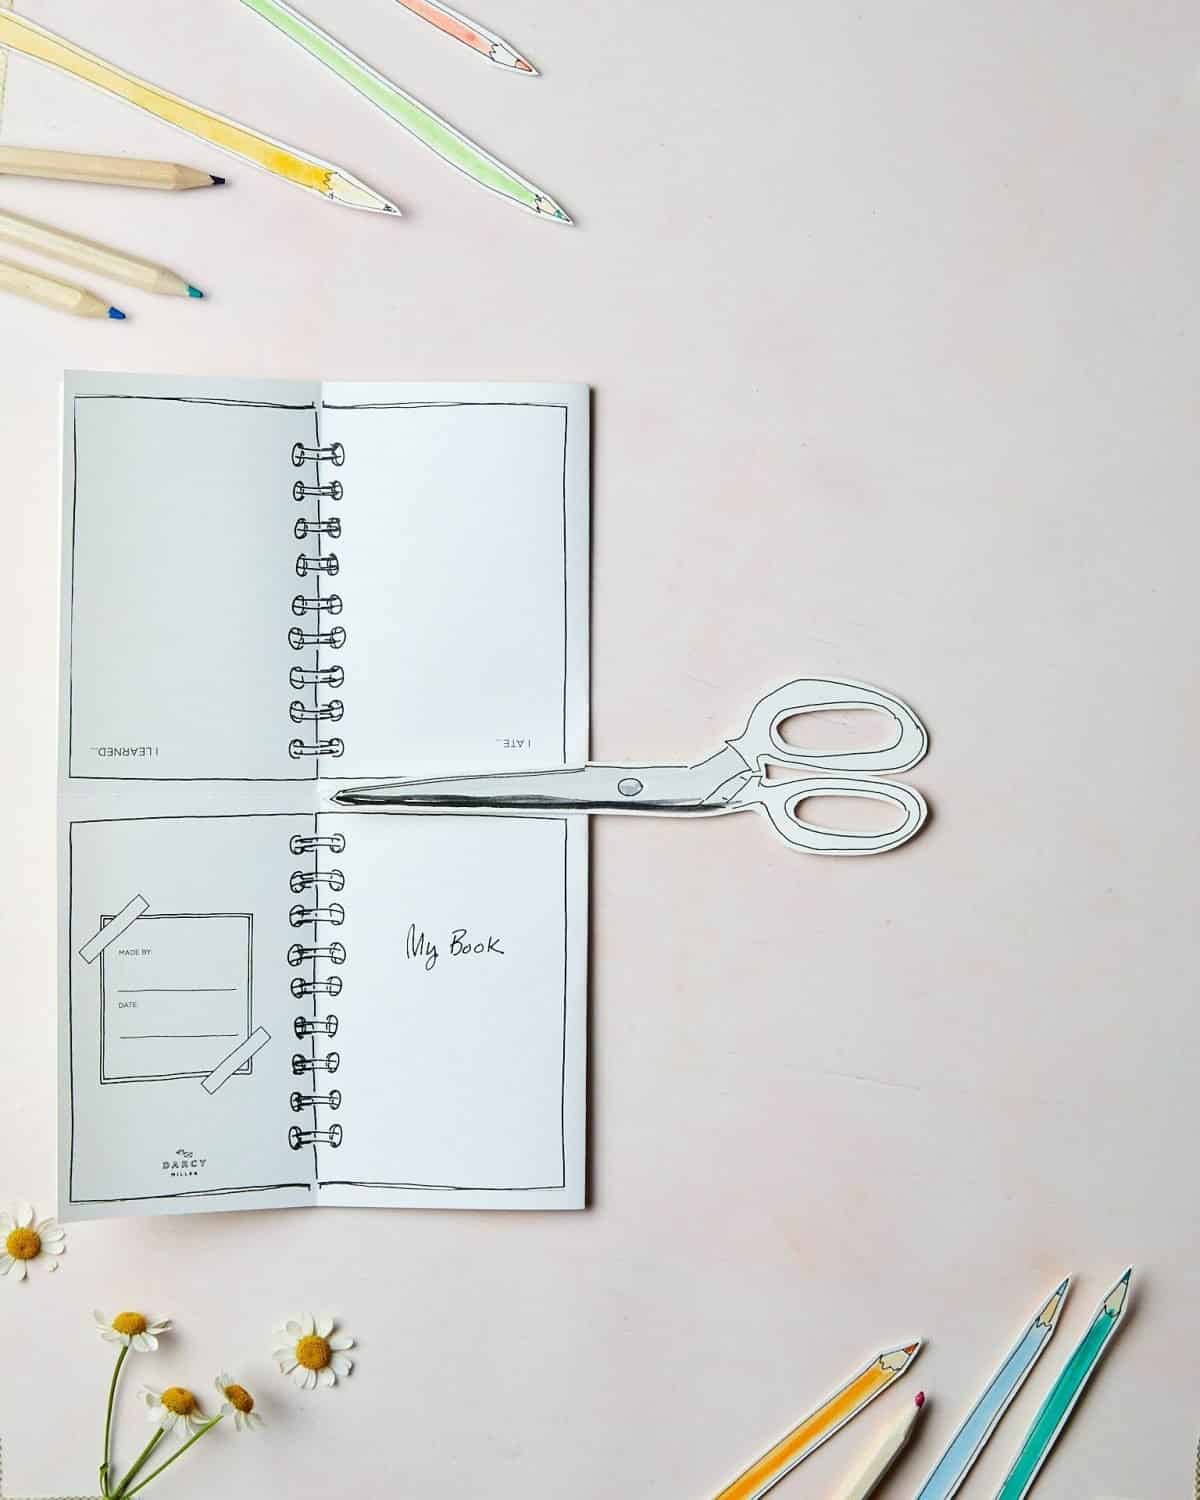
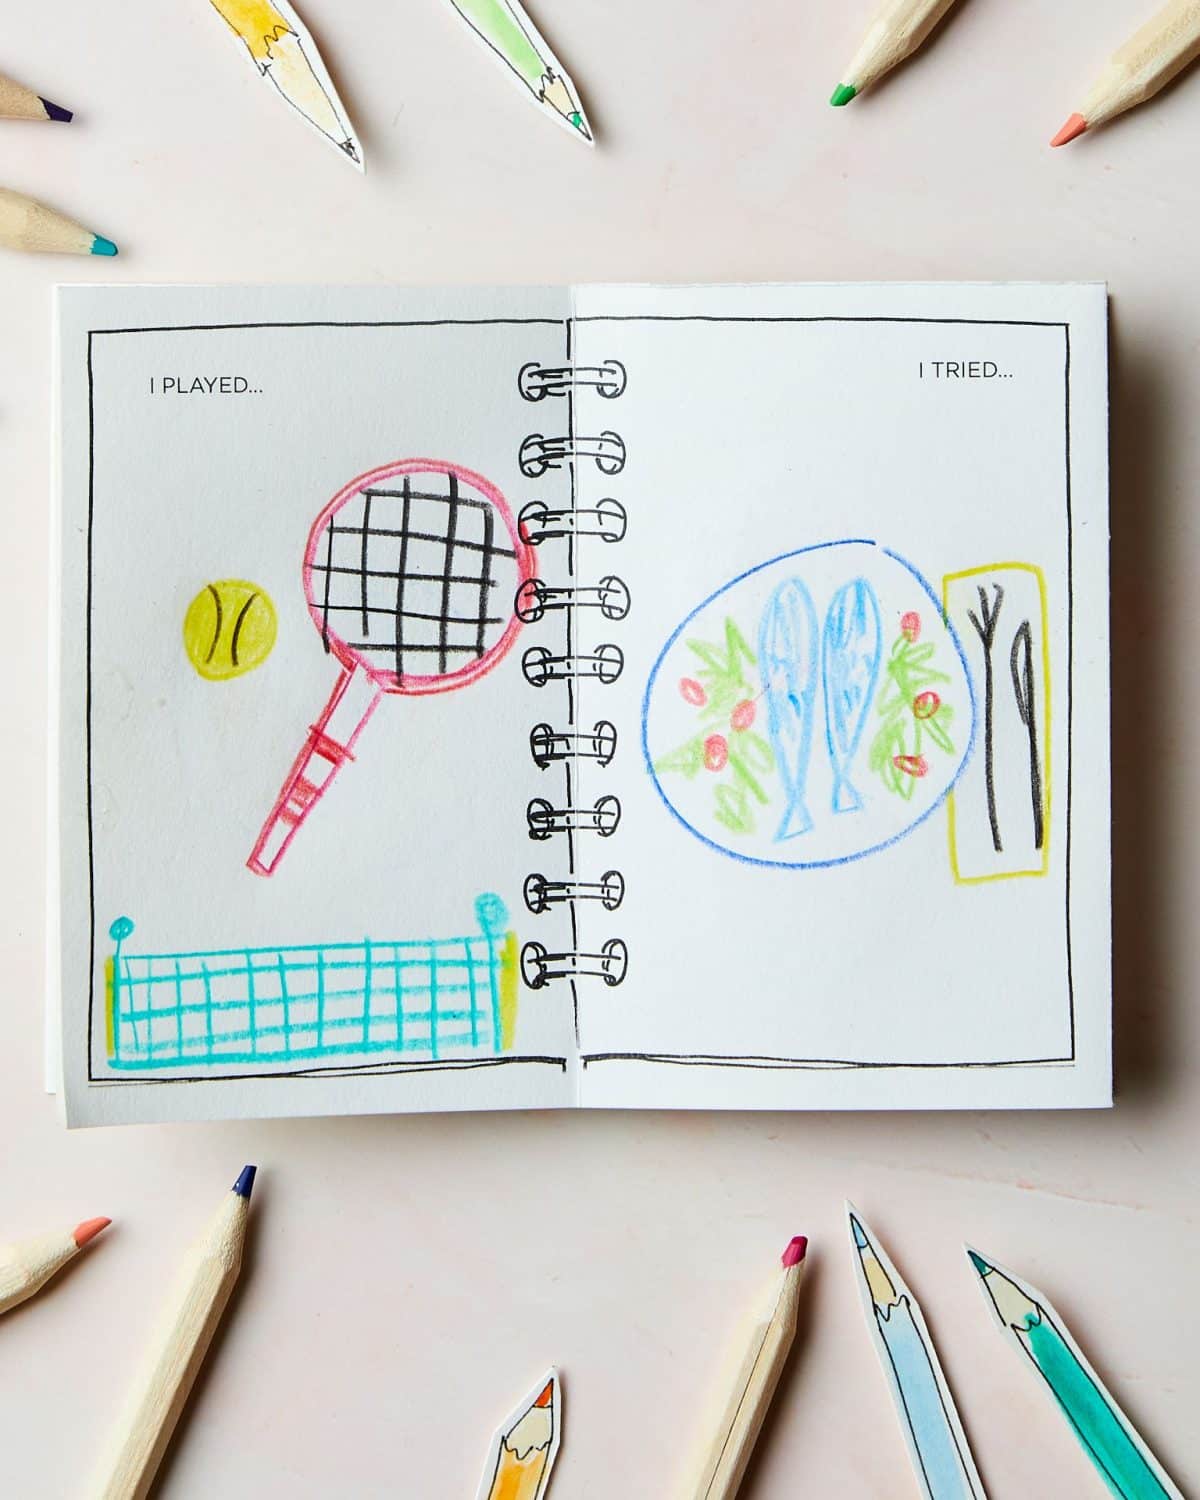
The templates—a single piece of paper that turns into a book with six pages—come in two versions. One is blank so it can be filled with any drawings or words kids can dream up. The other option has prompts kids can fill in with art or words that make it easy to fill in a journal that tells the story of What I Did on My Summer Vacation, like “I ATE…,” “I LEARNED…,” “I PLAYED…,” “I SAW…,” “I LOVED…,” “I TRIED…” Whatever version you choose, the small size of the journal makes it unintimidating, easy, and fun to fill in.
Use the book any way you like!
Book Ideas
- A diary
- A scrapbook—paste in mini photos or tickets
- A sketchbook or artist’s portfolio
- A travel journal
- A nature log
- A record of animals spotted
- A Bug Book of critters
- A collection of plants and flowers observed
- A summer reading notebook, keeping tracks of books read
- A chapbook full of poems
- A graphic novel
- A sweet gift: Make the title Reasons I Love Grandma and fill each page
- A What I Did on My Summer Vacation project
- A Summer Series: One book each for Camp, Trip, and any other activities
- A Summer Bucket List of goals
- A gratitude journal or book of Thankful Thoughts
- A round robin story—one person starts and everyone writes a page
- A family journal of a trip—each person contributes their favorite moment
- A thank you note for your hosts—everyone writes their favorite memory of the visit
- A card or gift for a birthday, graduation, or other event—everyone writes a greeting or memory
- Advice or well-wishes book for a baby or bridal shower
Crafting a book is a fun project in itself. It’s a great activity for a party, playdate or summer camp at home. Whatever they decide to fill theirs with, each book is guaranteed to become a classic!
For more fun art ideas, click here.
What You’ll Need
- Downloadable DIY Mini Sketchbook Journal Printout
- Paper (1 sheet per mini book)
- Scissors
- Decorating Supplies: Markers, Colored Pencils, Photos, Stickers, Whatever!
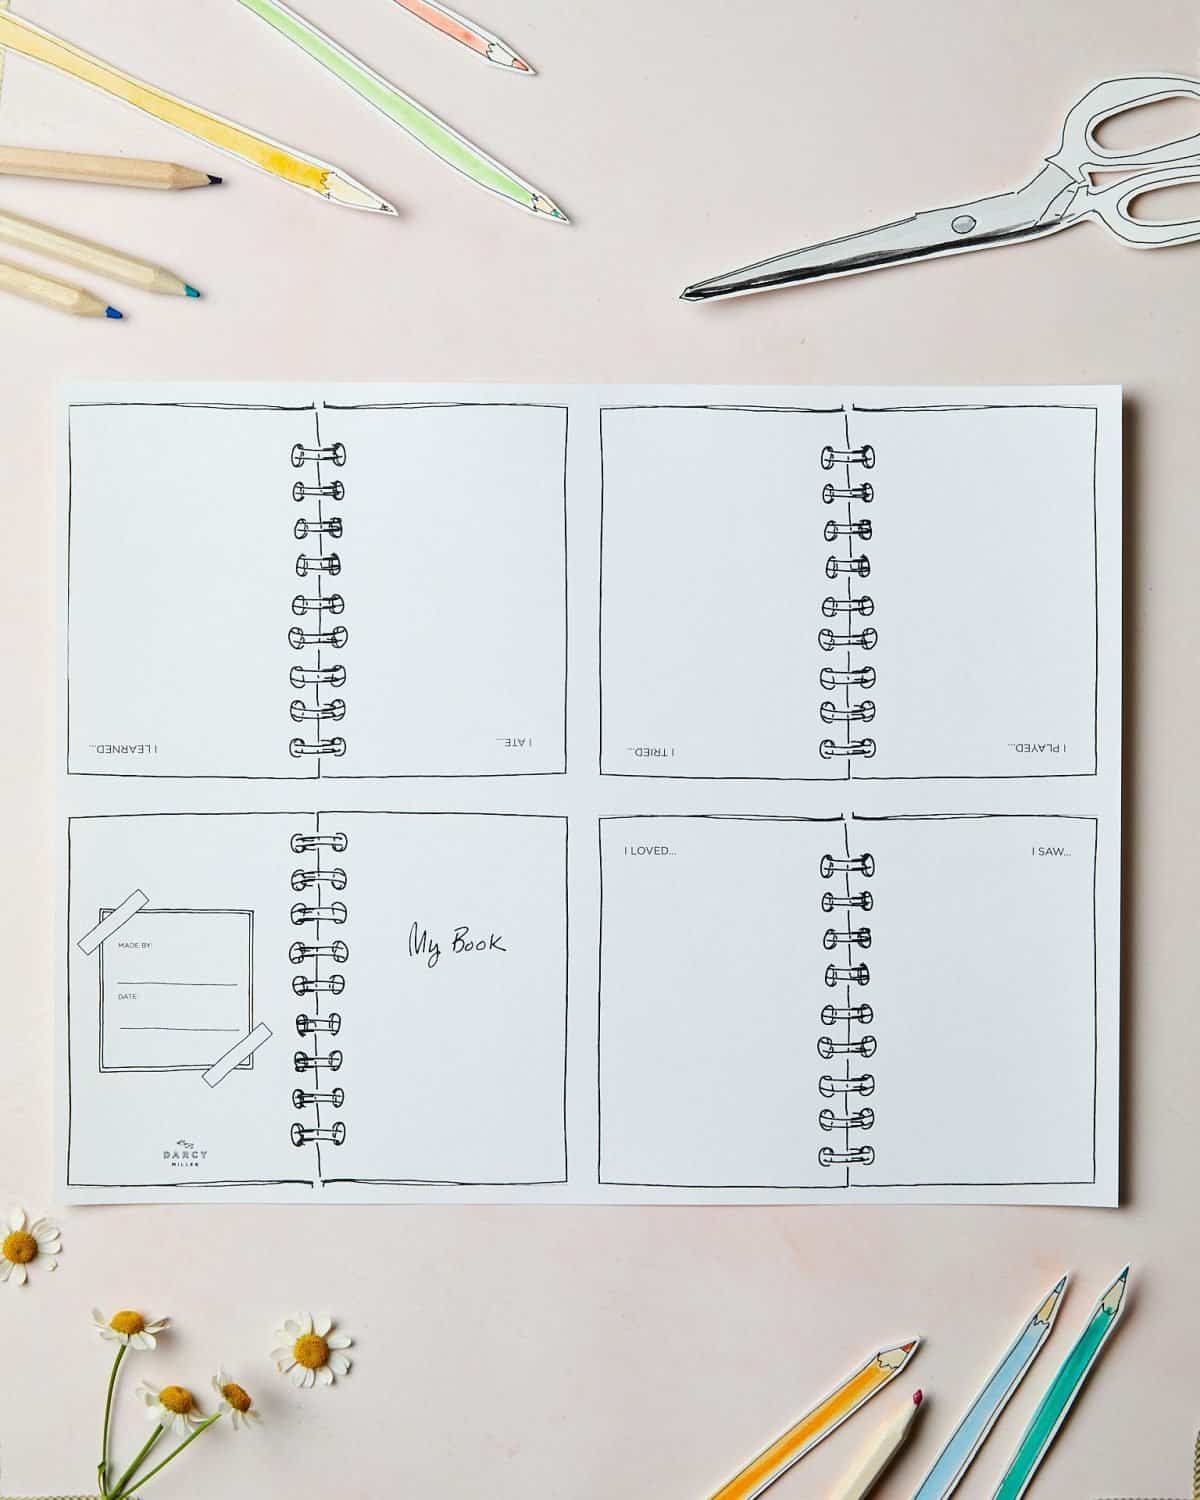
Step 1: Download DIY Mini Sketchbook Journal Printout and print.
Step 2: Fold the printed paper in half horizontally, as shown here, with the printing on the outside.
Step 3: Unfold the paper. There will be a crease across the middle.
Step 4: Fold the paper in half vertically, as shown here, with the printing on the outside.
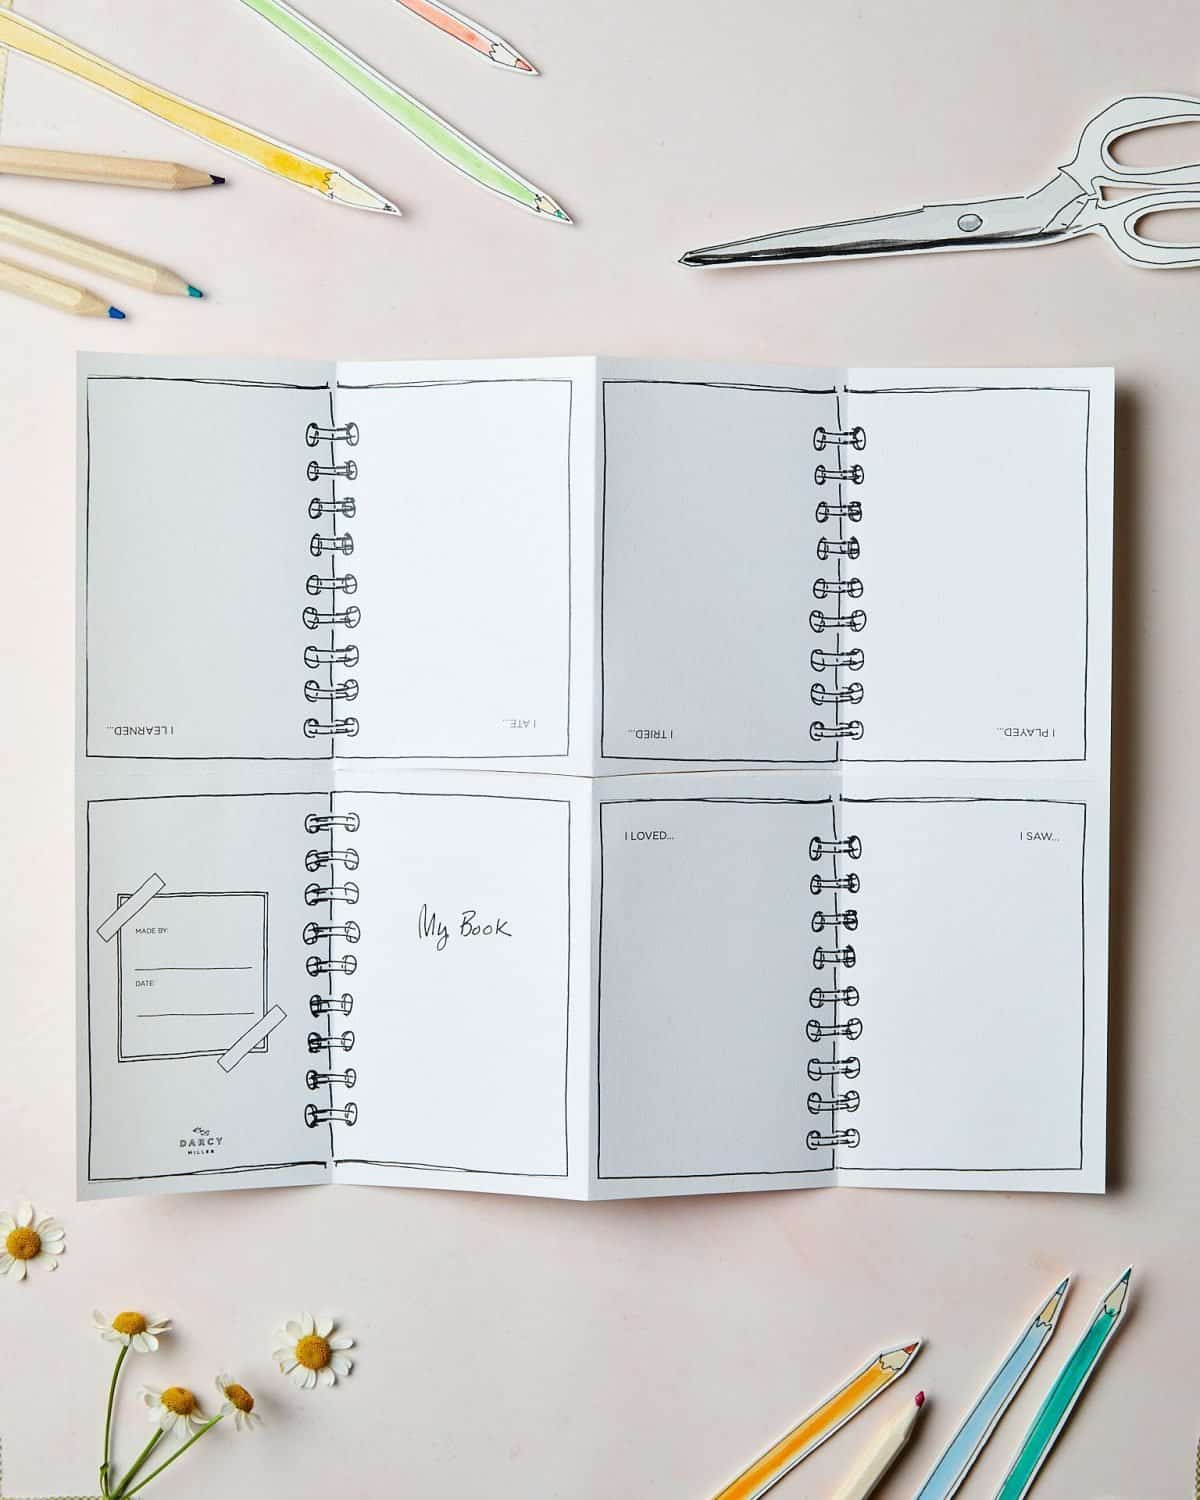
Step 5: Unfold the paper; now it will have two creases that split the page into four even sections.
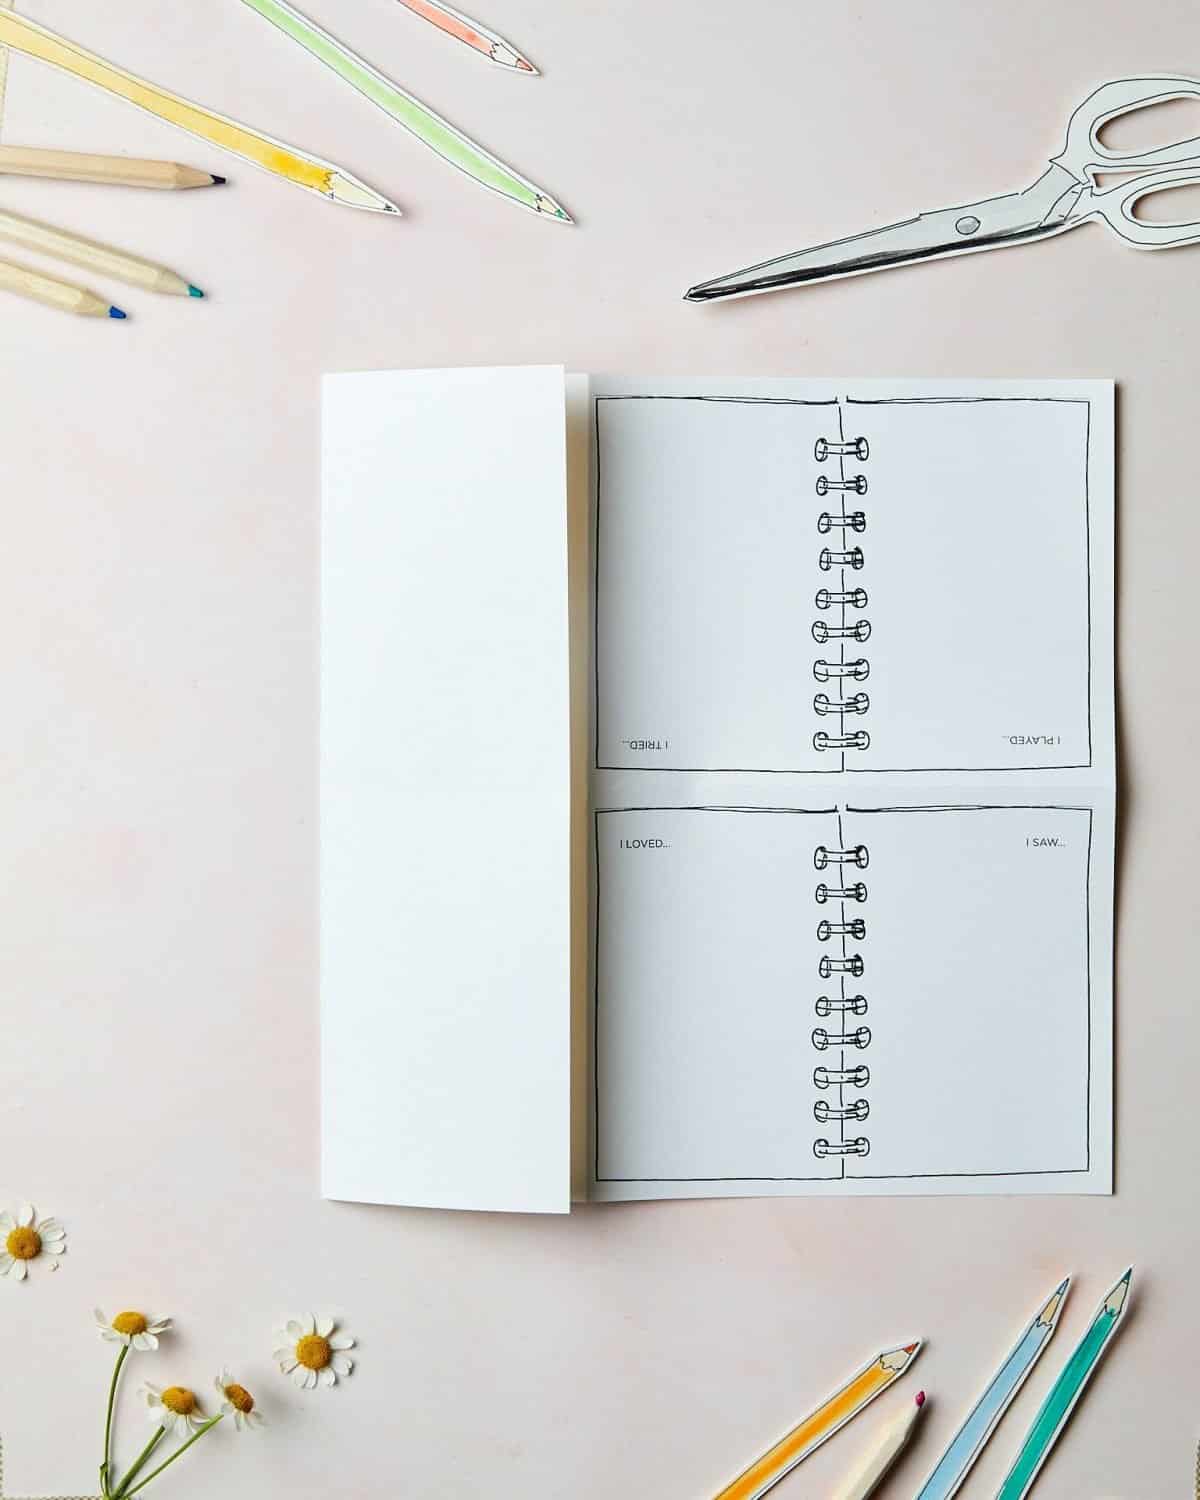
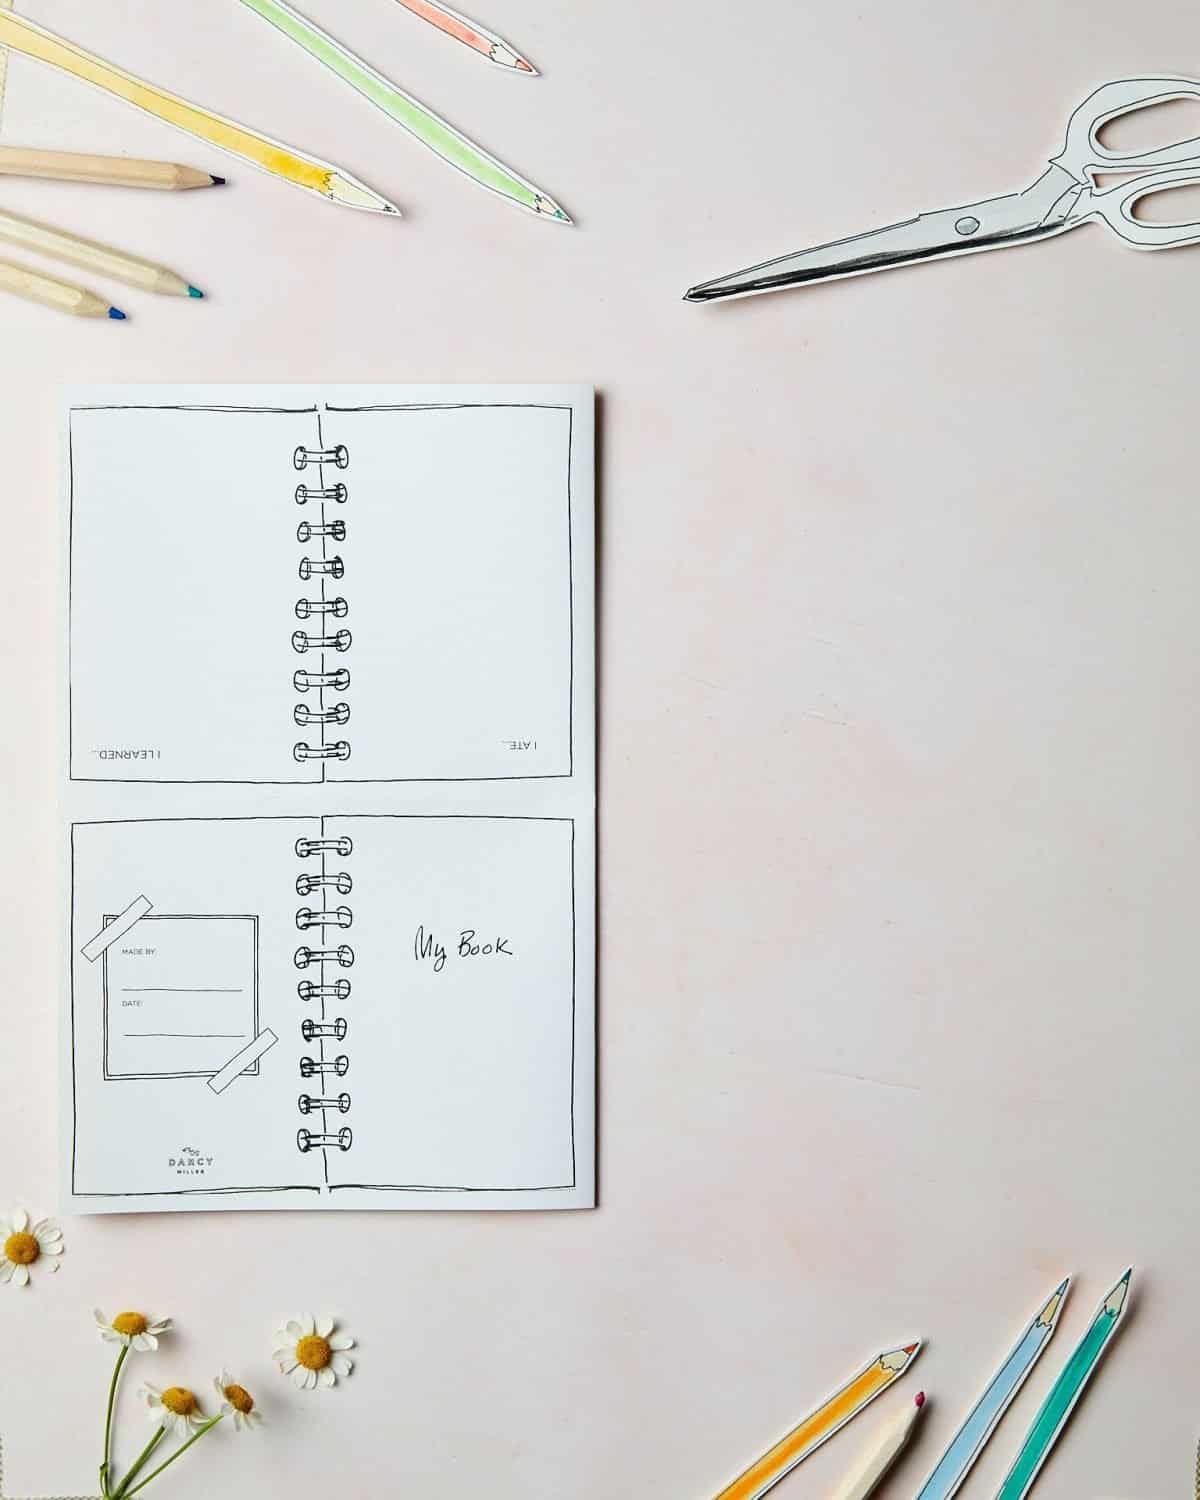
Step 6: Fold the outer edge of one side of the paper to meet the middle crease, so that the blank paper covers the printing on that side.
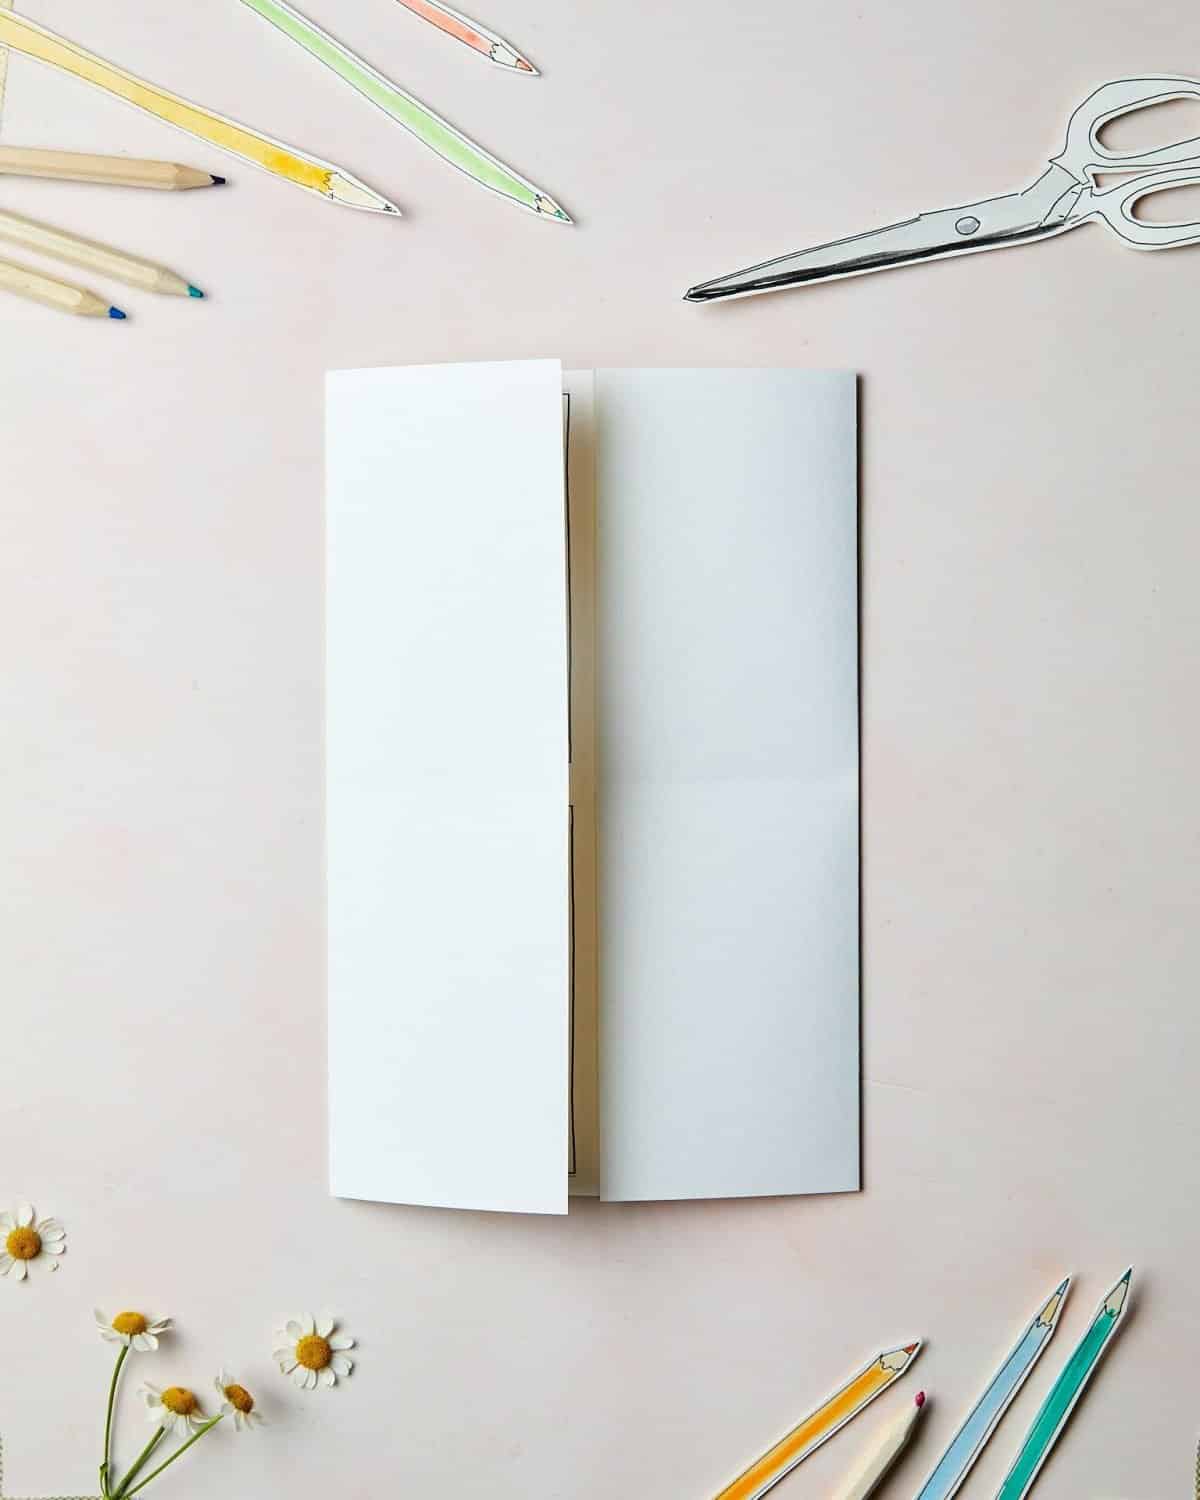
Step 7: Fold the other edge of the paper toward the middle to meet the opposite edge, so that all you see is blank paper.
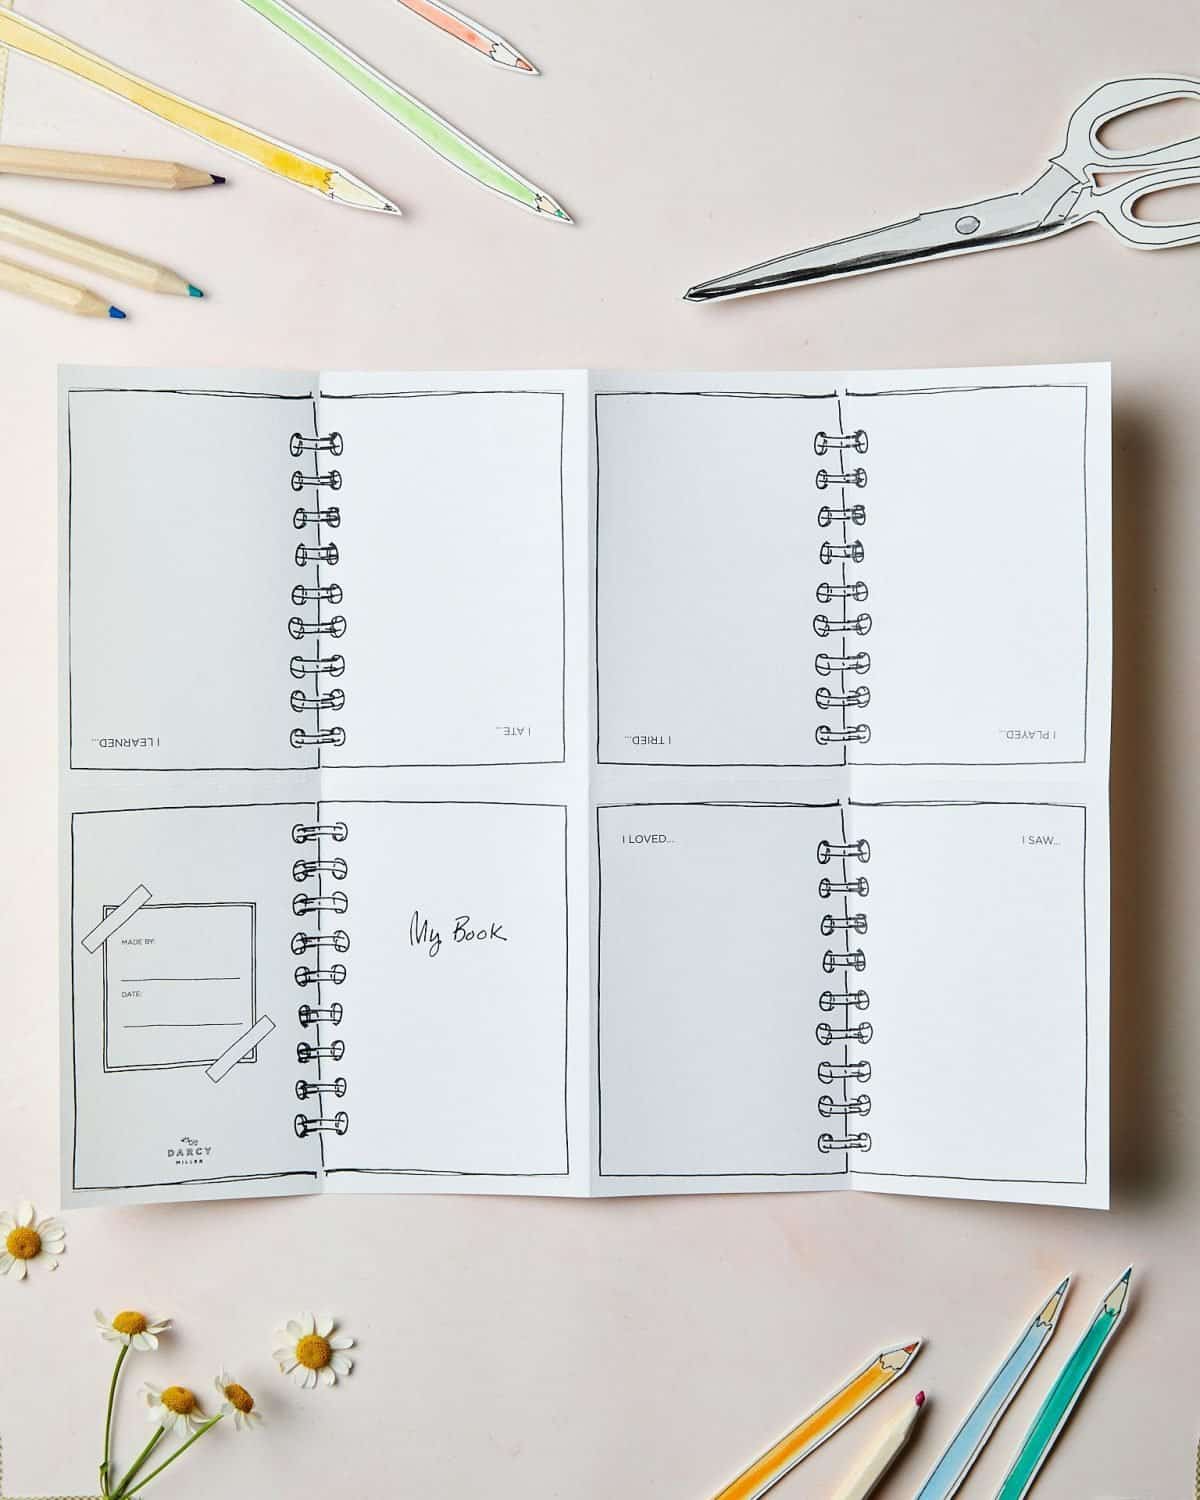
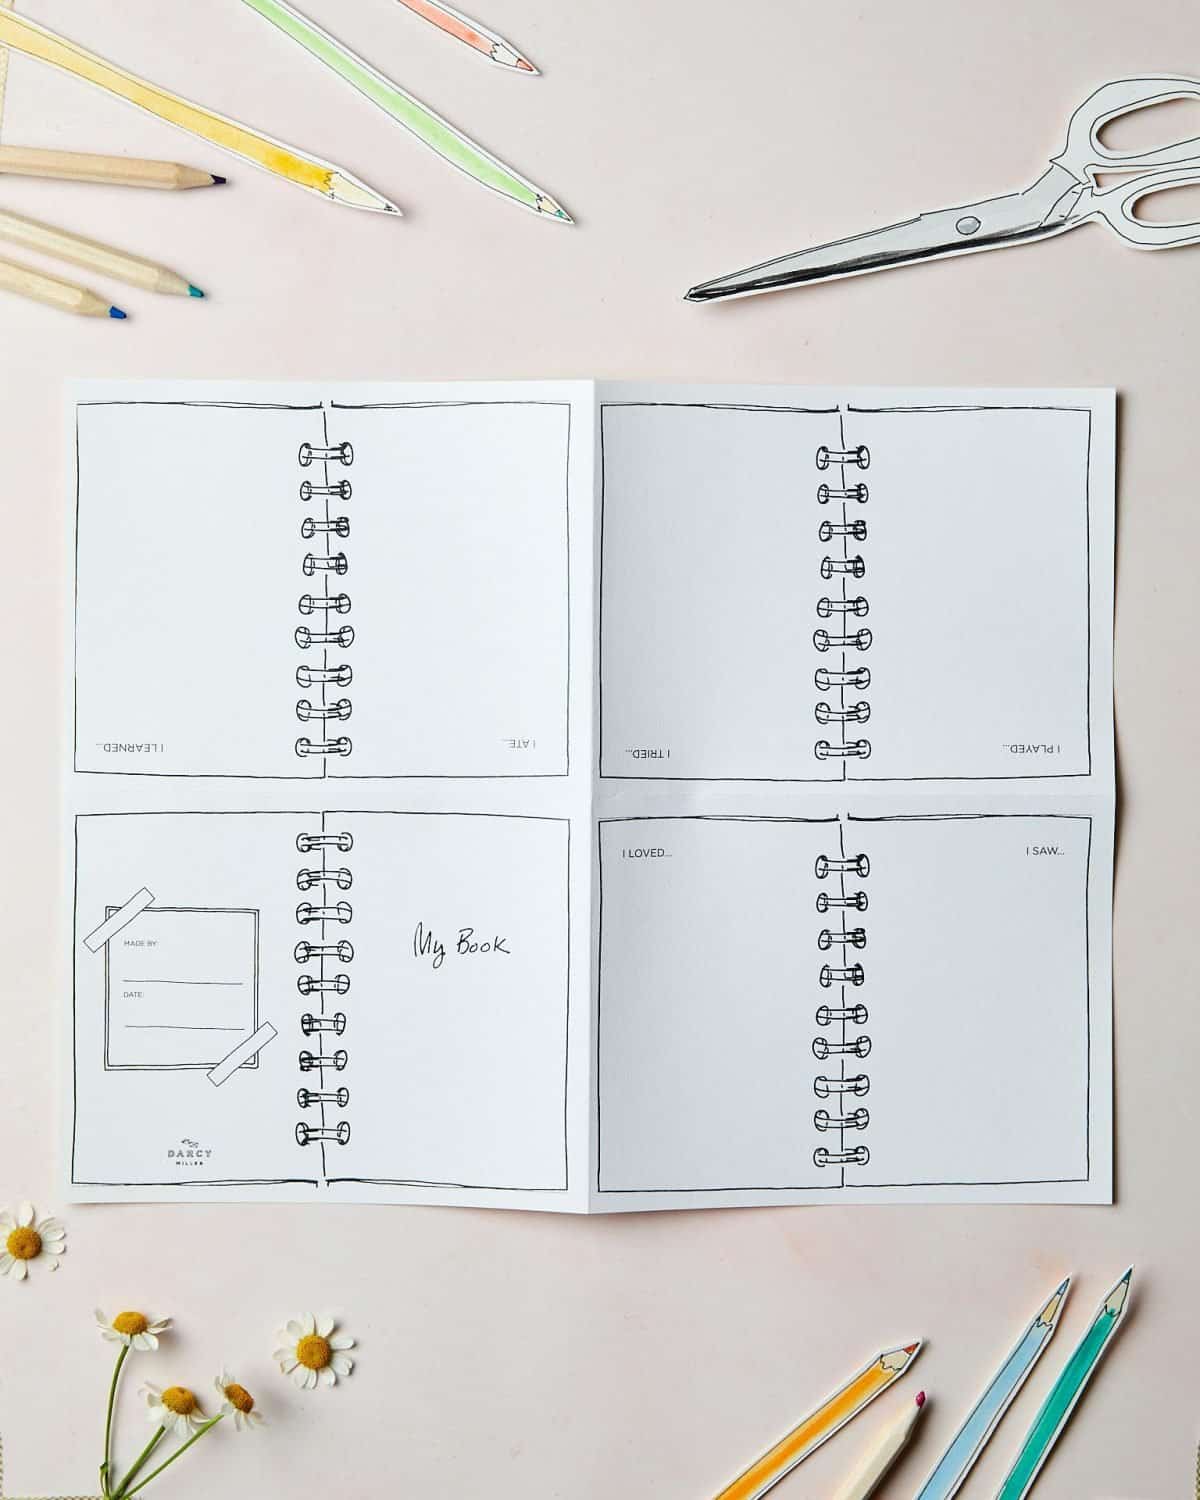
Step 8: Unfold the paper as shown here; the creases now divide it into eight equal sections.
Step 9: Fold the paper in half vertically again, this time with the printed side facing out.
Step 10: Take your scissors and snip the horizontal center crease halfway until it meets the middle of the folded paper at the drawing of the spiral notebook, as shown here. Take care NOT to cut past the center.
Step 11: Unfold the paper completely. There will be a slit in the middle.
Step 12: Fold the paper in half horizontally, printed side out, as shown here.
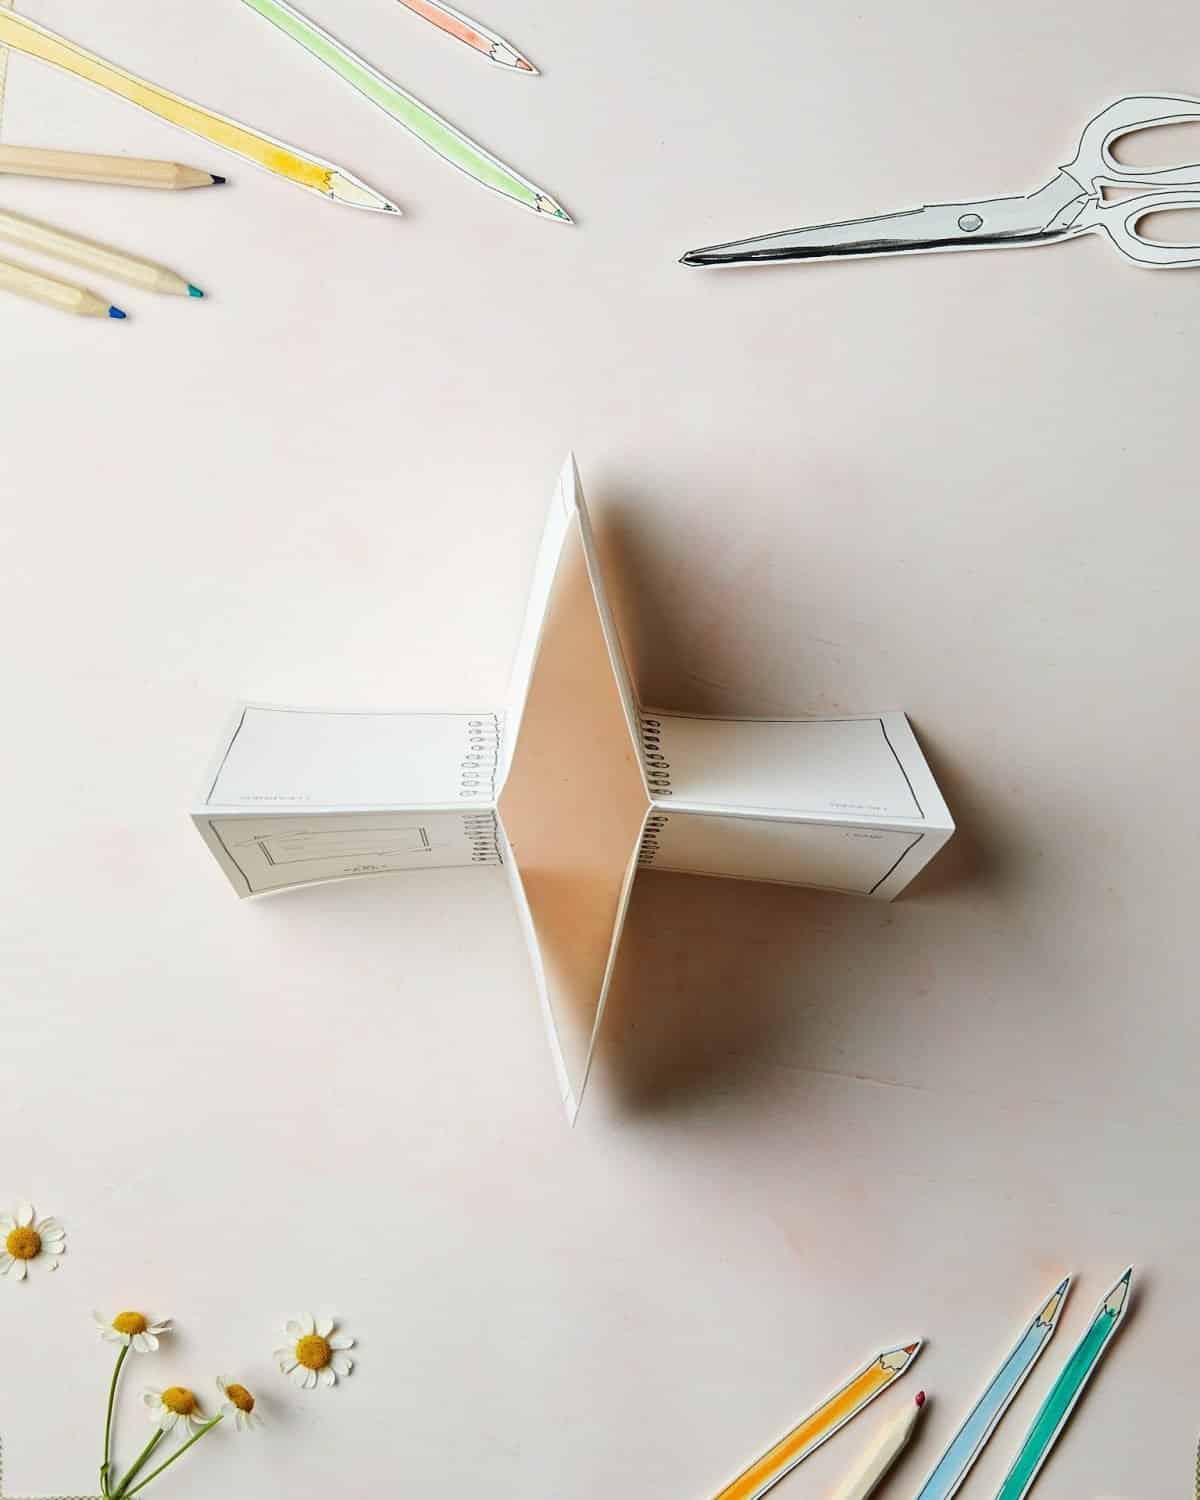
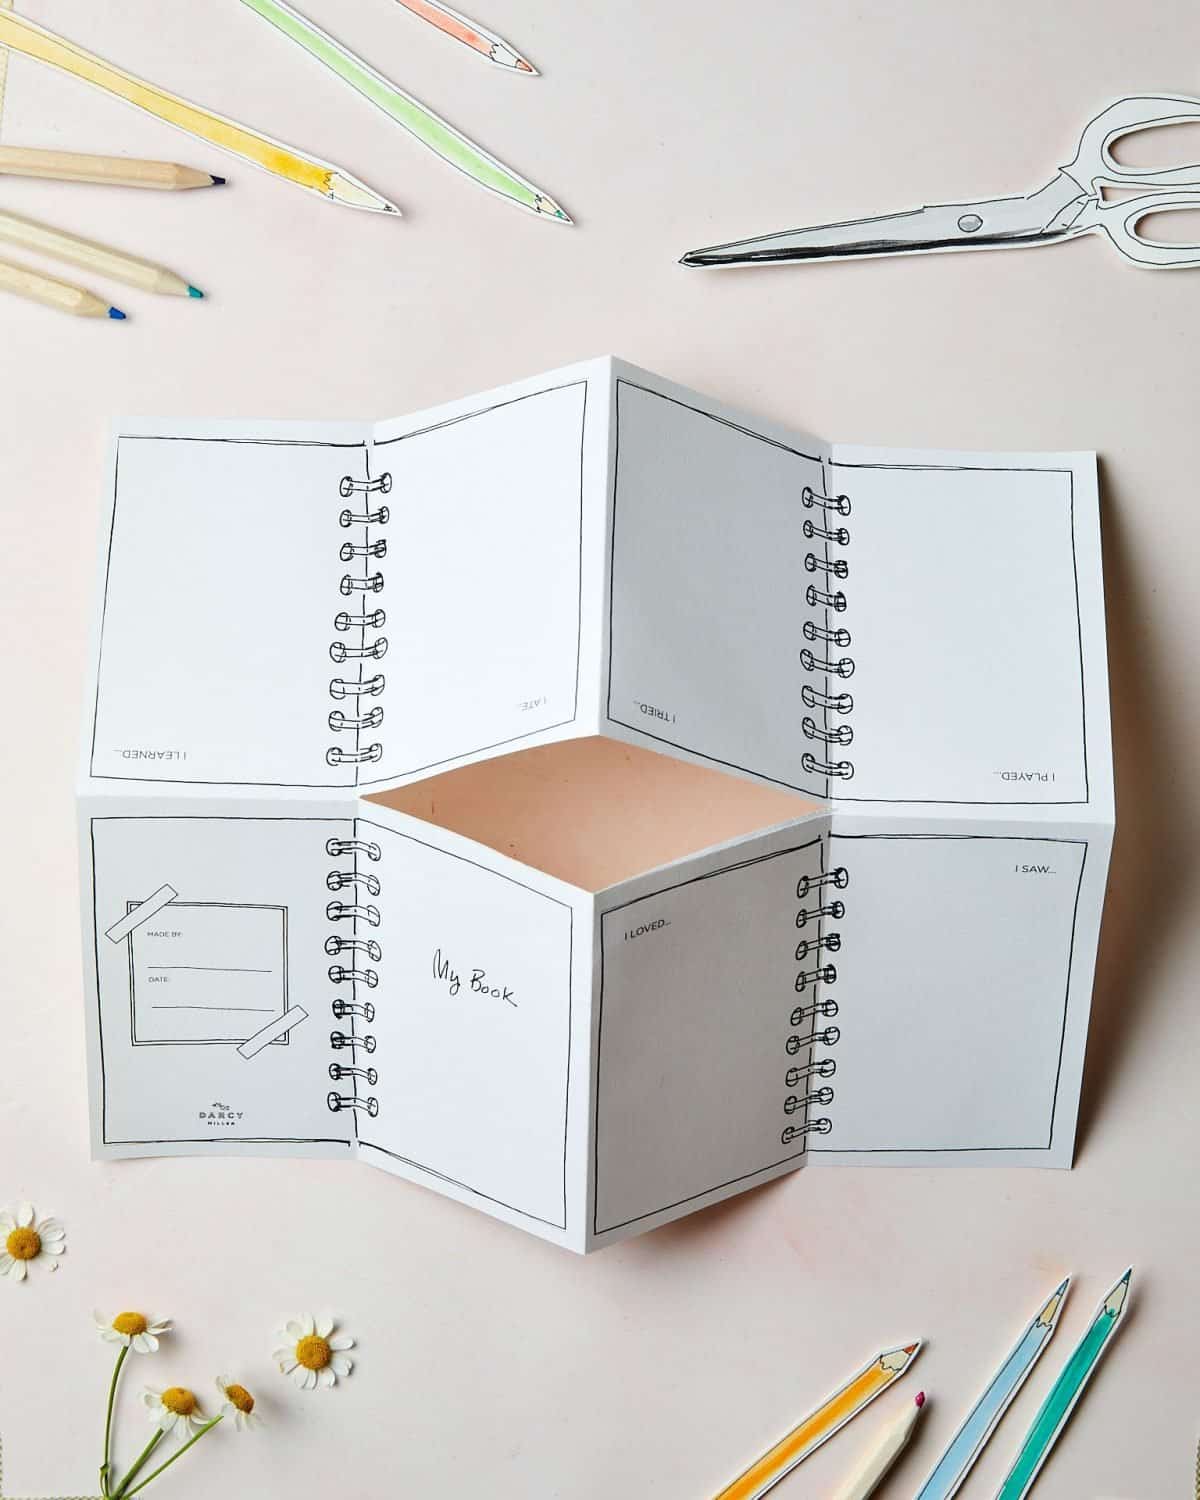
Step 13: Holding the sides of the paper, press the book in toward the middle, forming a star shape, as shown here.
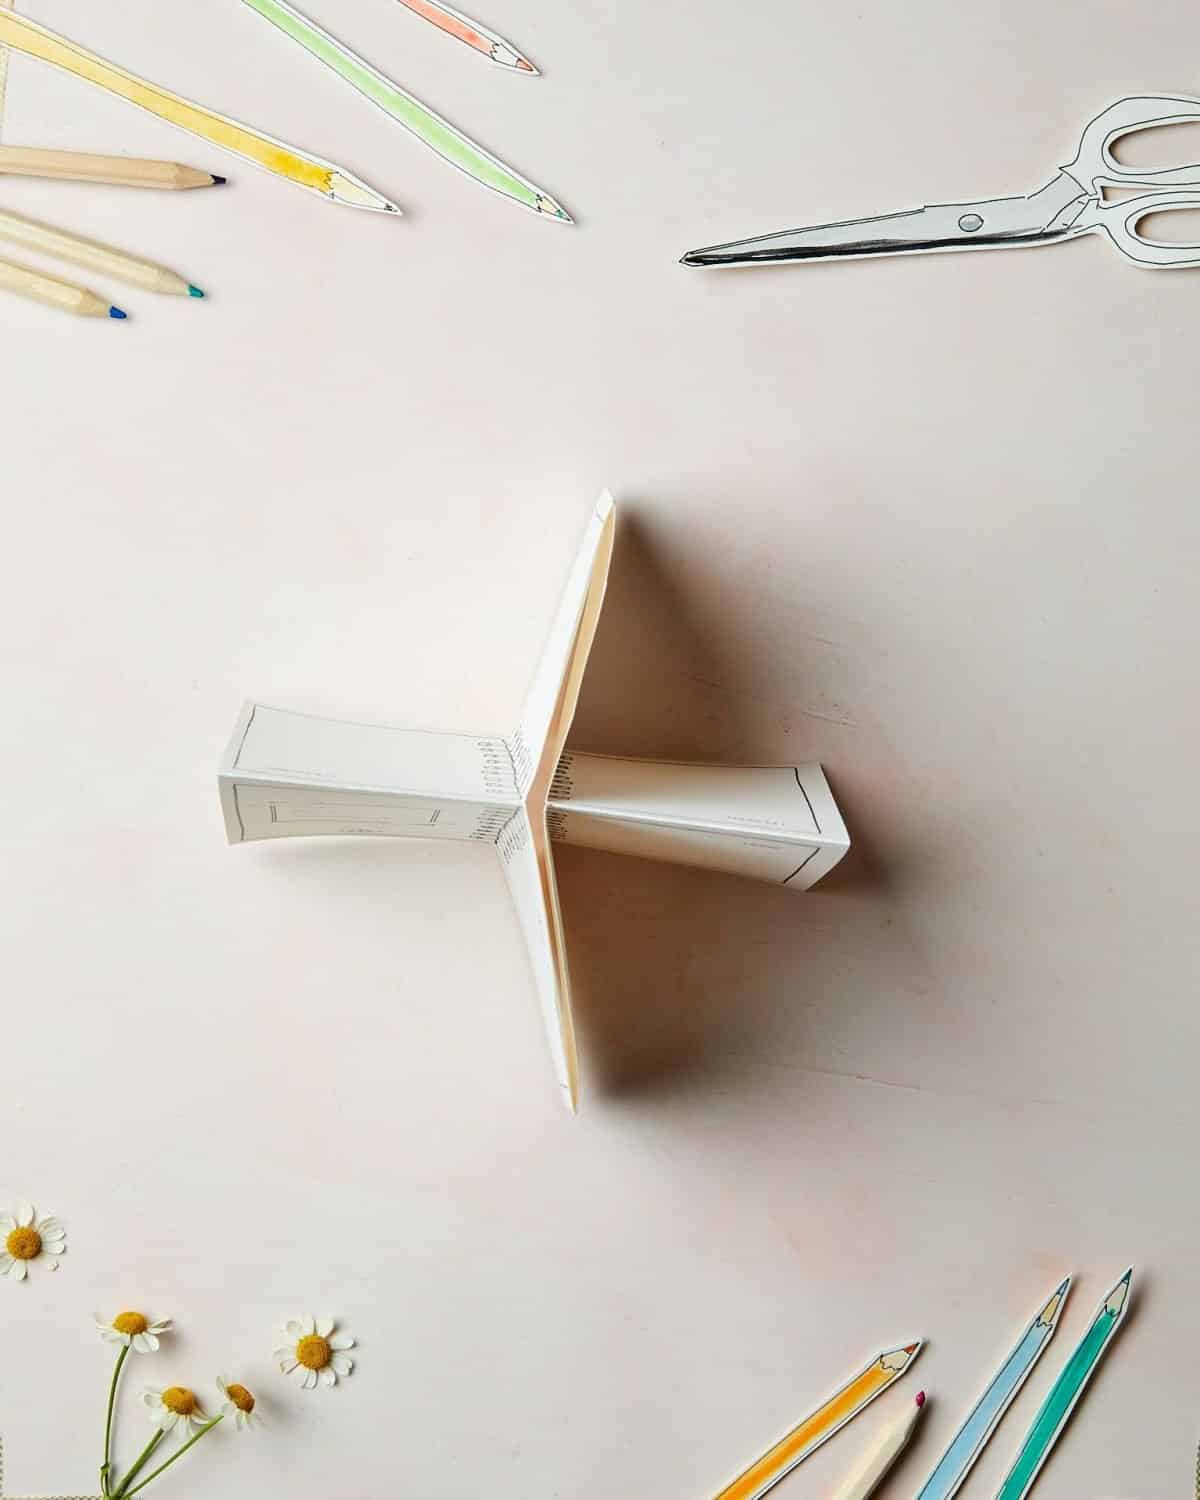
Step 14: Press the sides of the book toward each other so it collapses in the middle, creating the plus sign shown here.
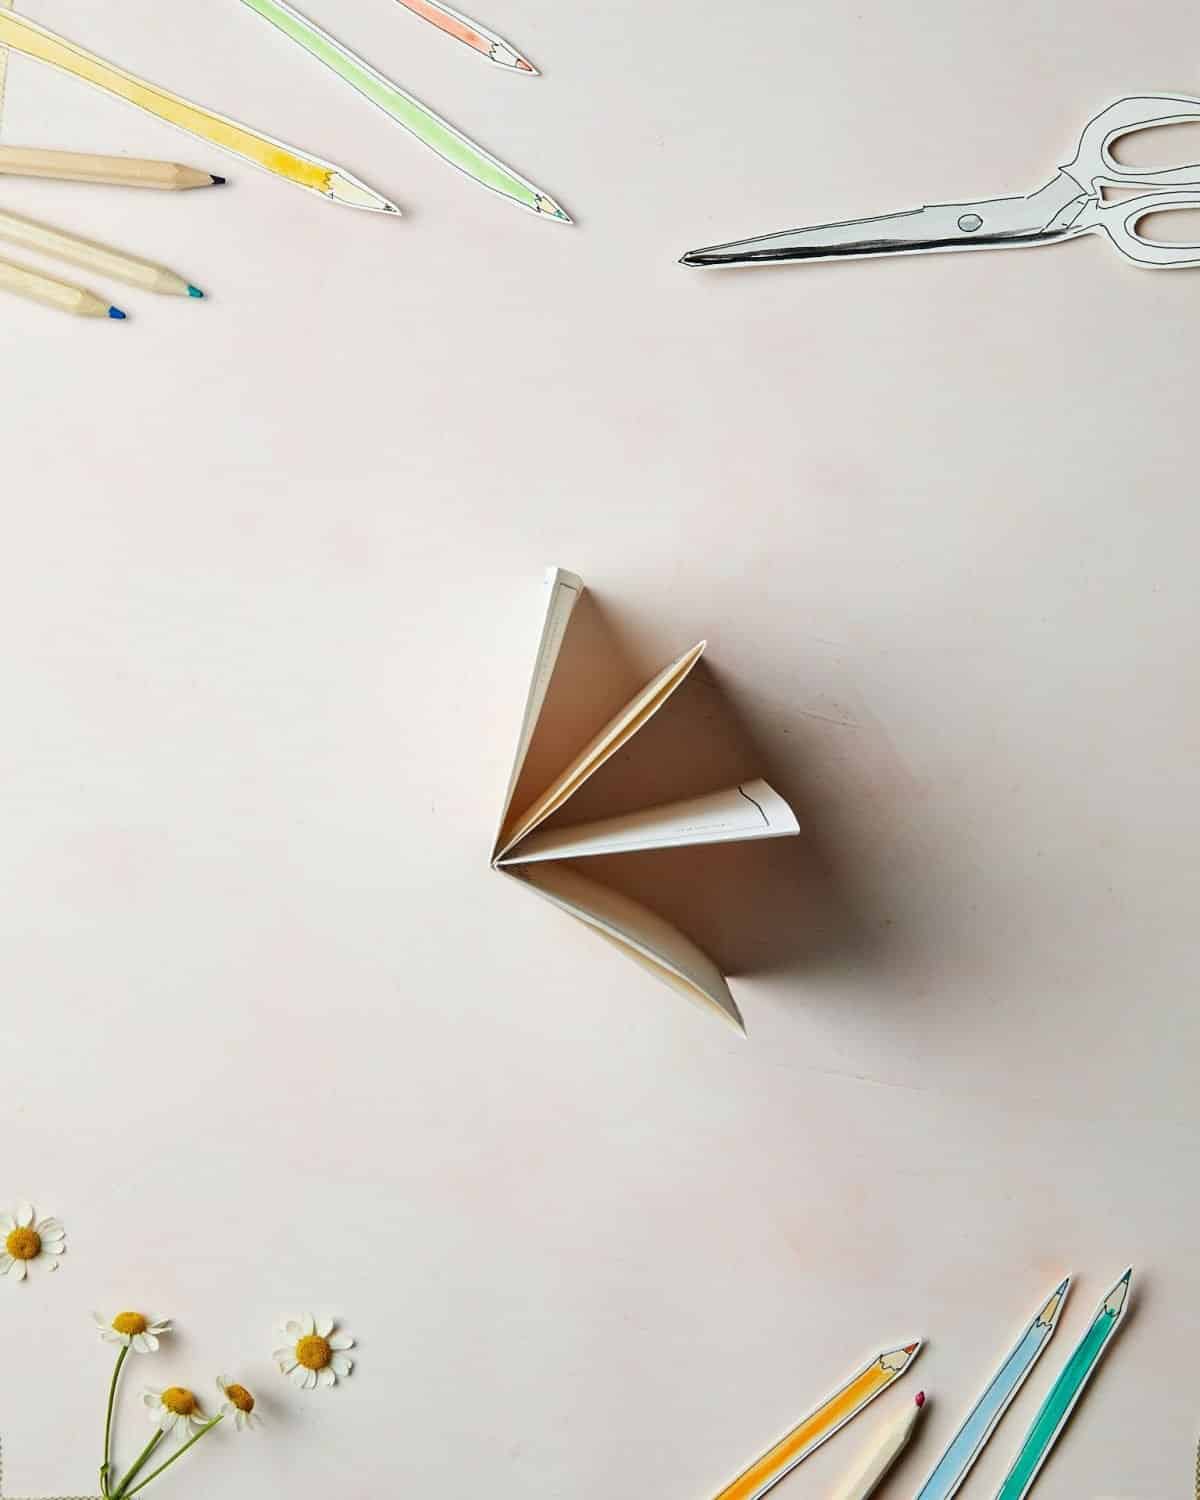
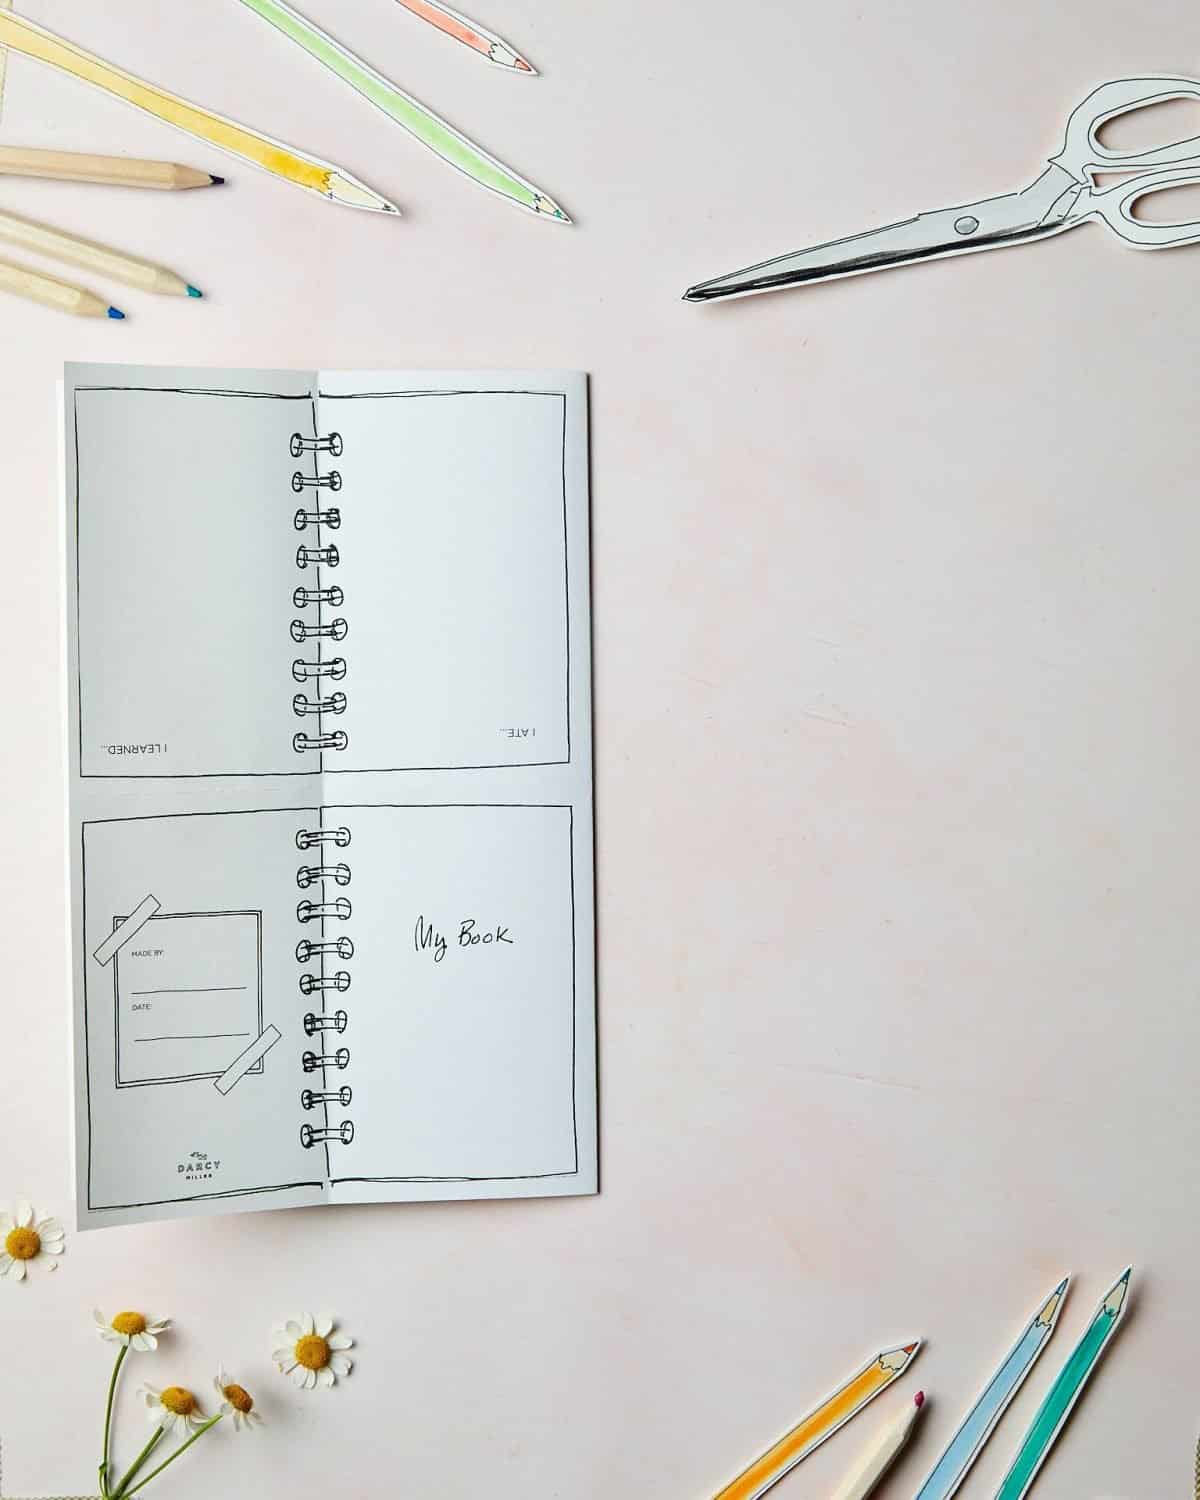
Step 15: Take the front leg of the shape, which says “My Book” on it, and the leg next to it and fold them away from each other, creating a book shape.
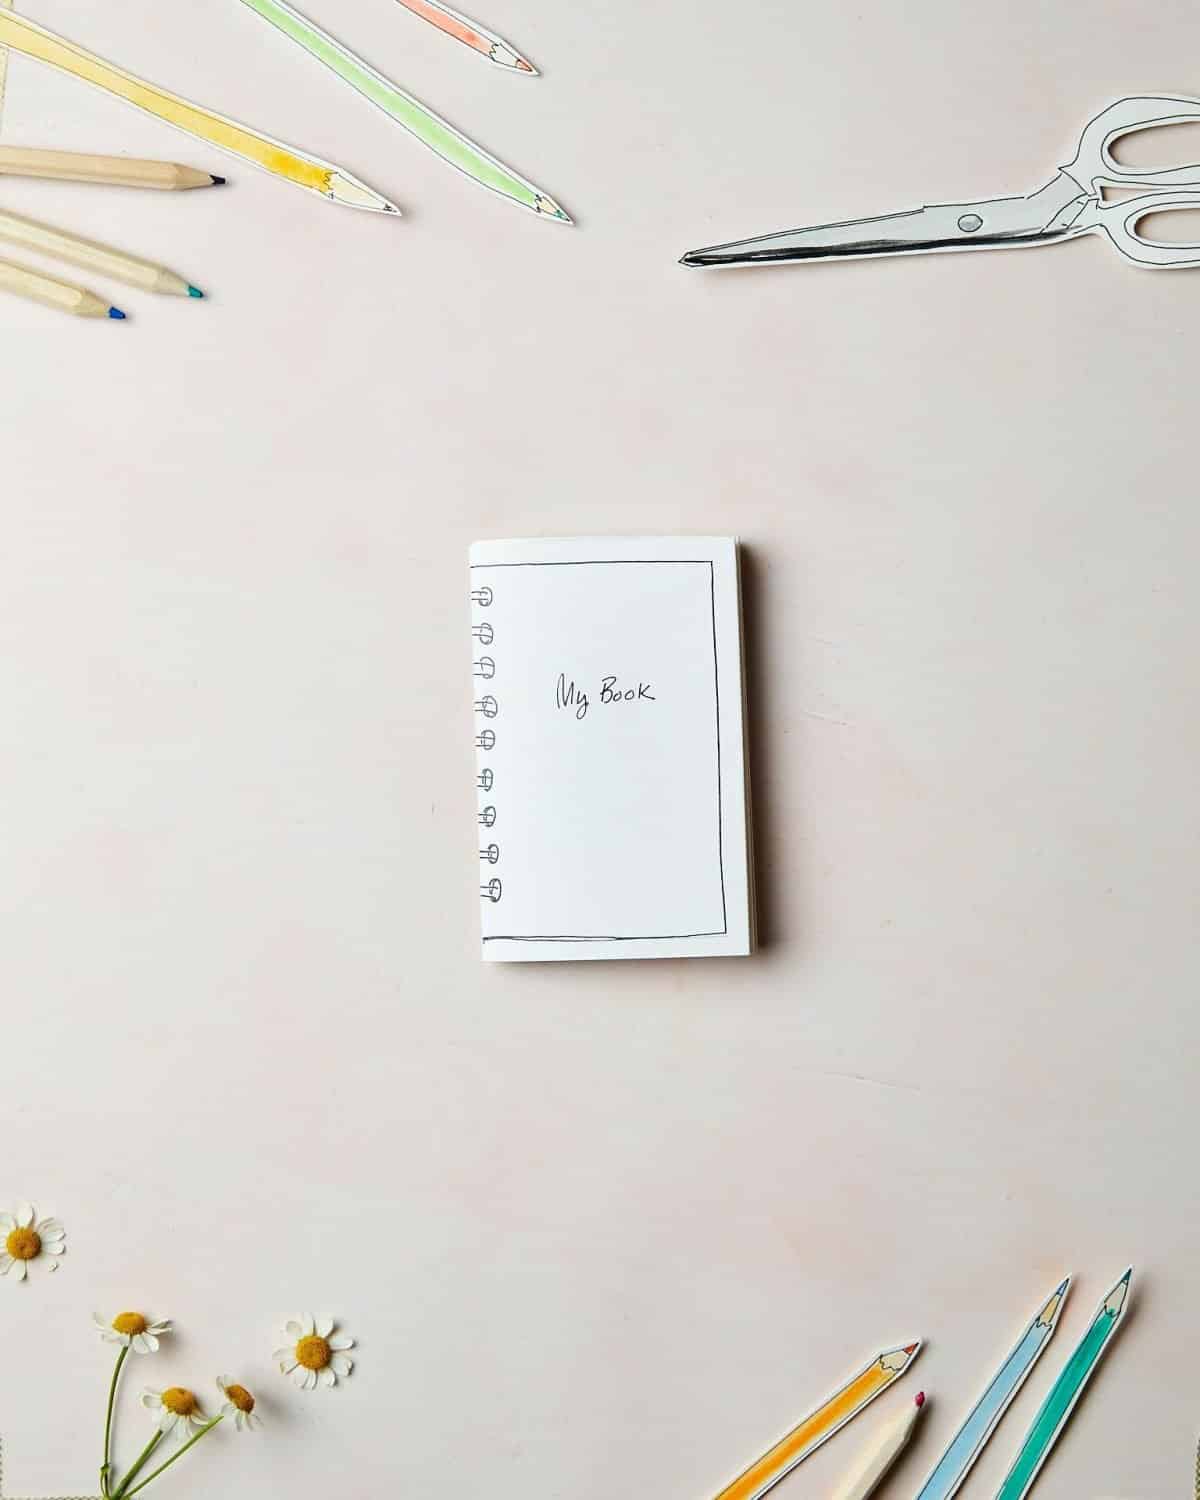
Step 16: Press the book flat—you can weigh it down by putting a book on top of it for a few minutes if needed.
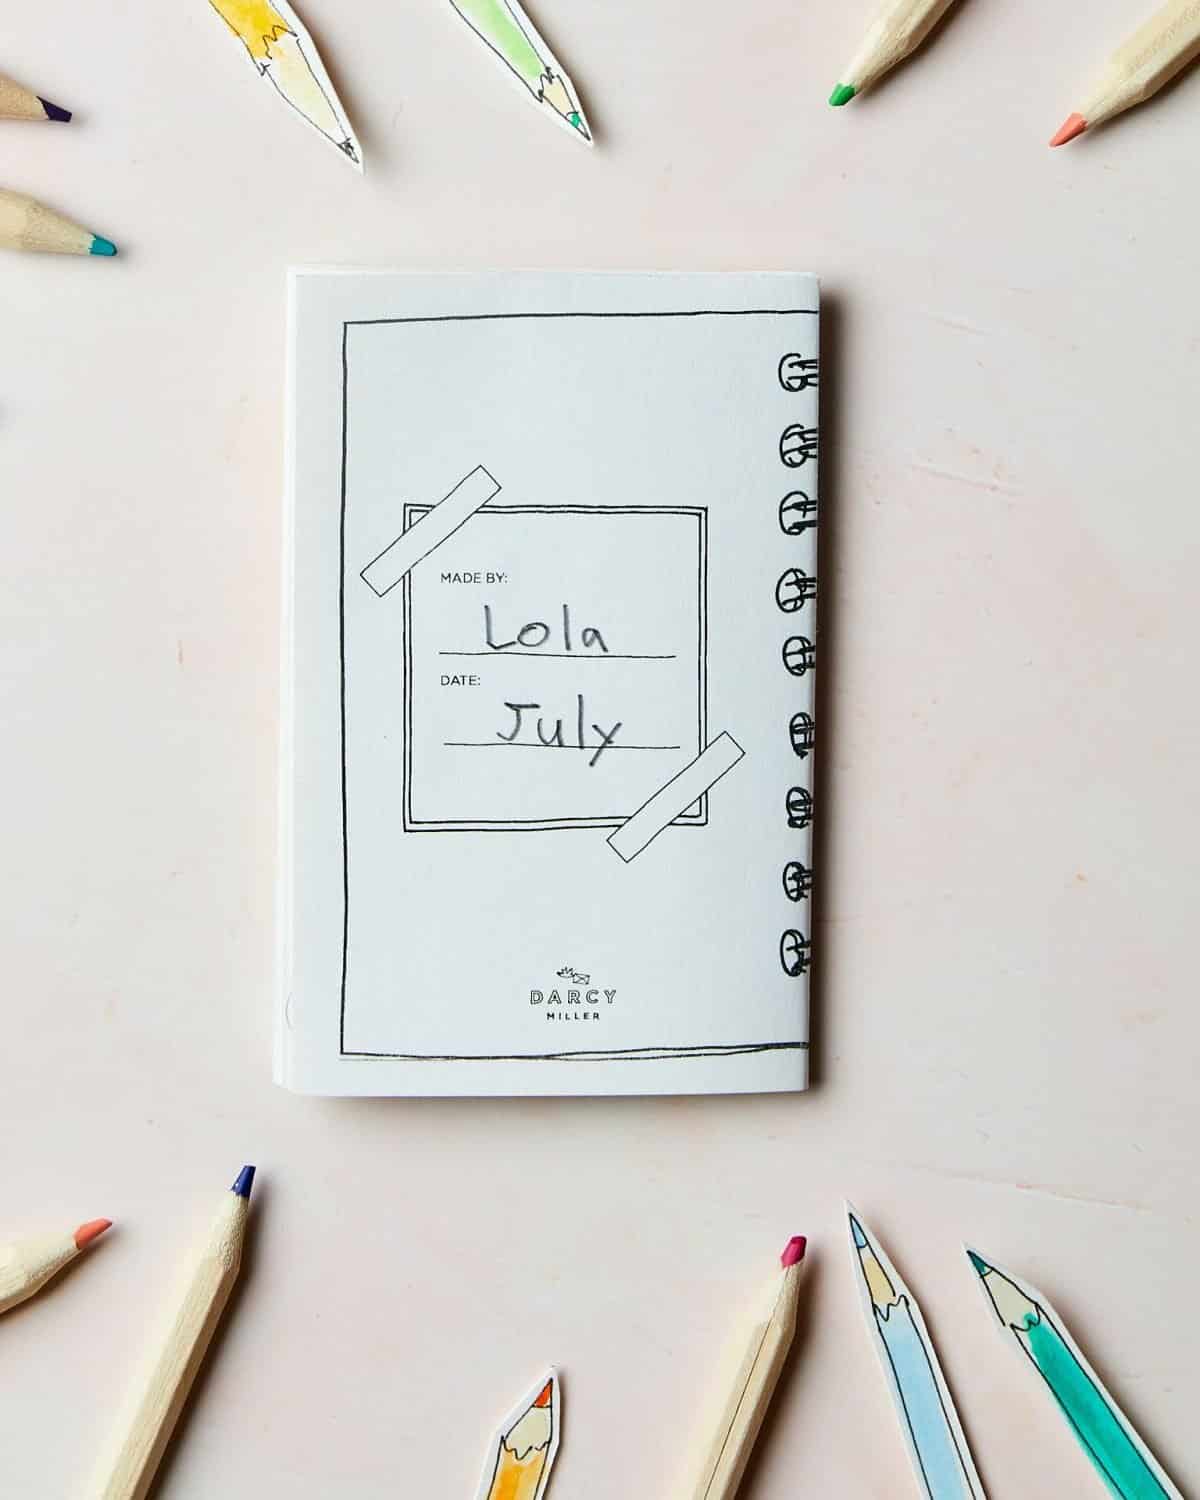
Step 17: FIll in the label printed on the back with name and date so kids can tell their books apart.
Step 18: Fill the pages of this masterpiece!