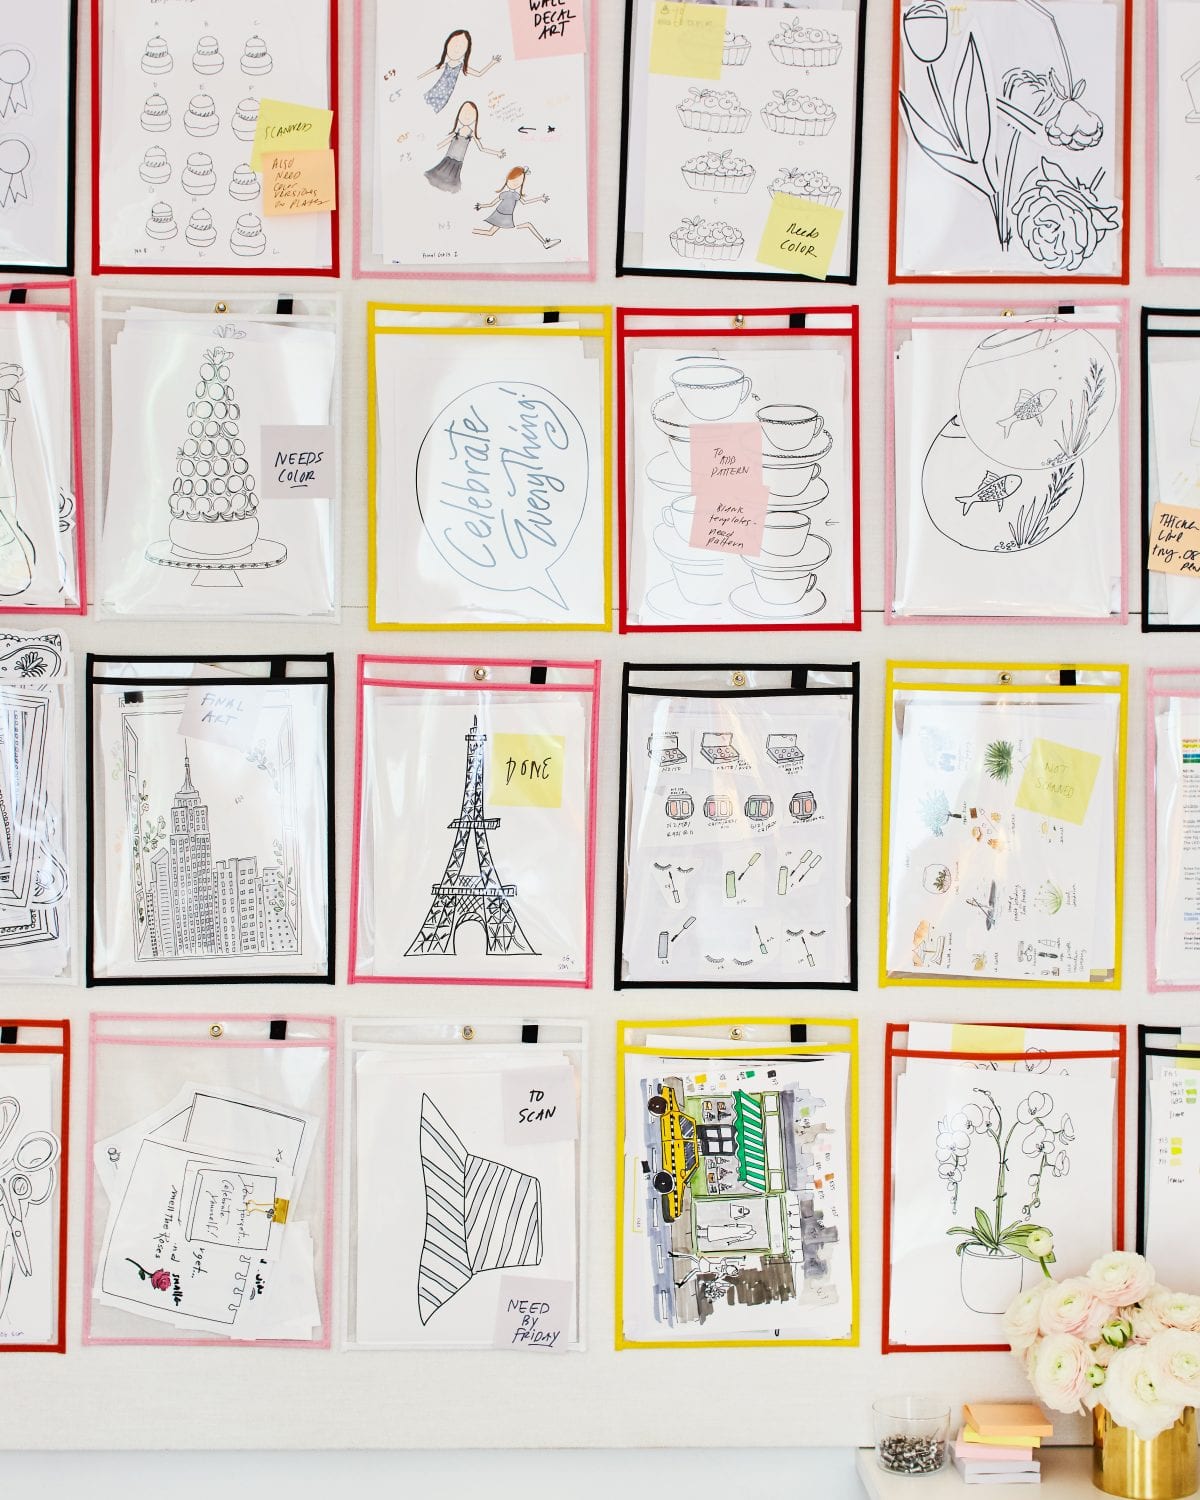
I’m a big fan of bulletin boards, which can act as great decor for a space. I usually cover mine with images for inspiration. In my office, however, I decided to use a corkboard on one wall as an organizational system for my works-in-progress. I’m always trying to make the most of a small space! This corkboard from Corkboard.com is especially nice because it’s covered in thick ivory upholstery fabric, giving it an elevated look.
I separate my art into clear folders and tack them to the corkboard. It’s a fun way to display my art, and I know where everything is and can pull something down quickly. I love that these clear sleeves have different colored borders, which can help color code to organize what’s inside.
Think about what you want to use a corkboard for before you install it. Just daily notes and reminders, or something else? I knew I wanted to hang a lot of artwork at once, so I made sure I had the space (and enough pushpins!) for that.
Gallery Wall
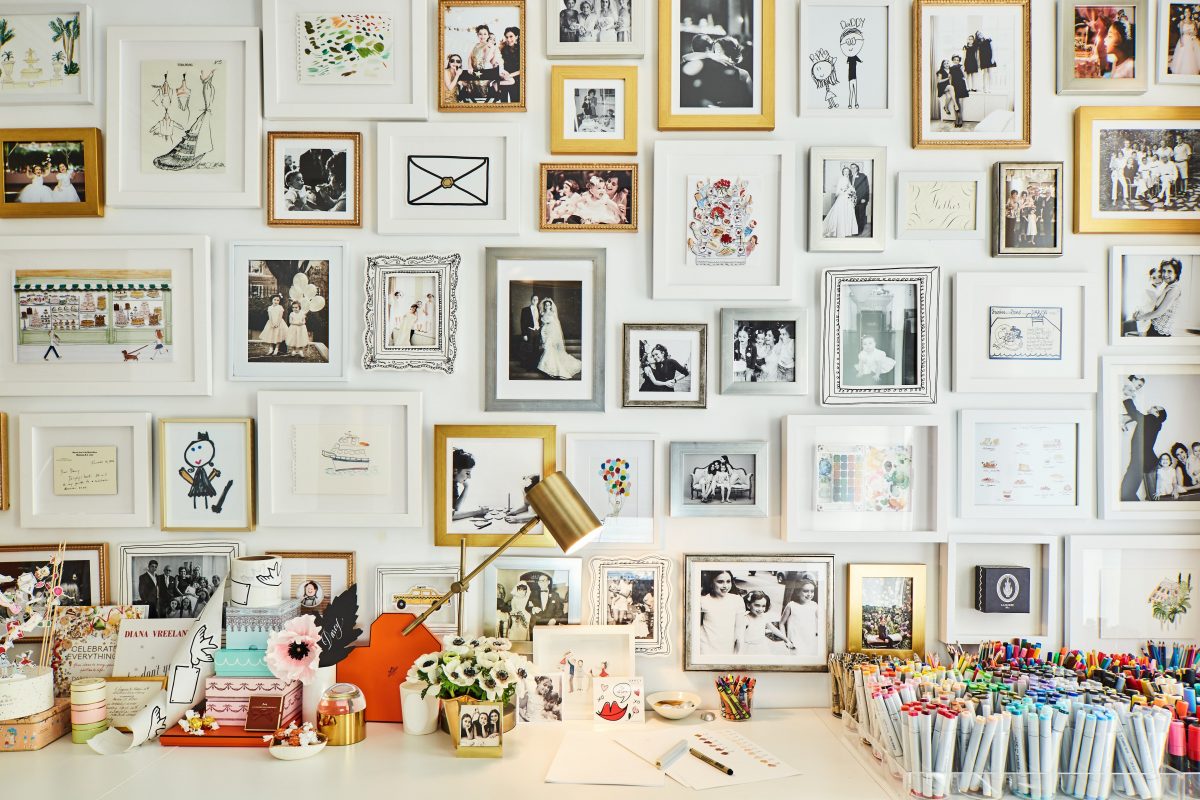
As an avid scrapbooker, I love a gallery wall. To me, it’s a scrapbook that you don’t have to pull off the shelf to look at every day! My home is filled with gallery walls, which are a great way to incorporate a lifetime of memories into one space. So, of course, I wanted to bring one into the office, too!
I turned to Framebridge to help with the framing, and went for a mix of sizes, shapes, and three different colors—silver, gold, and white—to keep it cohesive without feeling cookie cutter. I also included a few frames I had made out of white board. Naturally, they’re covered with my illustrated borders, which inspired my line of Darcy x Chasing Paper frame decals.
Here are my top tips for creating a gallery wall.
–Pick your favorites. For this gallery wall at my studio, I collected family photos, some of my own watercolors, my kids’ artwork, and years of mementos and projects. Then, I chose some of my favorites to display, making it part portfolio, too.
–Map it out. Once I had my picks, I laid everything out on a diagram. We did a test round with paper cut to size taped to the wall (check that out below!).
–Mix it up. I like combining things that are three-dimensional, with flat treasures. So, I have a Laduree box and one of my old watercolor sets (which looks so beautiful once it’s been used and paint-splattered), mixed in with family photos, my artwork, a drawing from my kids, a printed Instagram post, and special notes—including my cherished one from RBG!
–Play it safe. Fragile items may be too delicate to hang on the wall. Truth be told, the originals of some of the most special notes featured here are actually tucked away in scrapbooks. I made copies of for the gallery wall to keep them safe.
–Tell a story. This wall covers several generations of my family. I’ve got my parents’, my in-laws’ and our own wedding photo (plus a sketch Vera Wang did of my dress), and many drawings and pictures of all three of my daughters.
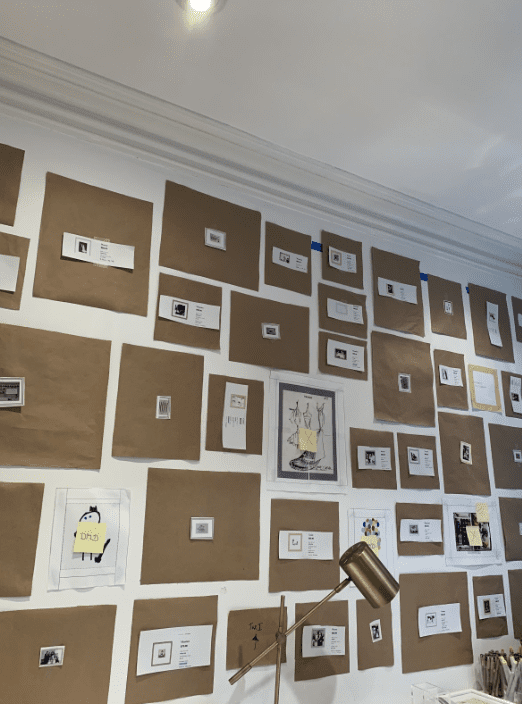
We planned a layout first, of course. And then, before ordering and hanging our frames, we tested it out by making a template. We cut brown paper to the size of each frame and taped it to the wall, which made it much easier when it came time to hang the real frames one by one.
Shop supplies for your own gallery wall below.
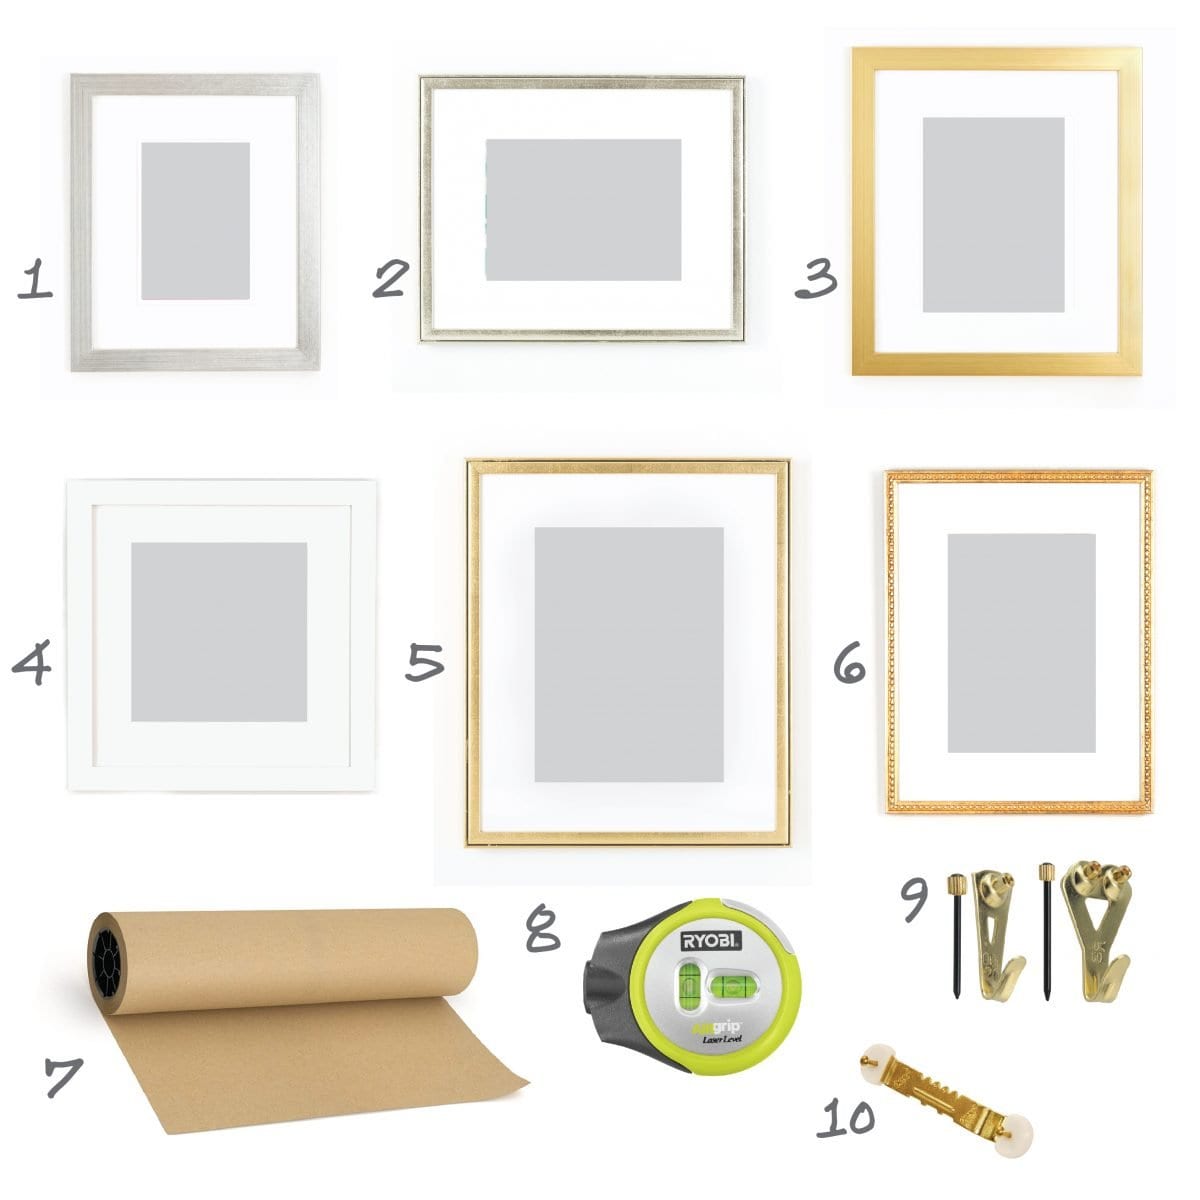
- Flat Silver Frame, 2. Champagne Frame, 3. Flat Gold Frame, 4. White Frame, 5. Tiered Gold Frame, 6. Patterned Gold Frame, 7. Craft Paper Roll, 8. Grip Laser Level, 9. Picture Hanging Kit, 10. Sawtooth Hanger
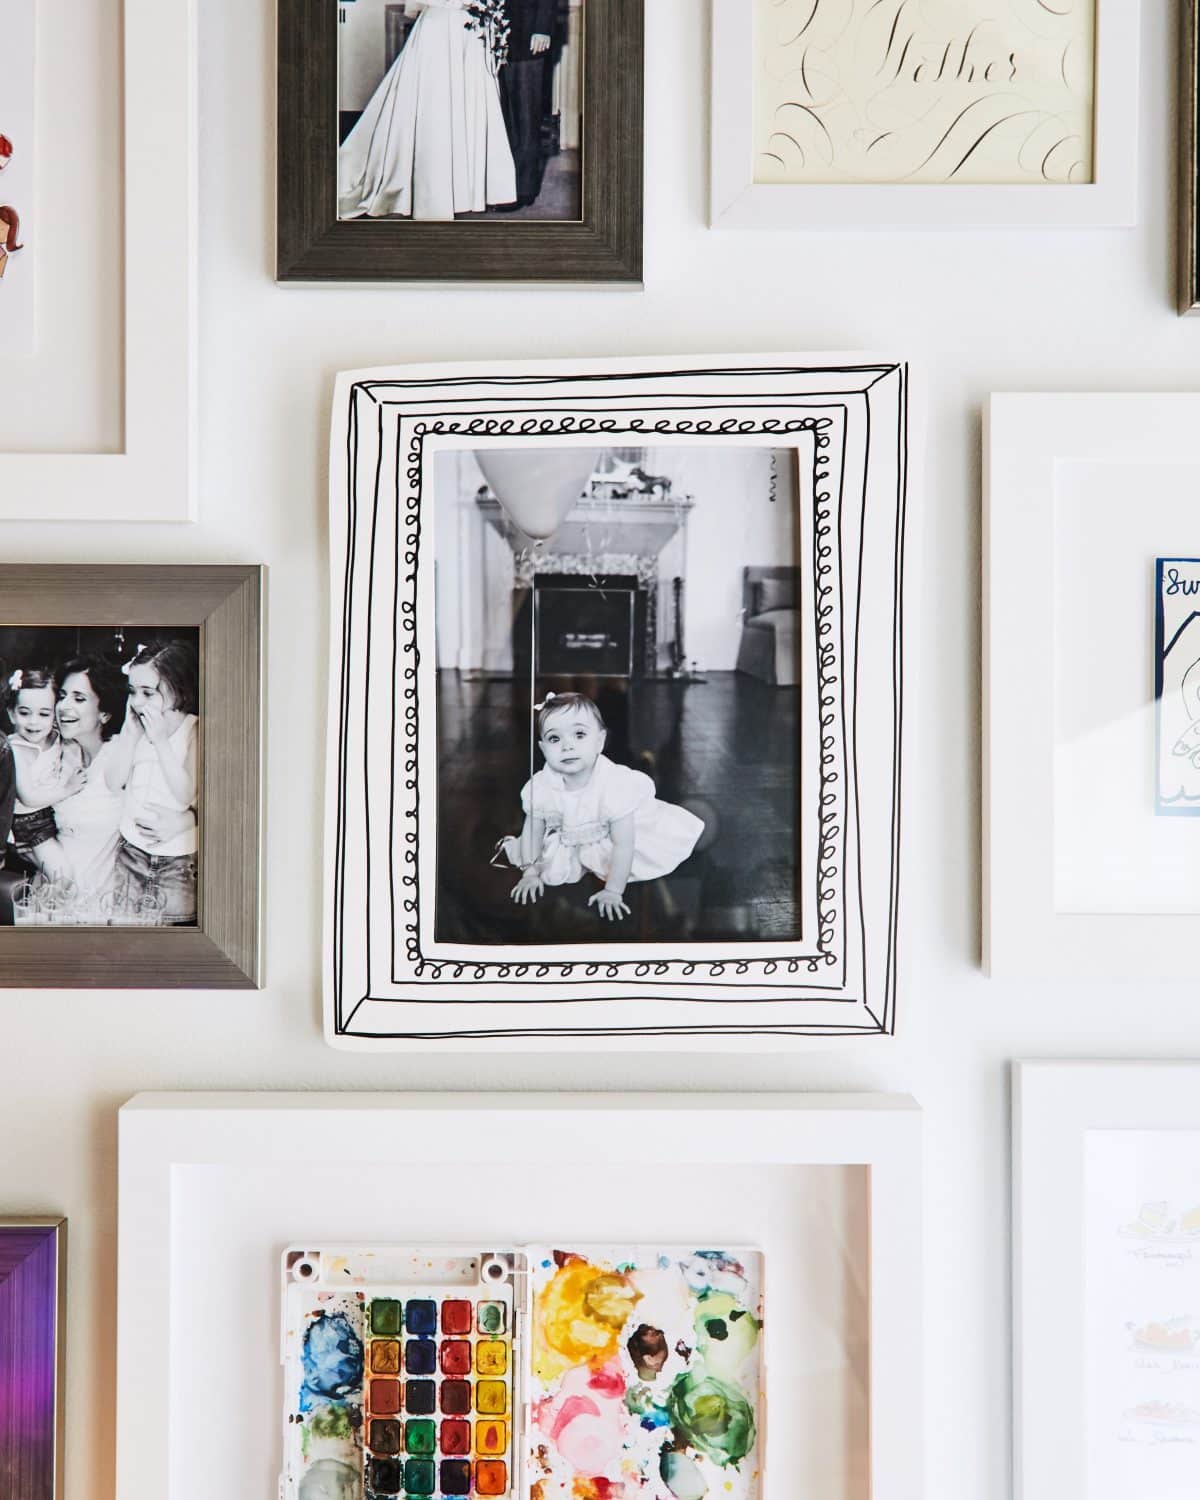
I love black and white photos, so I wanted to incorporate a few on the wall. This one was a color original that I printed in black and white, which I then hung inside one of my illustrated frames to dress up the pictures and personalize the office.
photo credits