Picasso said every child is an artist, and I couldn’t agree more. Whether you use a regular frame or a 3-D version (which I call a “scrapbox”), framing your favorites among your little Picassos’ masterpieces doesn’t just preserve the art, but also all the memories surrounding its creation. It’s a great confidence-booster for kids to see their art on the wall, and they can help you choose which pieces to display. Have fun with creating a gallery for your artist’s work, and experiment with different framing techniques in order to showcase each piece. You might try any—or all!—of the following:
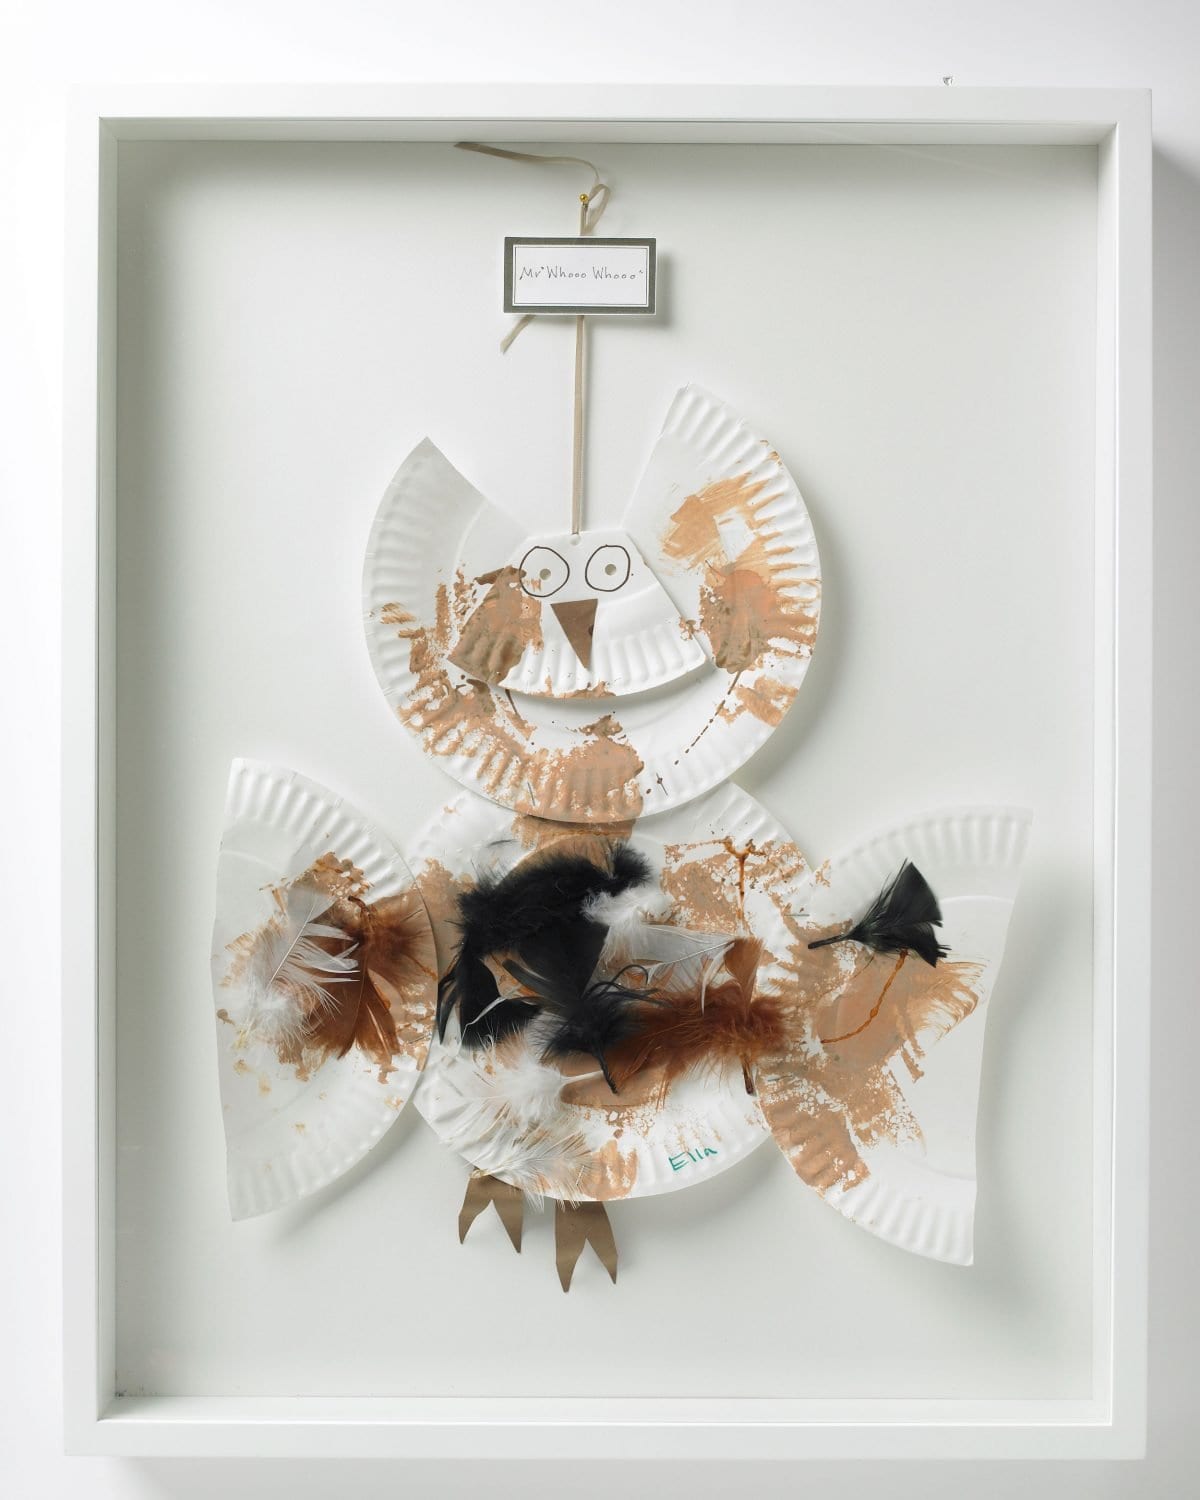
Hang It Up. Ok, this paper-plate owl isn’t really “hanging” from the thread, but the string and the label make it seem like it is. A 3-D frame—or, as I like to say, a “scrapbox”—lets you display more than paintings or drawings, making it a great choice for craft projects.
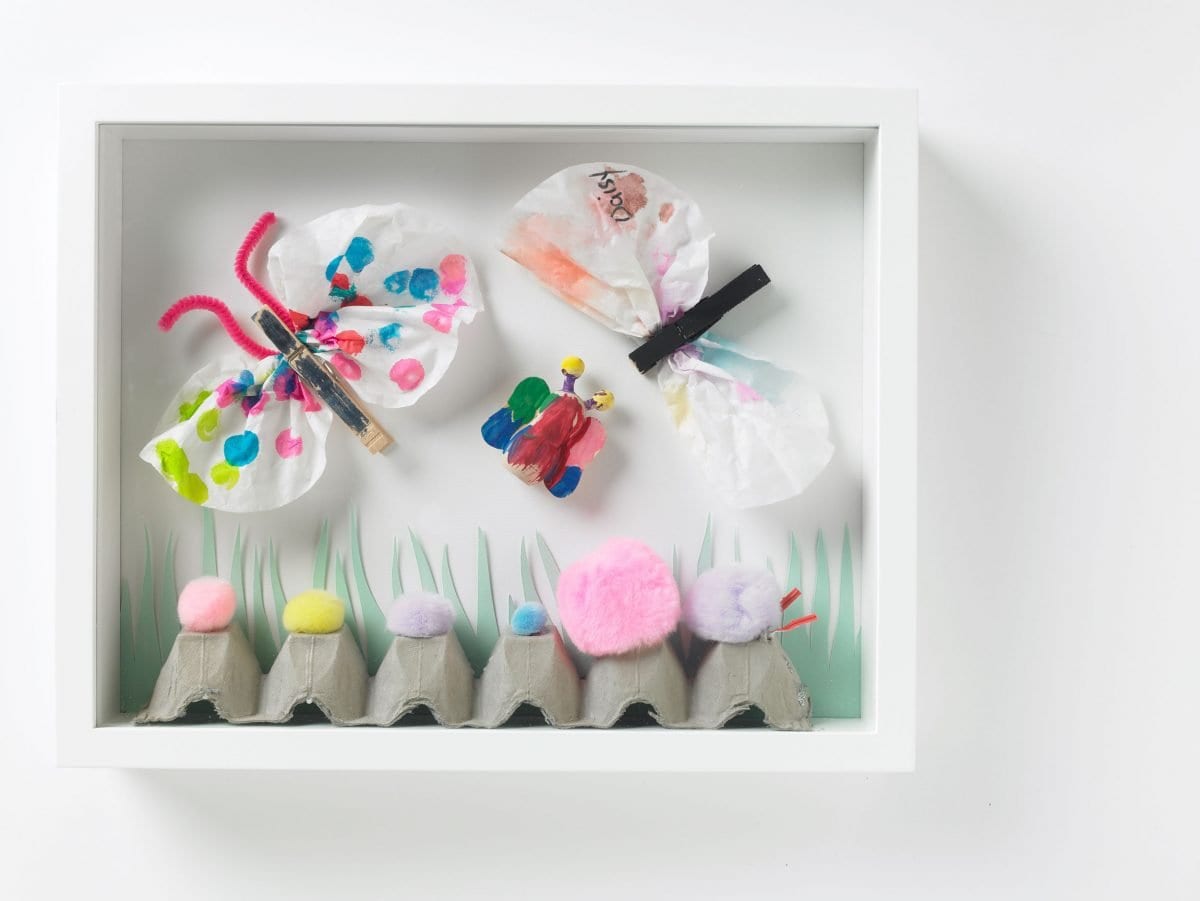
Set a Scene. Bring together several different art projects in a scrapbox to create a specific setting. Here, my daughter’s clothespin-and-tissue butterflies, a little clay butterfly, and an egg crate caterpillar come together in a garden scene—the construction paper grass in back ties it all together. If your artist is always drawing sharks, dolphins, and octopuses, join them in an underwater world! Or, if a budding architect keeps drawing cities and bridges, put them together to create a metropolis.
Make It Stand Out. Whether it’s a large drawing or a tiny treasure of a picture, cut it out and mount it to make it really pop. Use adhesive foam dots to add depth and dimension. Place the foam dots on the back on the artwork, roughly one per square inch or so of paper, so that the entire artwork is supported, then press the artwork, dots side down, onto the back of the scrapbox. (The important thing is to have dots about an inch apart along the edges, and a few more spaced out in the middle. If you use too few foam dots along the perimeter, the edges of the piece may curl over time.)
Start Early. From the first handprint to realistic figure drawings, every era in your child’s artistic evolution is worth celebrating. Frame items from different years, starting from the first simple shapes and finger paints so that you have a record of that moment in time.
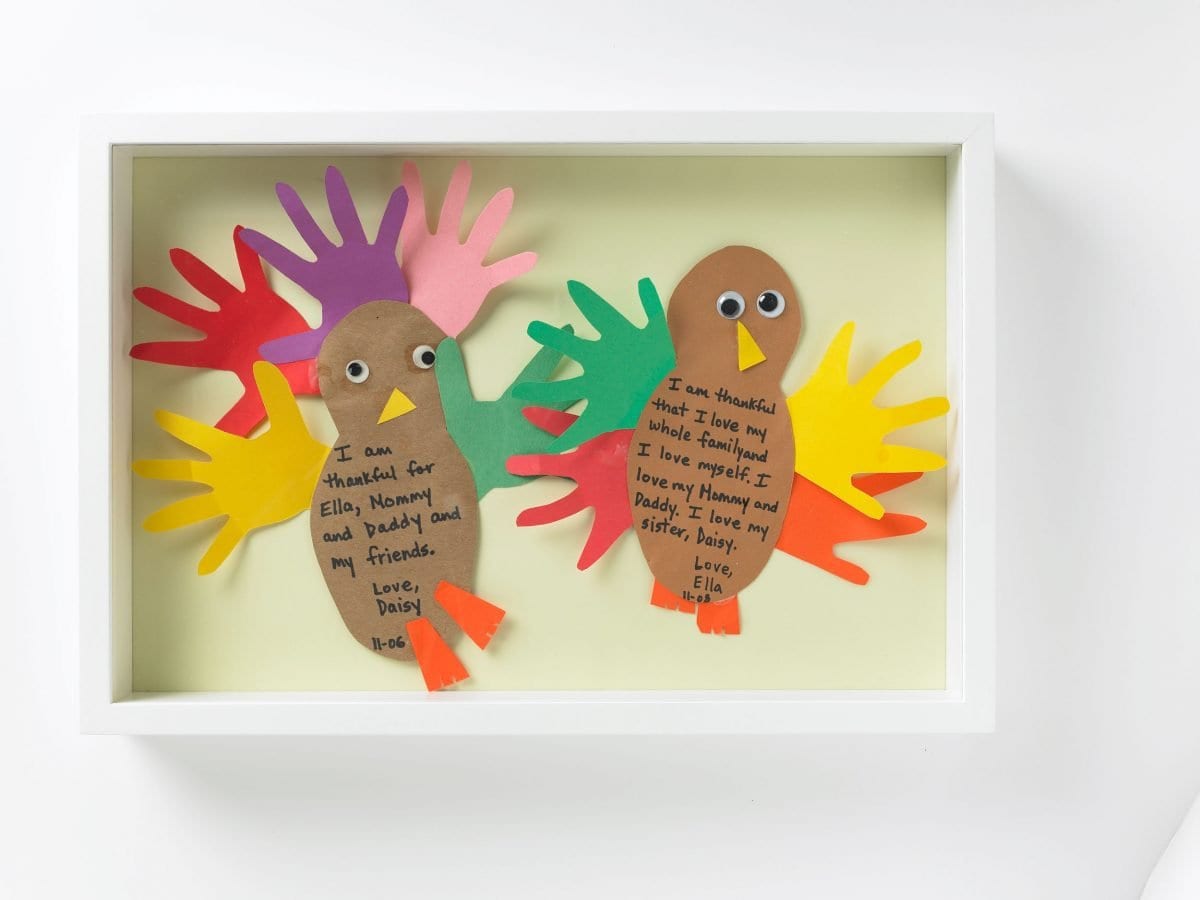
Bring Them Together. If you’ve got the same project created by two different kids (like a holiday card, a handprint, or these Thanksgiving turkeys my two older daughters made), frame them together!
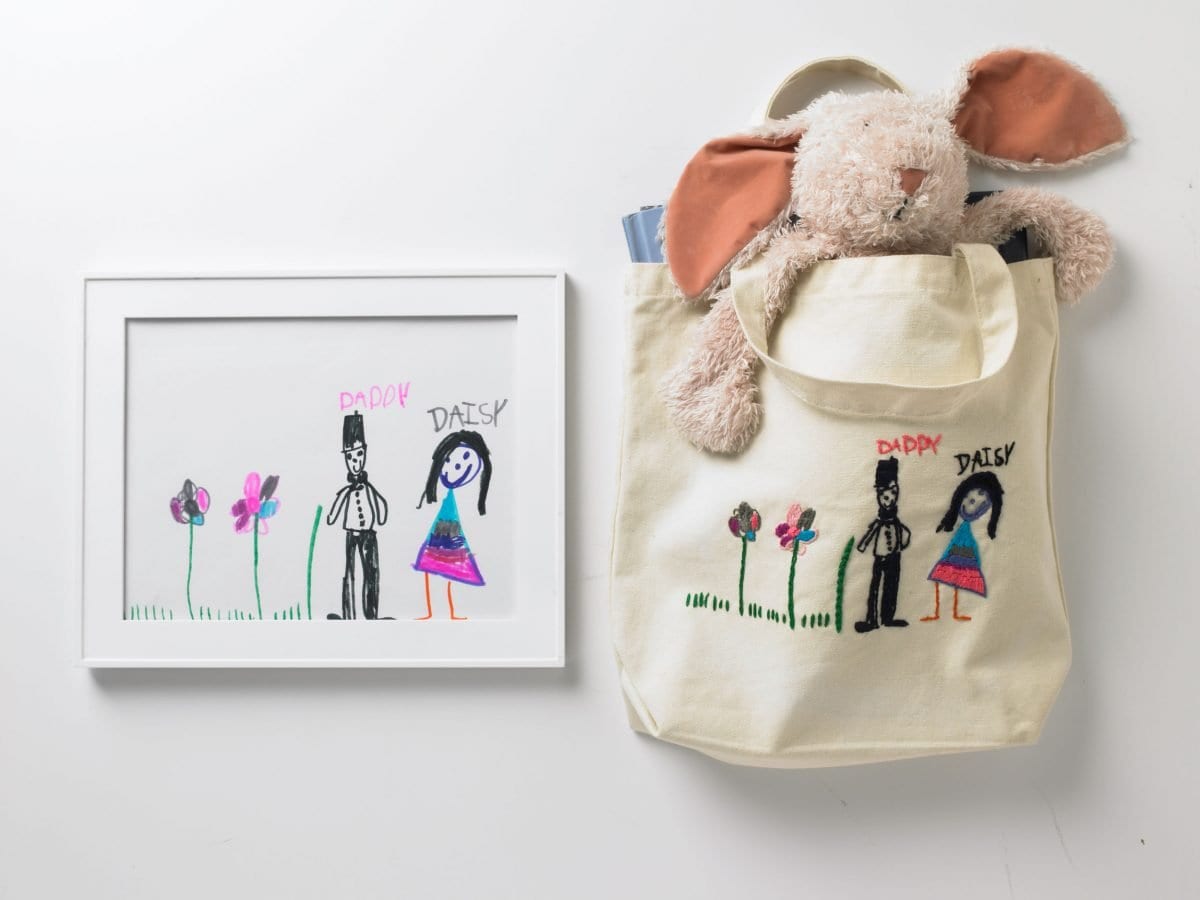
Think Outside the Frame. I often turn my children’s art into objects, scanning the drawing and uploading it to the websites of companies that can turn them into tote bags, t-shirts, pillows, whatever! If you do the same thing, it’s fun display the art next to the object it inspired. Here, one of my daughter’s early drawings hangs next to a tote bag embroidered with the image that I ordered from Etsy.
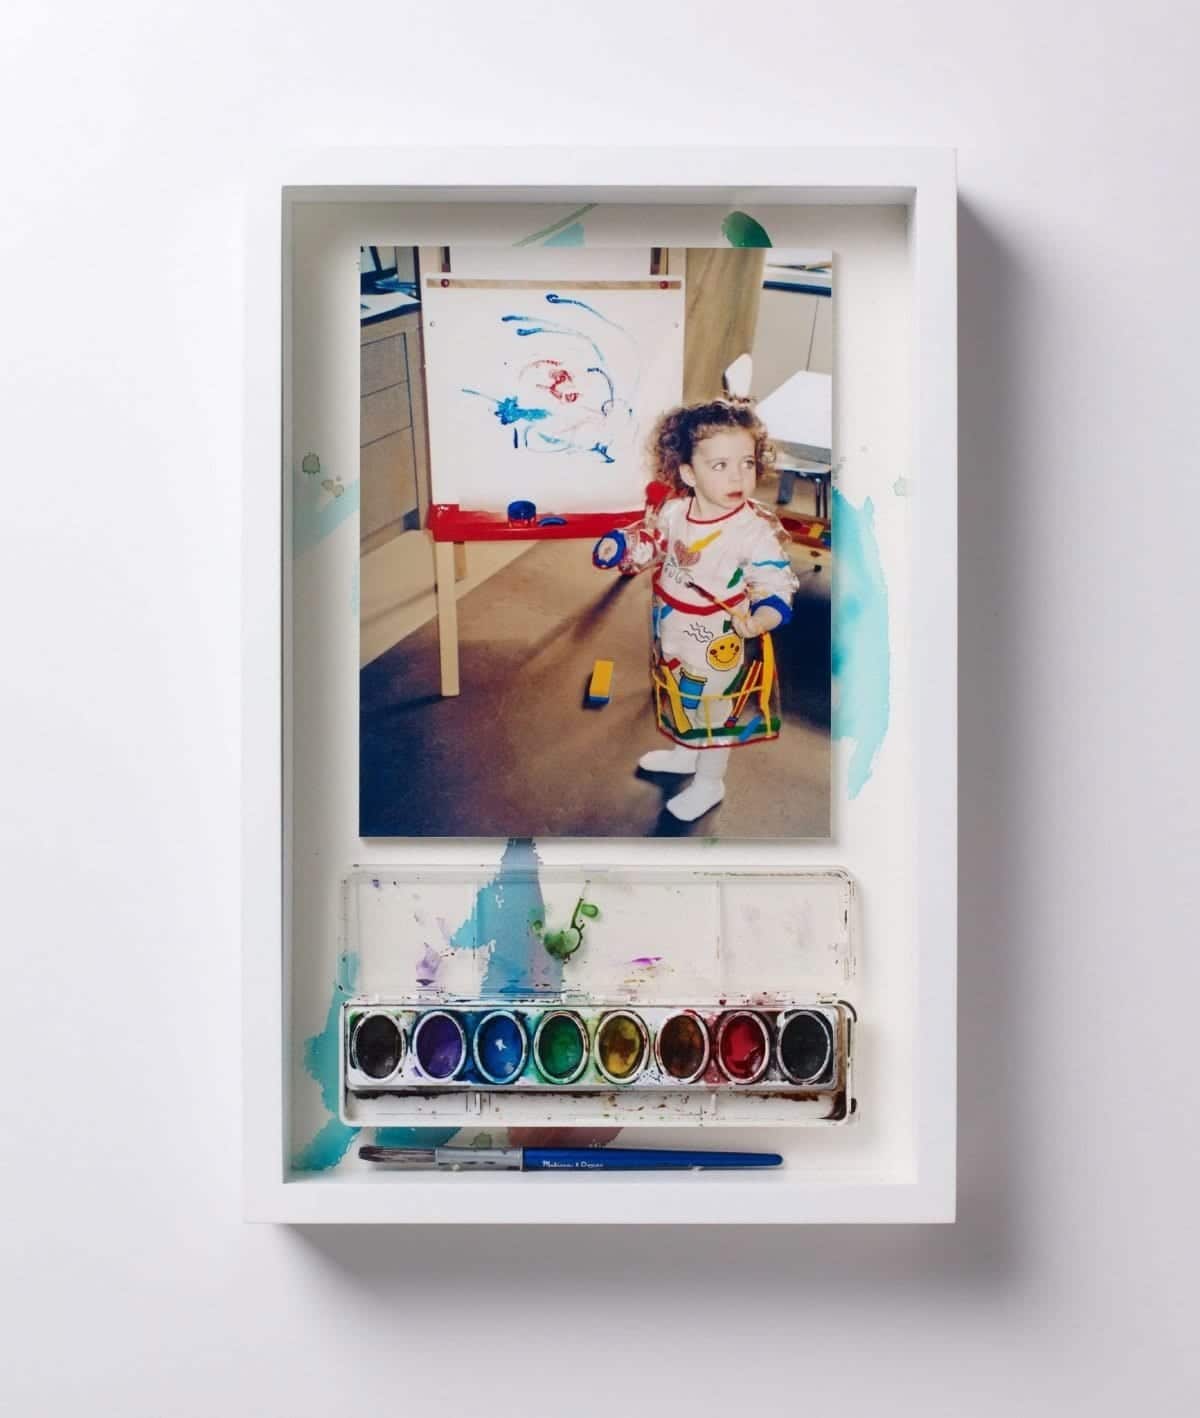
Celebrate Creativity in Action. Showcase the artwork and the creative process behind it by framing the tools and the art—or a picture of the artist creating it—in a scrapbox. You might frame the drawing and a picture of the artist making it, or, as I did above, a photo of the artist at work along with the palette they used.
Look Past Paper. The art you frame doesn’t have to be a drawing or a painting; a scrapbox lets you mount and frame ceramic pieces, craft boxes, masks, papier mâché—all those handmade treasures that are fragile enough to be destroyed if they’re left on a desk or bookshelf.
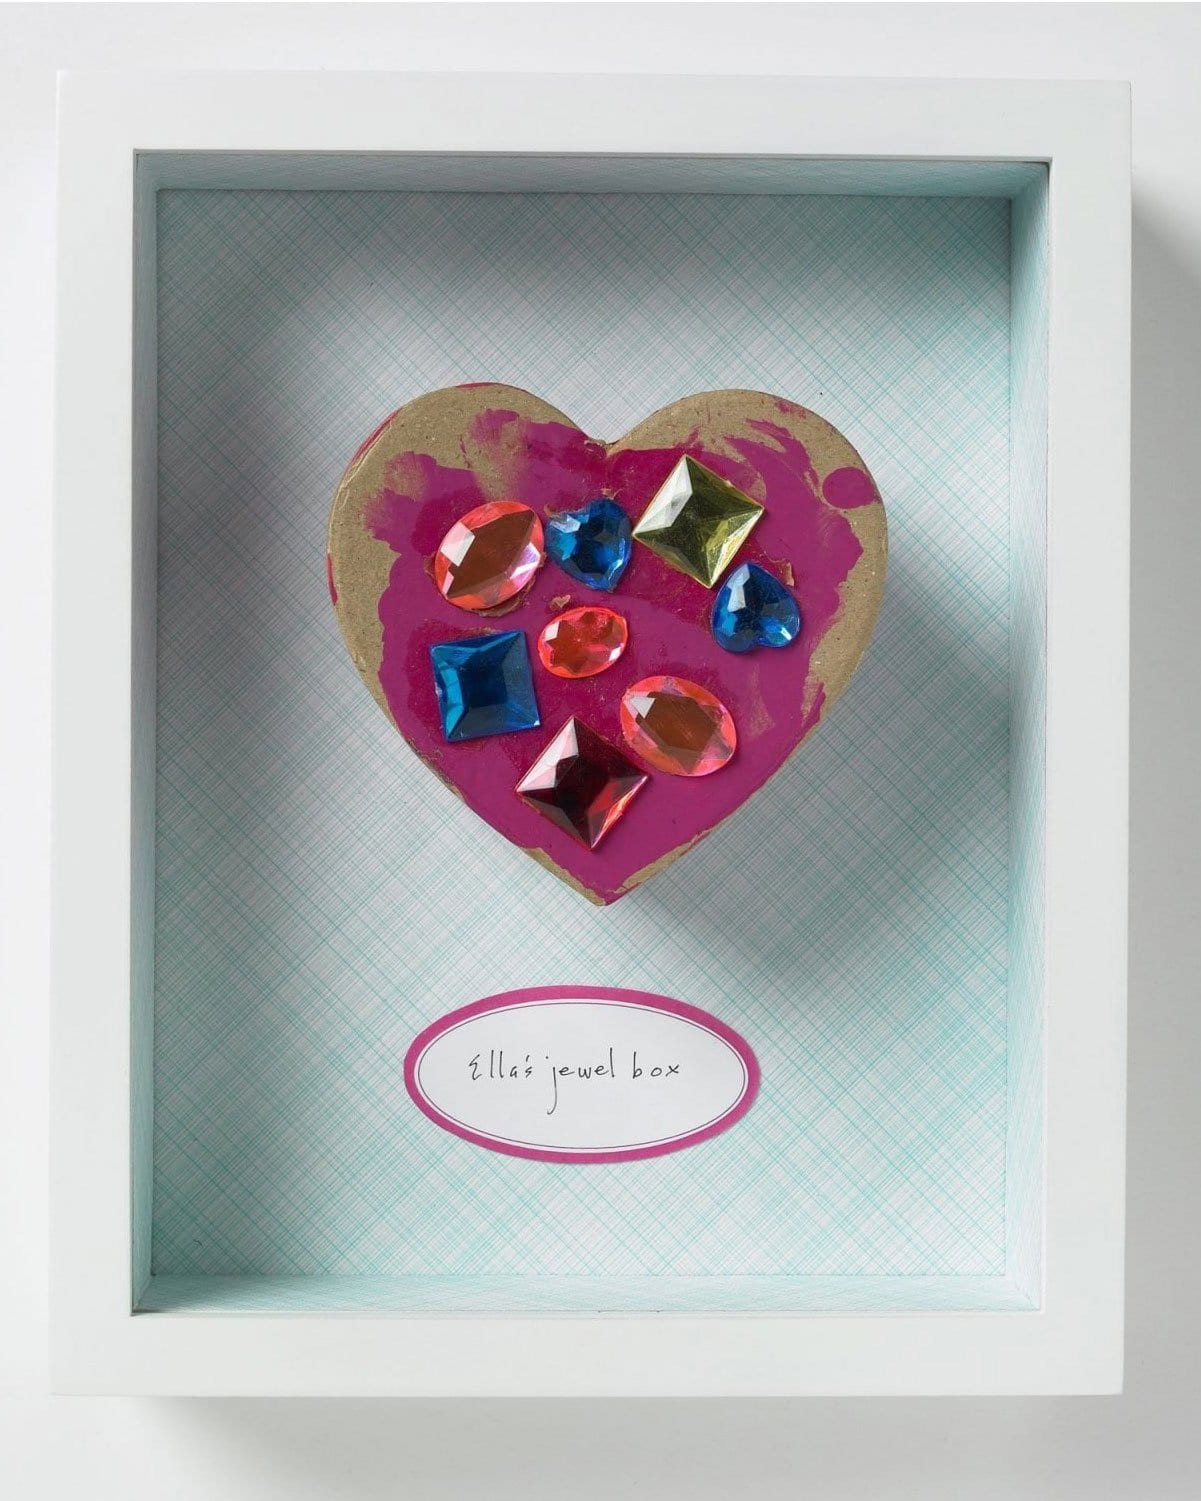
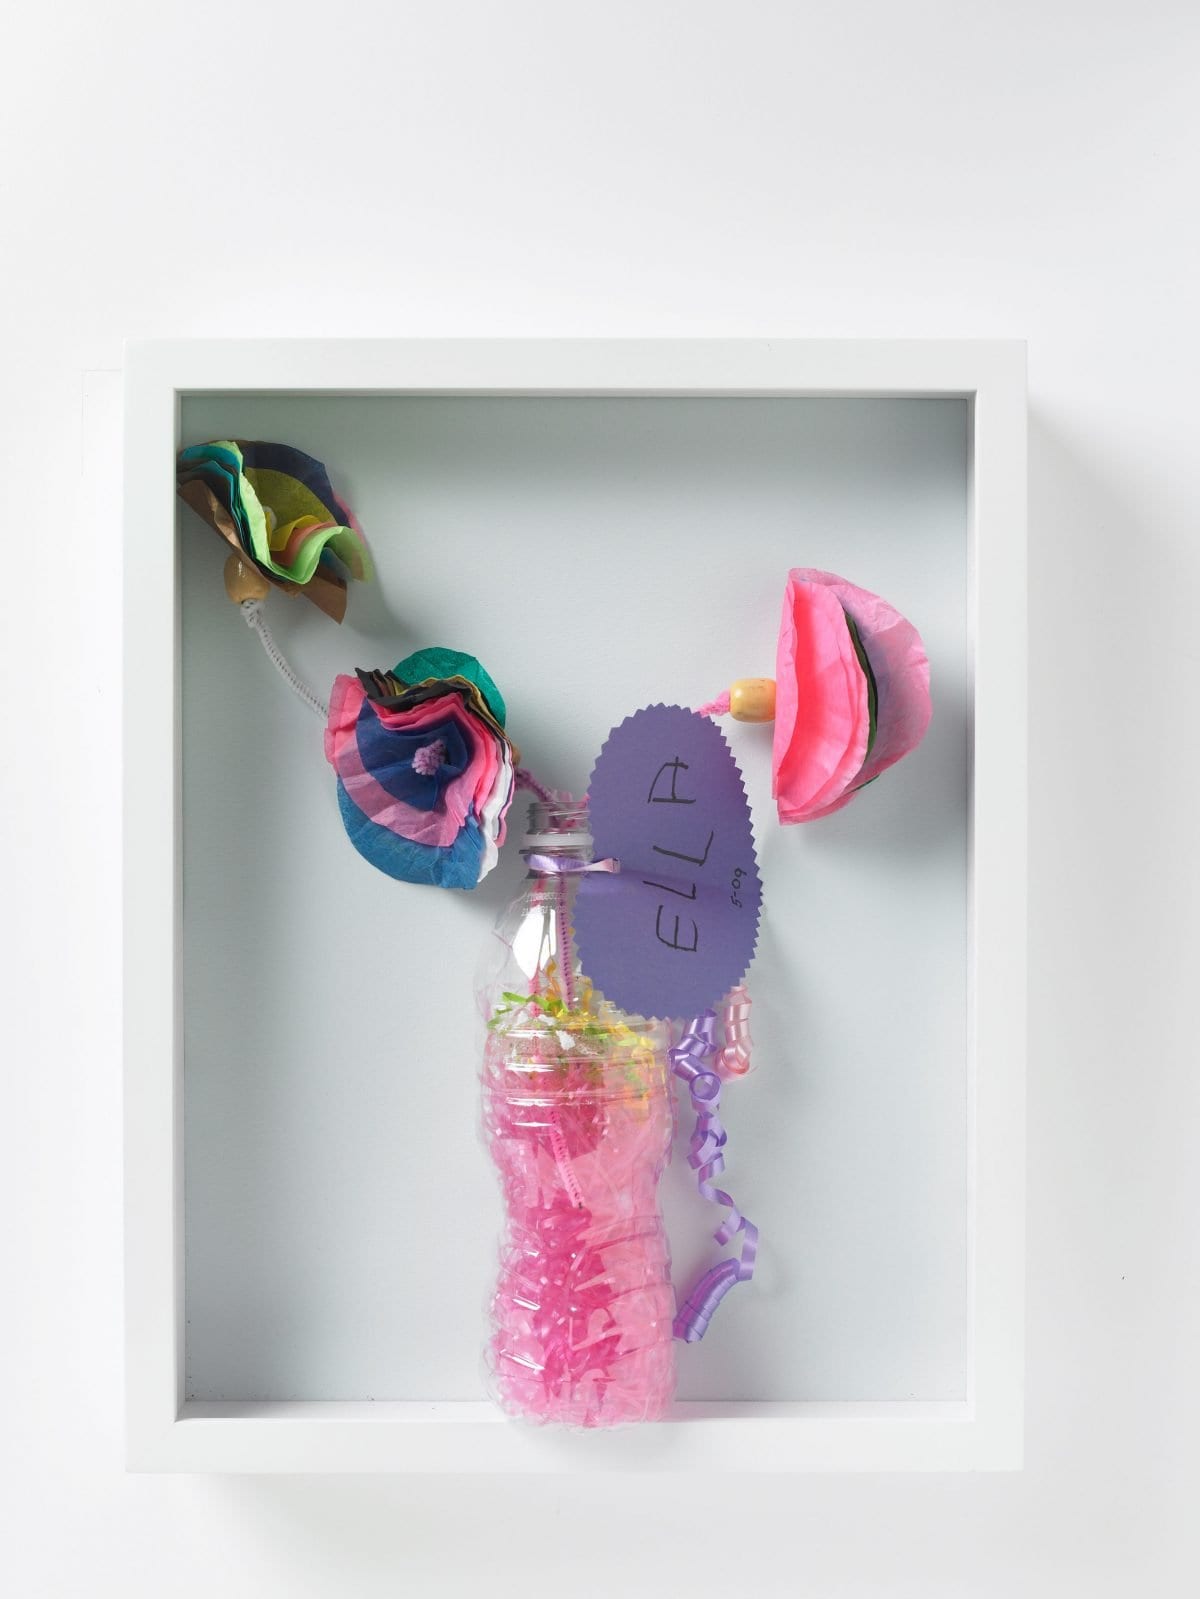
Name it and Frame It. Give it the full gallery treatment! Use mats and labels to set off the art and let visitors know the story behind what they’re seeing, whether you’re labelling it with the artist’s name and date or a brief description.

Tell A Story. Ask younger kids what’s going on in their artwork, then write a caption for them; older children can write the backstory themselves.
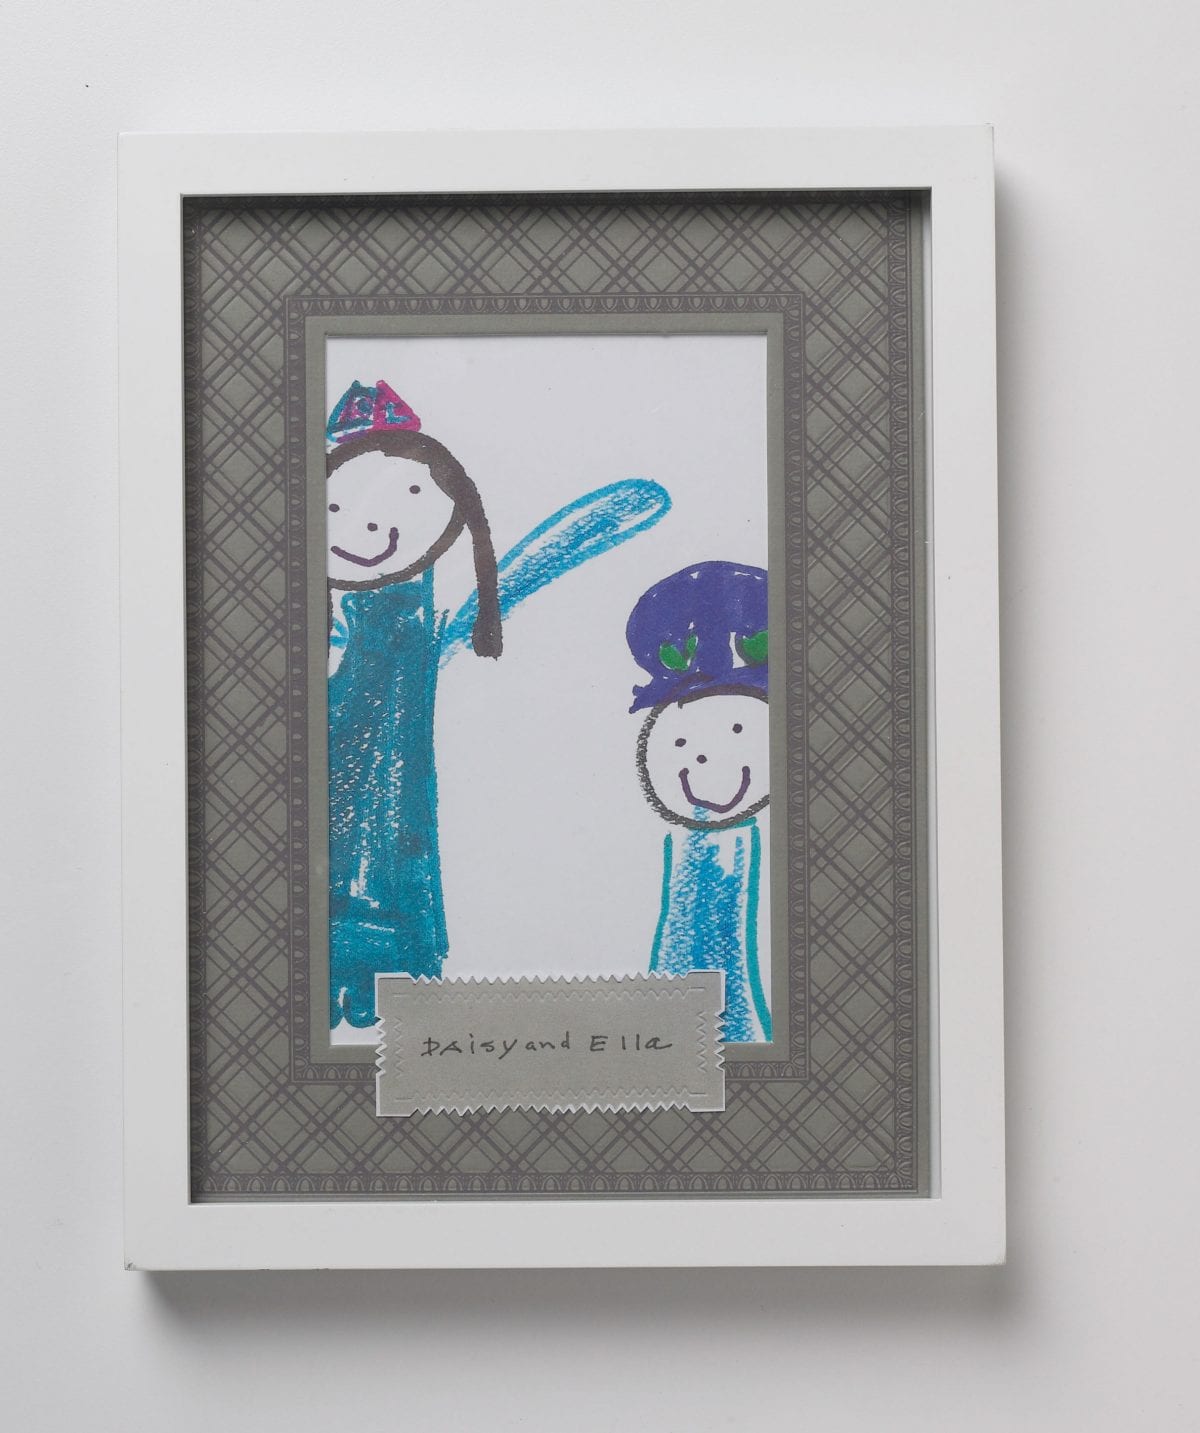
Pick a Topic. One of the great things about being a “gallery owner”? You can commission works from the artist. Here, I asked my daughters to draw a portrait of themselves together. You could also ask your artist-in-residence to create:
–a family tree
–a portrait of a member (or every member) of the family
–a pet portrait
–a drawing of their favorite place, food, toy, or memory at that moment in time
–a picture of what they want to do or a place they’d like to go when they grow up
Whatever topic you choose, you’ll be glad to have a visual representation of your little impressionist’s impressions of the world around them.
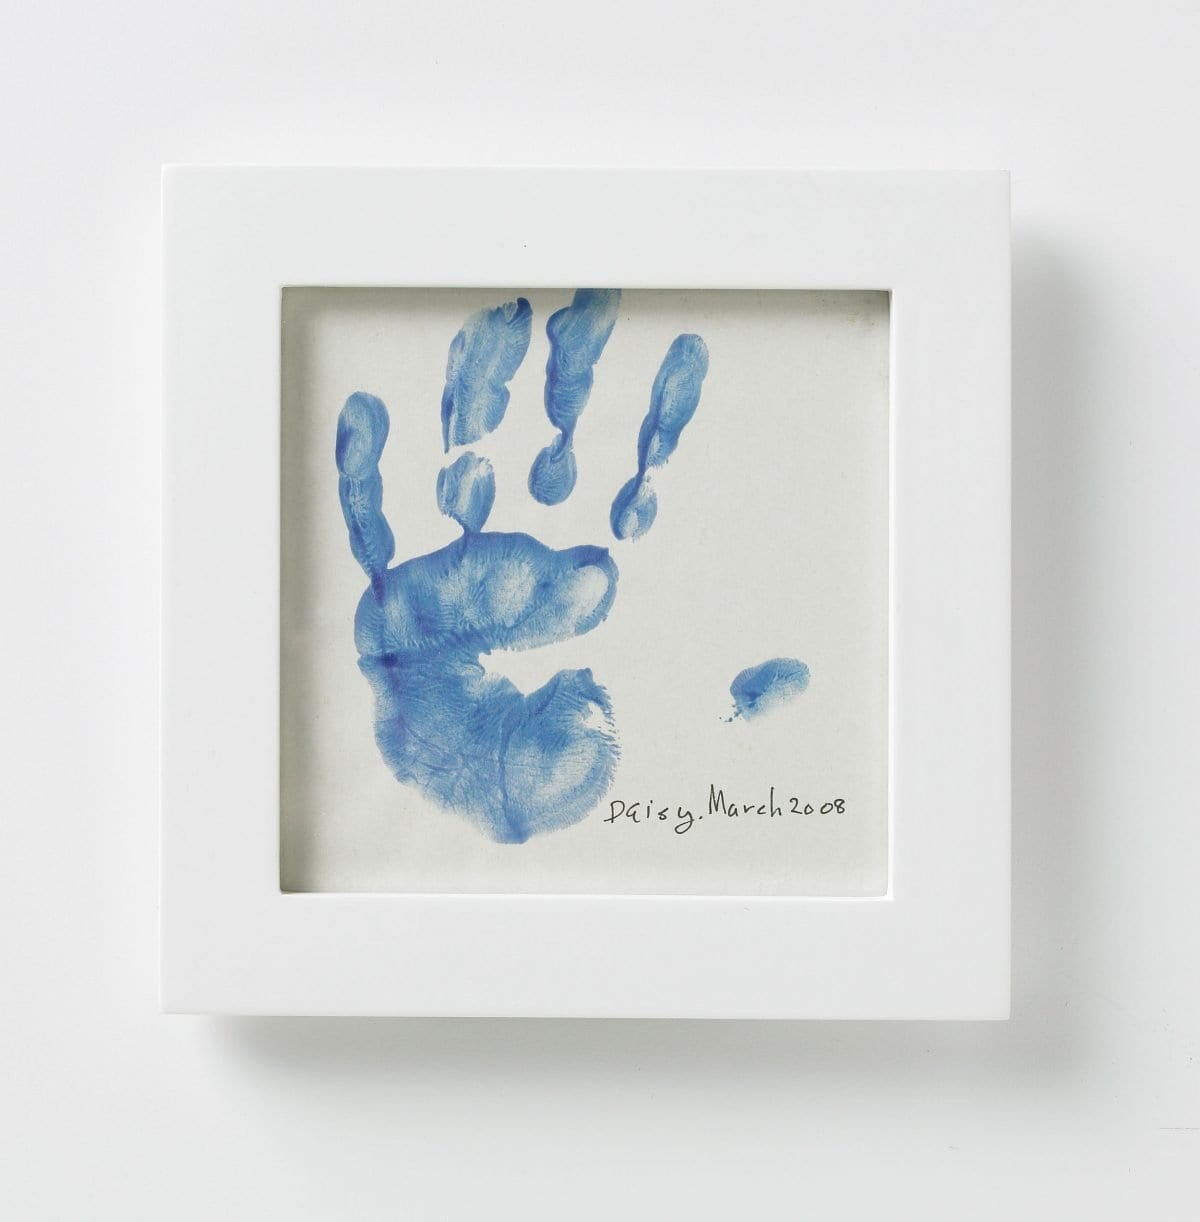
Get the Artist’s “Self-Portrait.” Whether it’s a handprint, a drawing of themselves, or the first few shaky letters when they start writing their names, it’s always nice to have a one-of-a-kind souvenir of your child at a specific moment. You can even make the artwork part of a series, with self-portraits, handprints, or signatures over the years.
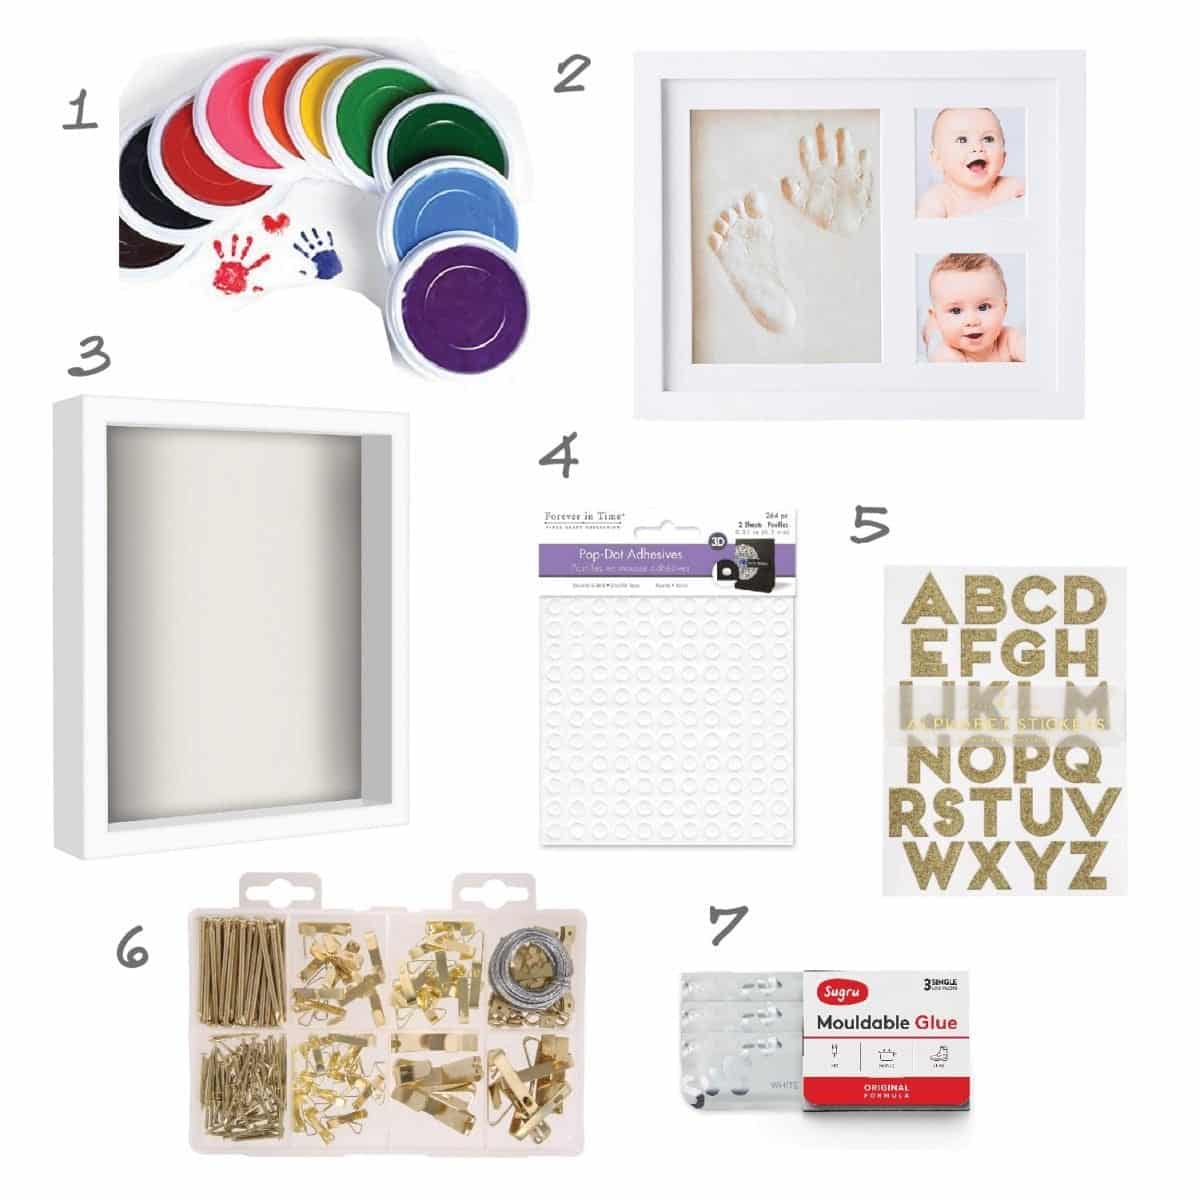
- Handprint Stamp Pad 2. Handprint Kit 3. Shadowbox 4. Foam Dots 5. Stickers 6. Hanging Kit 7. Moldable Glue
photo credits