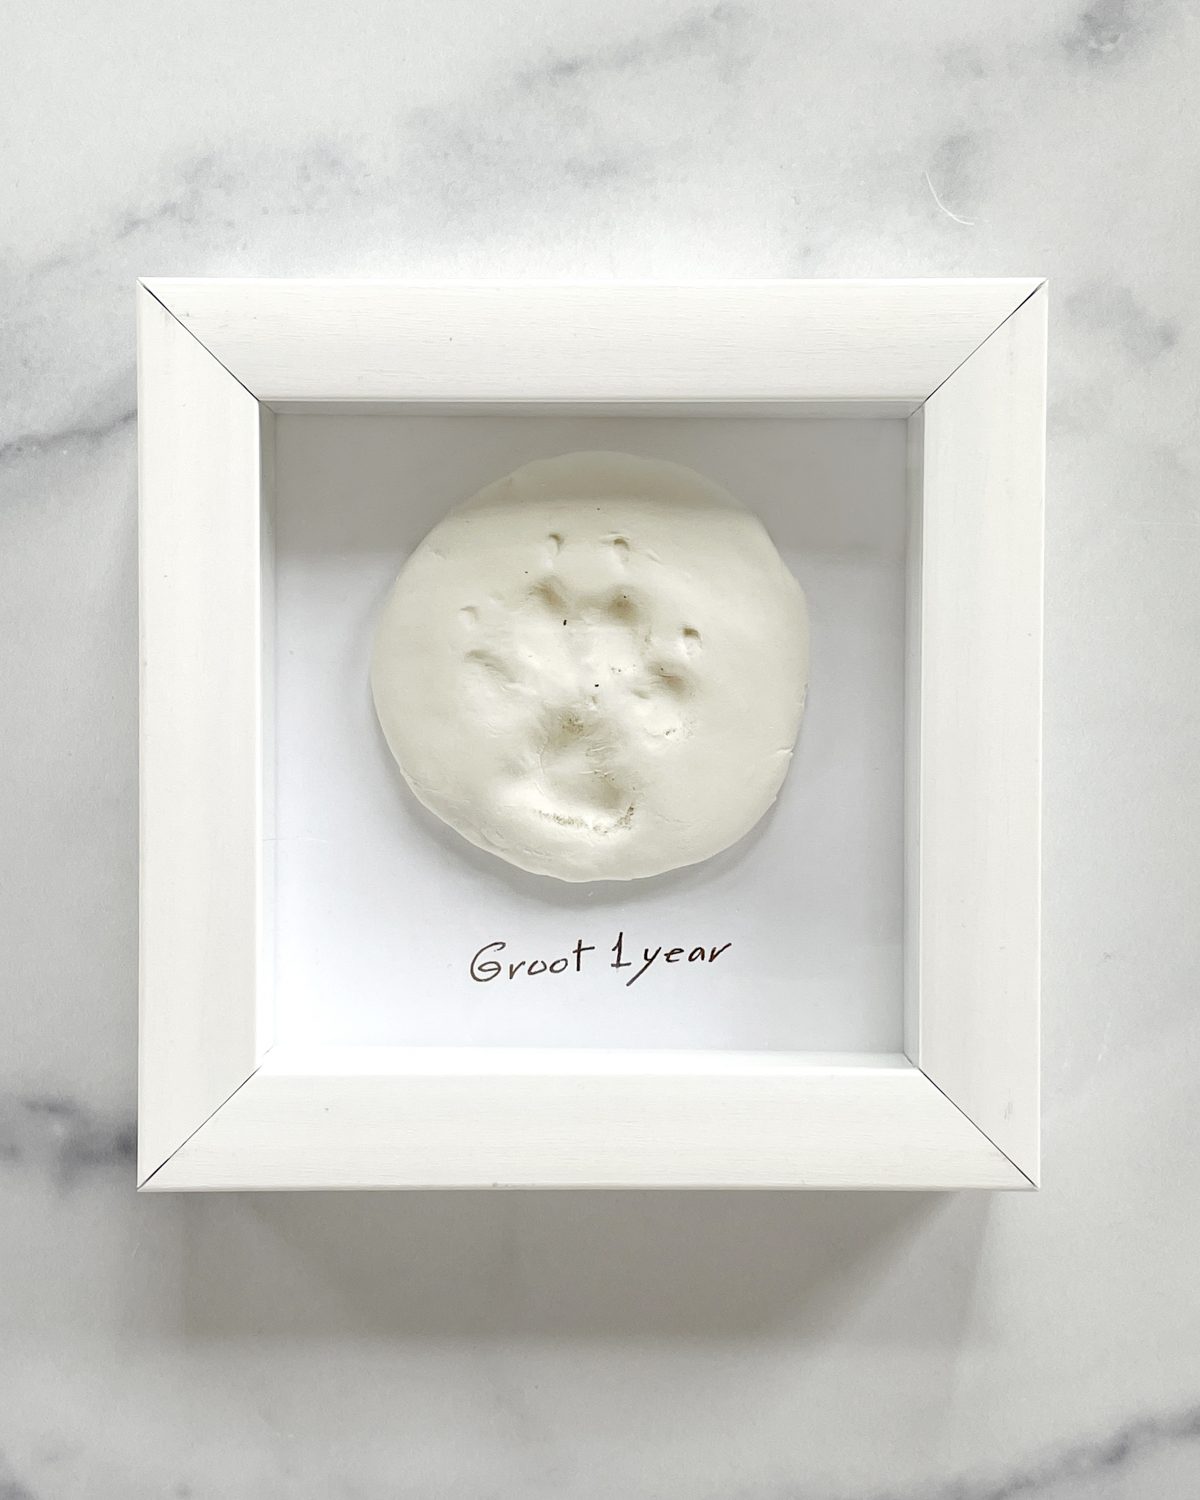
A shadowbox—or what I call a “scrapbox”—holding a ceramic impression of your pet’s pawprint isn’t just a keepsake that doubles as wall art. It’s also a fun way to commemorate your pet’s first birthday, the “gotcha day” anniversary of the day you adopted them, Dog Appreciation Day (August 26), or National Cat Day (October 29). And it makes a great gift for the dog or cat lover in your life—a memento that will keep their pet’s pawprint on their wall (and in their heart!) even after the pup or kitty grows into a dog or cat.
A pawprint scrapbox is also a fun project to DIT (Do It Together). Make a few, one for the living room, and others for the bedrooms or for your kids to take with them to camp or college. All you need is a pawprint kit or other non-toxic air-dry clay, a shadowbox frame, and some glue dots or other adhesive.
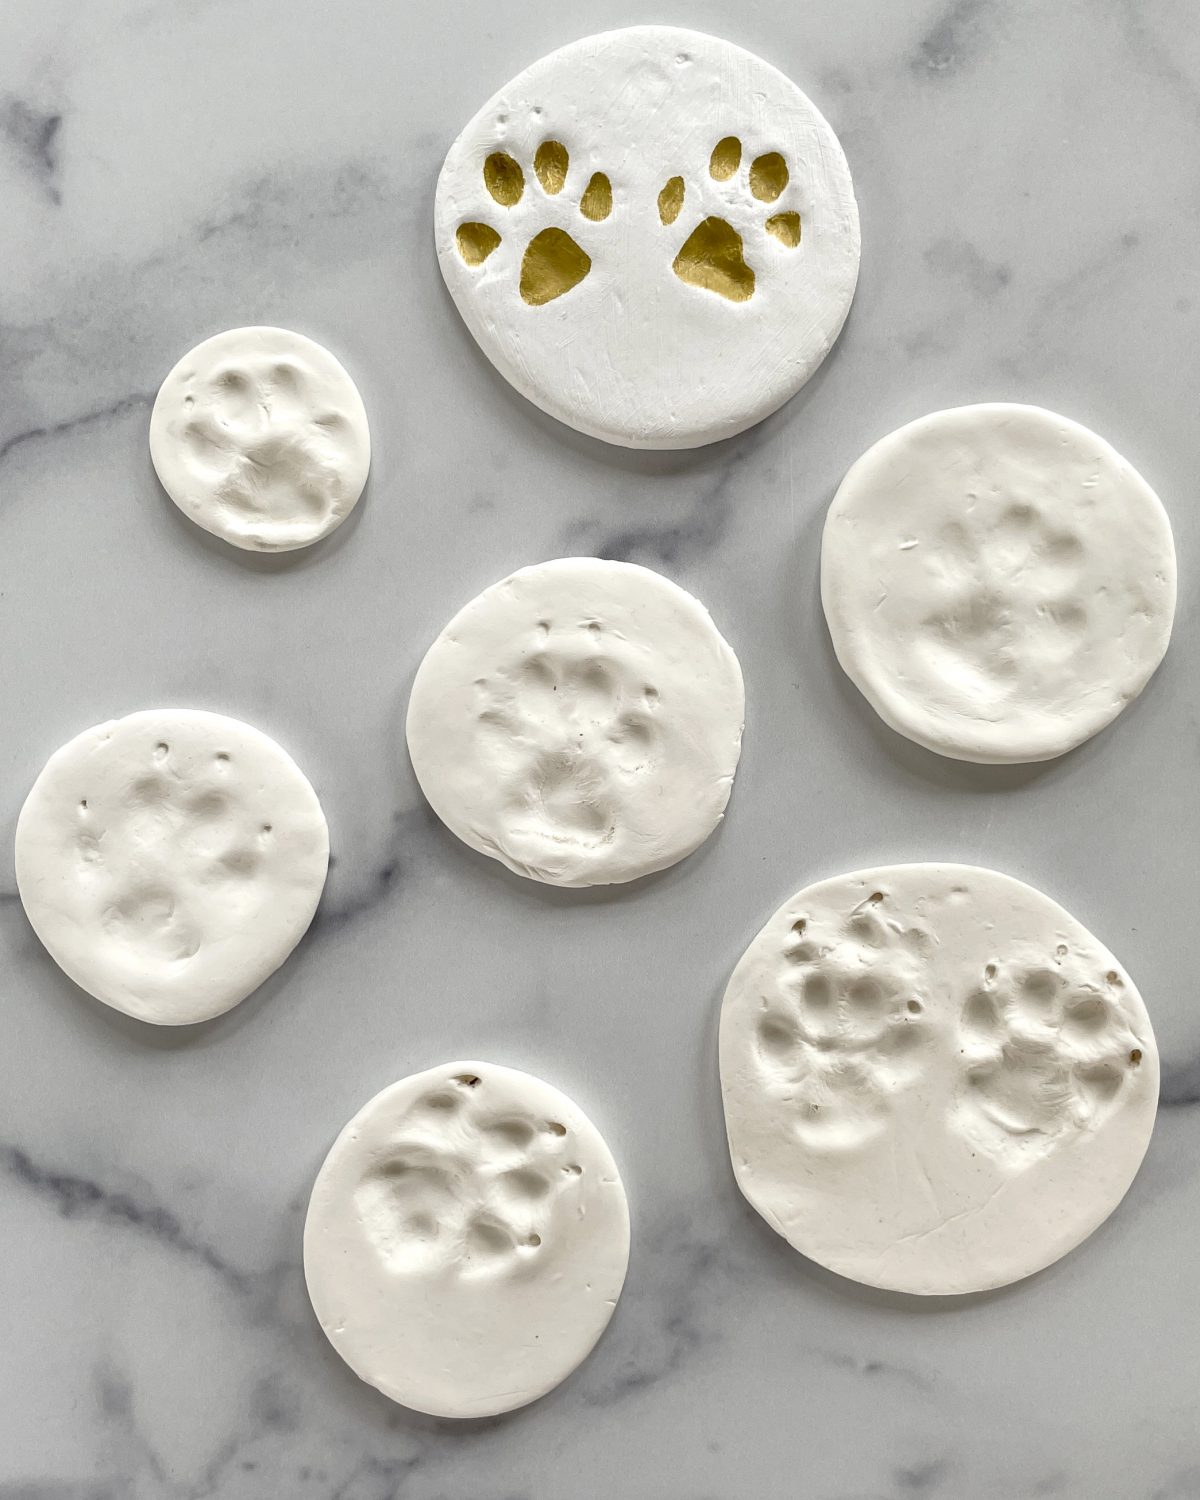
You can make the pawprints on a puppy playdate or at a birthday party where guests bring their pets, and send everyone home with a frame to turn into a scrapbox. The pawprints alone make great decorative gifts or holiday ornaments (glue a ribbon to the back or make a hole with the straw in the clay for hanging). But when you turn them into a scrapbox, they become wall art, too. The framing is where you can get creative! Write your pet’s name, the date, or occasion under the pawprint with a pen (a gold paint pen makes it extra fancy), or glue a photo of your four-legged friend next to or behind the disc as a backdrop before adhering it. You can even paint the impressions of the paw with a color to make the paw really stand out.
Once you’ve got an assemblage you like, close up the frame and hang on the wall. Then step back, admire your handiwork, and give your pet a high-paw!

What You’ll Need
- “Scrapbox” Shadowbox Frame
- A photo of your pet, paper, or fabric, if using to cover the back of the frame
- Scissors to cut the paper or fabric to fit, if using to cover the back of the frame
- 3D Plaster pawprint kit (need source) or other nontoxic air-dry clay
- Glue, glue dots or other adhesive— foam dots can give paper mementos a 3-D effect and make attaching oddly-shaped objects easier
- Pen, if using
How-To
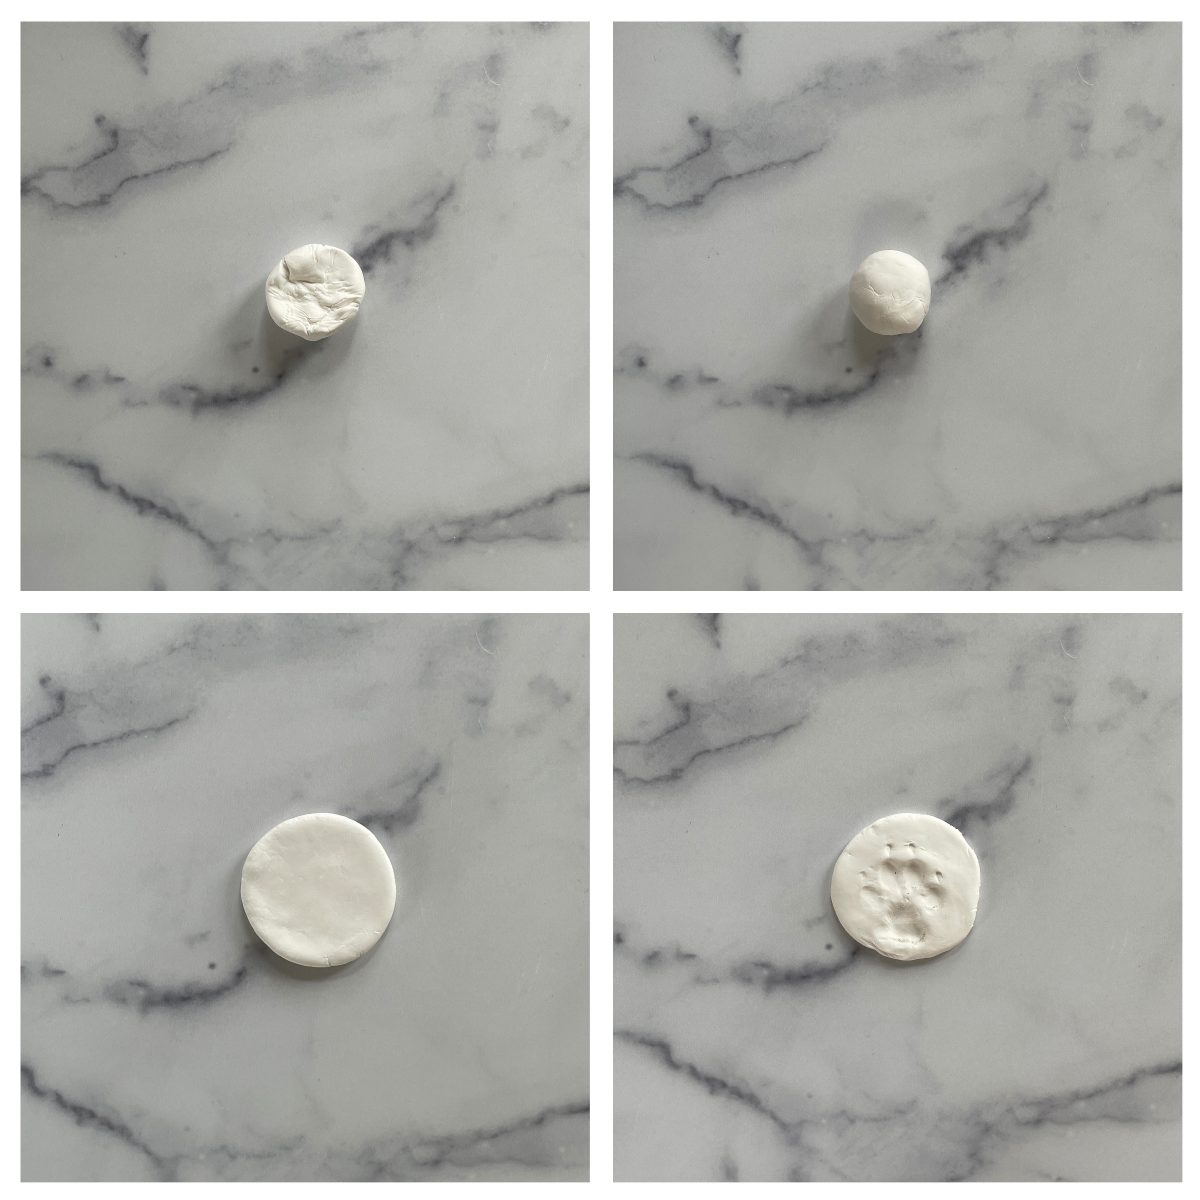
Step One: Follow the instructions of the pawprint kit, or roll the air-dry clay into balls and flatten into a round disk. You can simply flatten the balls with your hand, or set wax paper or plastic wrap below or above the ball and roll it with a rolling pin before cutting with cookie cutters.
Step Two: Gently press your pet’s paw into the disc. Follow directions and let dry for at least 24 hours.

Step Three: If you’re adding a photo backdrop to your frame, open it, set the glass and front of the frame aside, and adhere the photo to the mat using tape or glue dots. Or, cover the back of the frame with paper or fabric and glue in place before attaching the pawprint. If you’re not using a photo or covering the back of the frame, set aside the glass and frame and stick the pawprint disc straight to the mat using glue dots, moldable glue, or foam dots. Remember to place everything first to see how it looks before adhering.
Step Four: Write a message/name/date under the disc using a gold paint pen.
Step Five: Replace the scrapbox frame following 3-D frame directions, secure in place, and hang on the wall or give as a thoughtful and personal DIY gift.
Shop More of our Favorite Frames