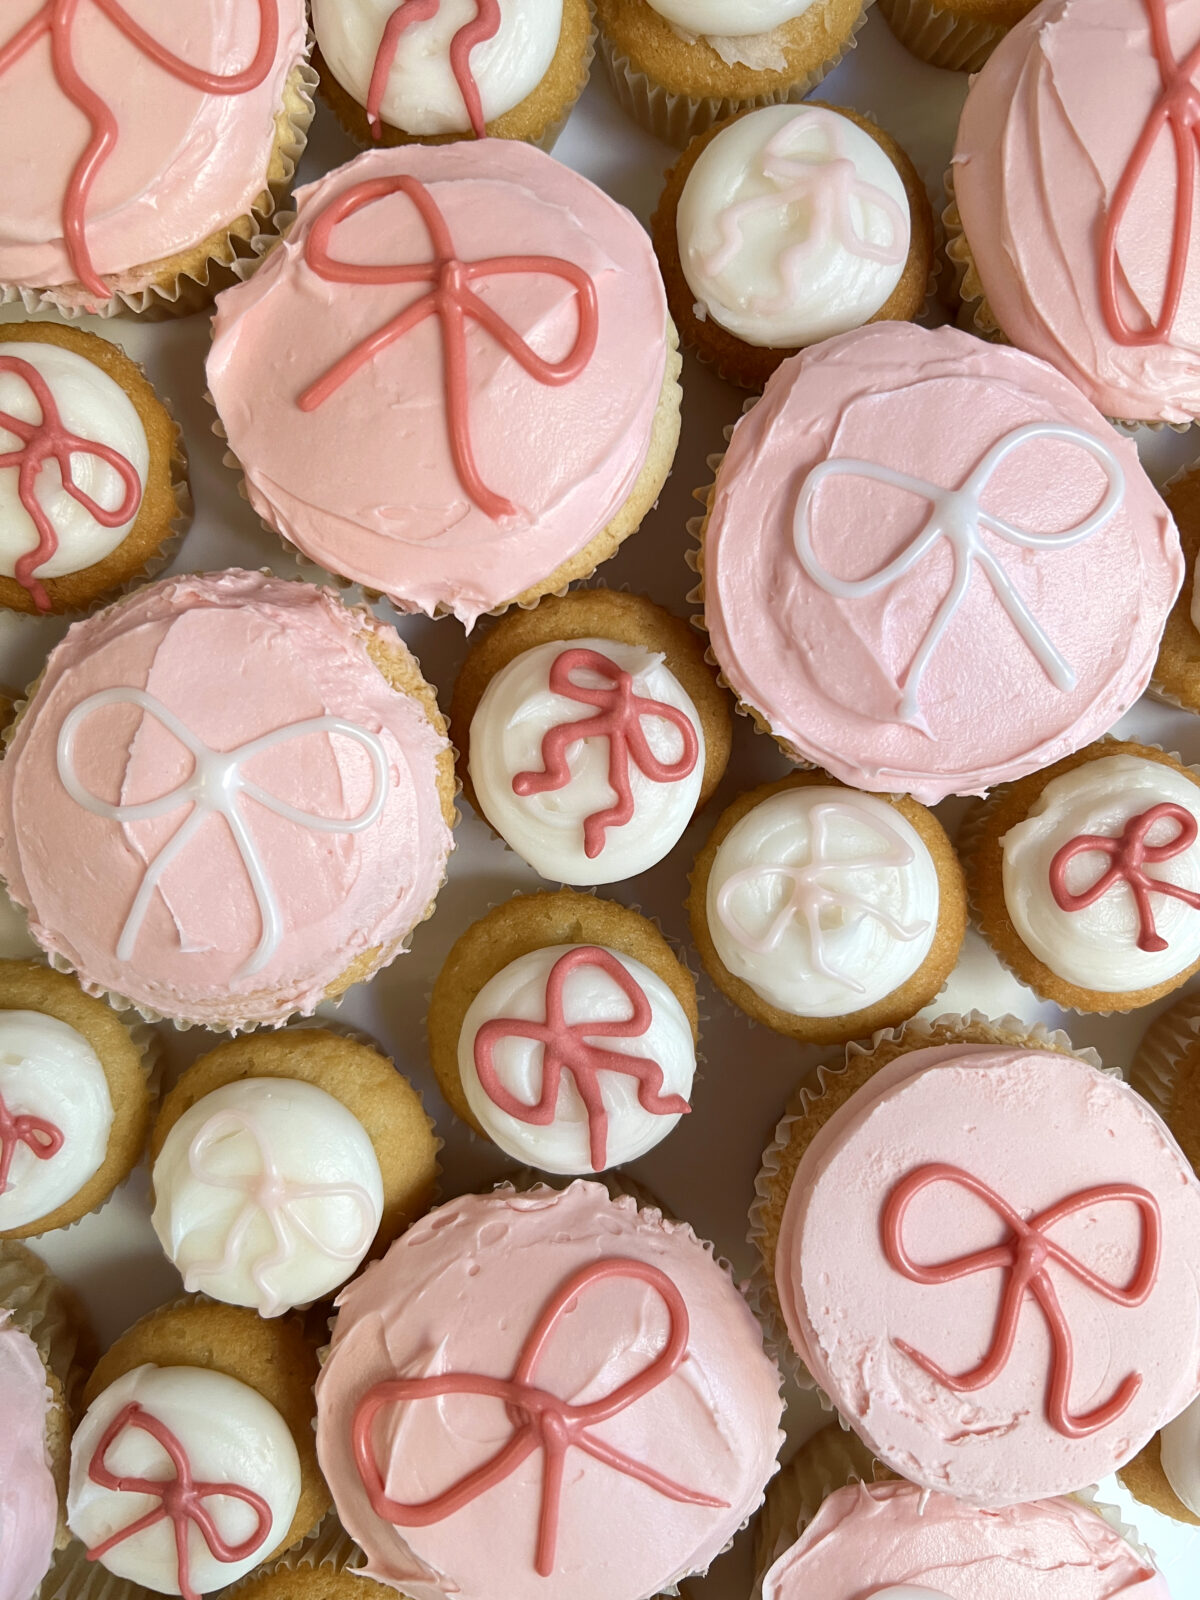
If you know a birthday girl, bride-to-be, mom-to-be, Valentine or Galentine who loves the Coquette aesthetic, look no further than these adorable cupcakes, decorated in bows. For any event from a birthday to a graduation party to a baby shower, this is dessert that doubles as decor. They’re easy to make with just a bit of practice. You can whip up your own frosting and cupcakes (read the how-to for our hack on creating a flat top for easier icing decor). Or, buy cupcakes already iced in pink, white, or a color of your choice. (If you buy the cupcakes, look for ones that are iced fairly evenly across, not in big dollops—you need a fairly flat top to pipe the bows onto evenly.)
After that, it’s as simple as piping on bows freehand, whether you use an icing writer tube from the grocery store, a fine point piping bag, or just a plastic sandwich bag filled with icing with the corner cut off as a DIY piping bag. For extra fun, mix some edible glitter into your piping icing to give your bows a metallic sheen. Whether bows are the theme of your entire party or just a fun, flirty finishing touch to dessert, a bow-topped cupcake ties an event together and makes each cupcake feel like a wrapped present.
WAYS TO PUT A BOW ON A CUPCAKE
Piping, ribbon, paper on a toothpick topper, licorice, candy
What you need
- Frosted cupcakes
- Icing for decor
- Piping bag or sandwich bag with corner cut off
- Metallic edible glitter or sanding sugar (optional)
HOW-TO
Step One: Ice and Prep Cupcakes (Skip this step if you’ve bought iced cupcakes with a flat top–those should be good to go.)
If you’ve made your own cupcakes, top them with frosting. To get a super flat top (which is easier to pipe a bow onto), after icing, turn the cupcakes upside down on a parchment-lined baking tray and stick into the freezer until the icing is solid. When you pull the cupcake up from the parchment, it will have a smooth flat top that’s ready to ice! Just make sure to fully defrost before serving.
Step Two: Prep the Piping Icing (Skip this step if you have an icing writer from the baking aisle of the supermarket.)
Use food coloring to dye the piping icing in a color that contrasts with the cupcake frosting. If you like the look of metallic bows, mix edible glitter into the icing. The bows shown here were made with royal icing, but you can also use traditional buttercream or store bought icing,
Step Three: Prep the Piping Bag (Skip this step if you have an icing writer from the baking aisle of the supermarket.)
Load the icing into a piping bag with a fine tip or plastic sandwich bag. If you’re using a bag with no tip, cut a corner off to create a piping bag. Snip it small enough to make a skinny ribbon. You can always cut away more of the tip if it’s too narrow a line, so start conservatively.
Step Four: Pipe Bows Onto Cupcakes
Draw your bows, varying the size and shape between cupcakes. Get creative! You can make the bow sit on the top of the cupcake or have the ribbon tails trail down. Experiment on a plate or piece of parchment paper beforehand to see which designs you like and to practice getting the shape right. Then go ahead and tie the cupcakes up in a bow!